💻 Navigating To Offers & Contracts
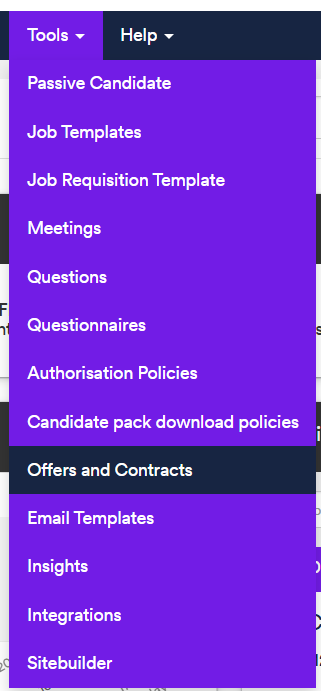
From the dashboard click "Tools" followed by “Offers and Contracts”:
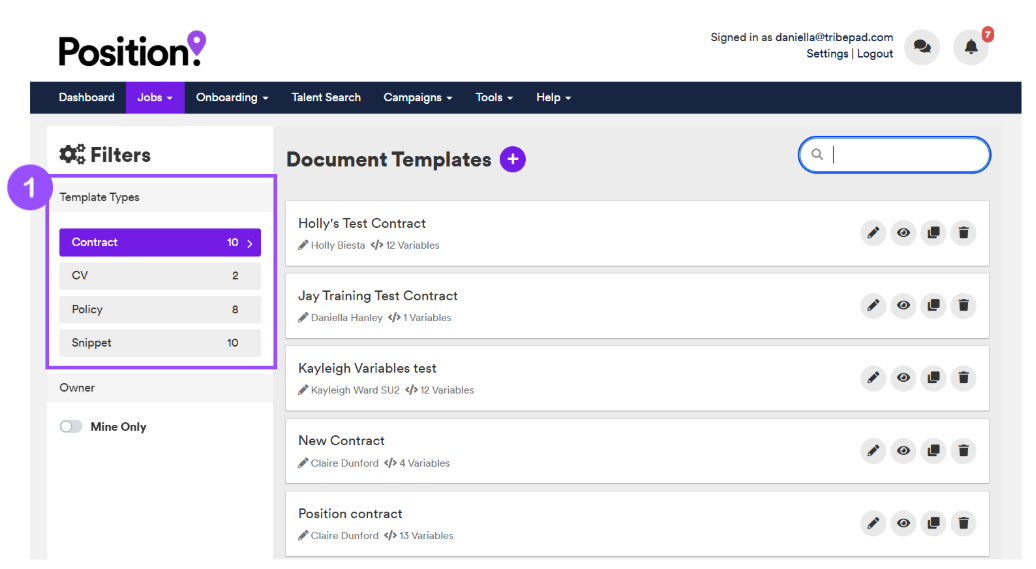
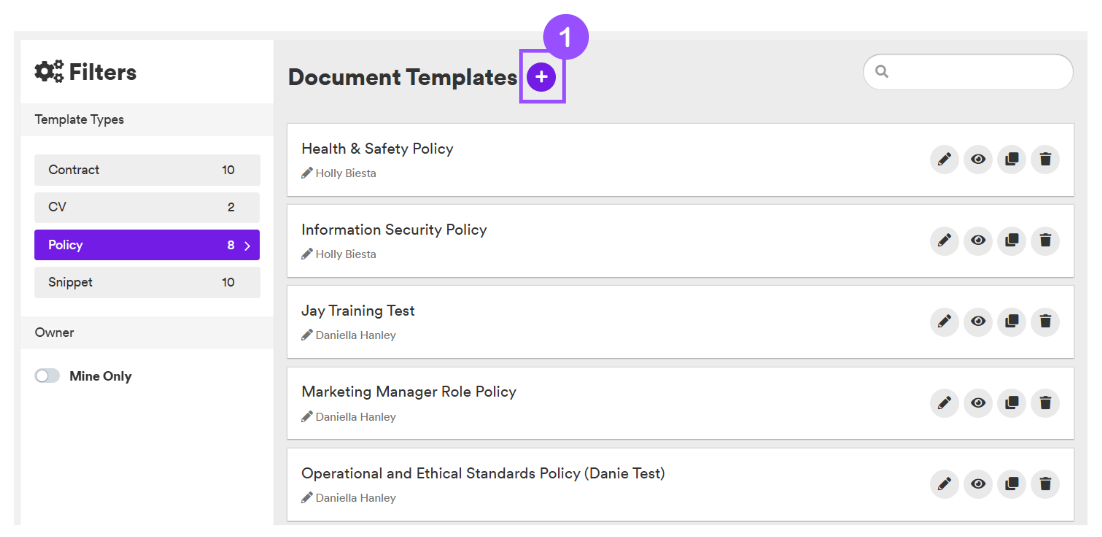
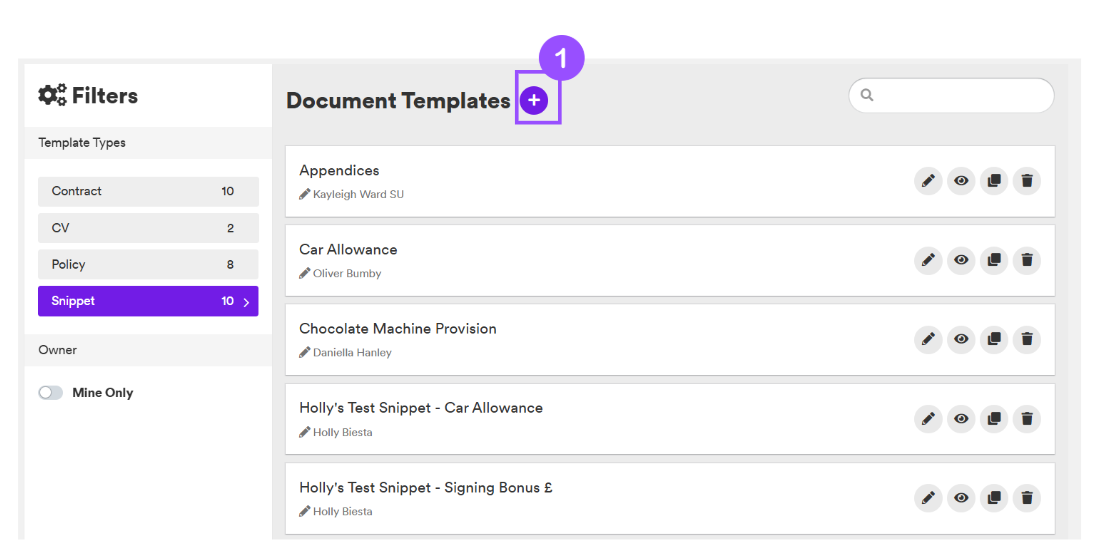
You will now be taken to the "Document Templates" page. From here you will see the type of templates down the left hand side (1).
Once you have selected the document template type that you would like to create or edit, you will be taken to the relevant page for that template.
📜 How To Create A Contract
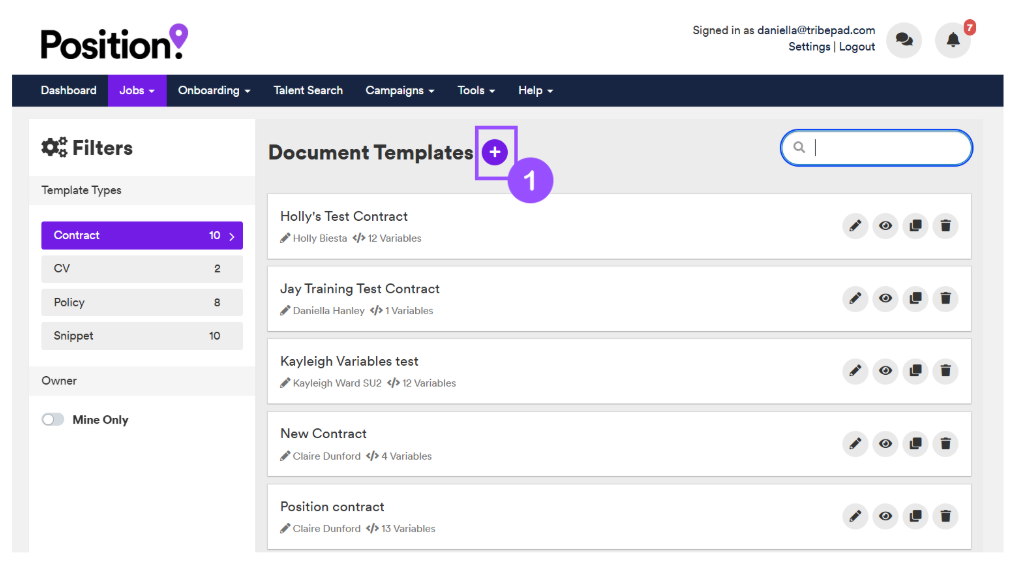
To get started simply click on the + icon (1):
You will now be taken to the “Create New” contract page:
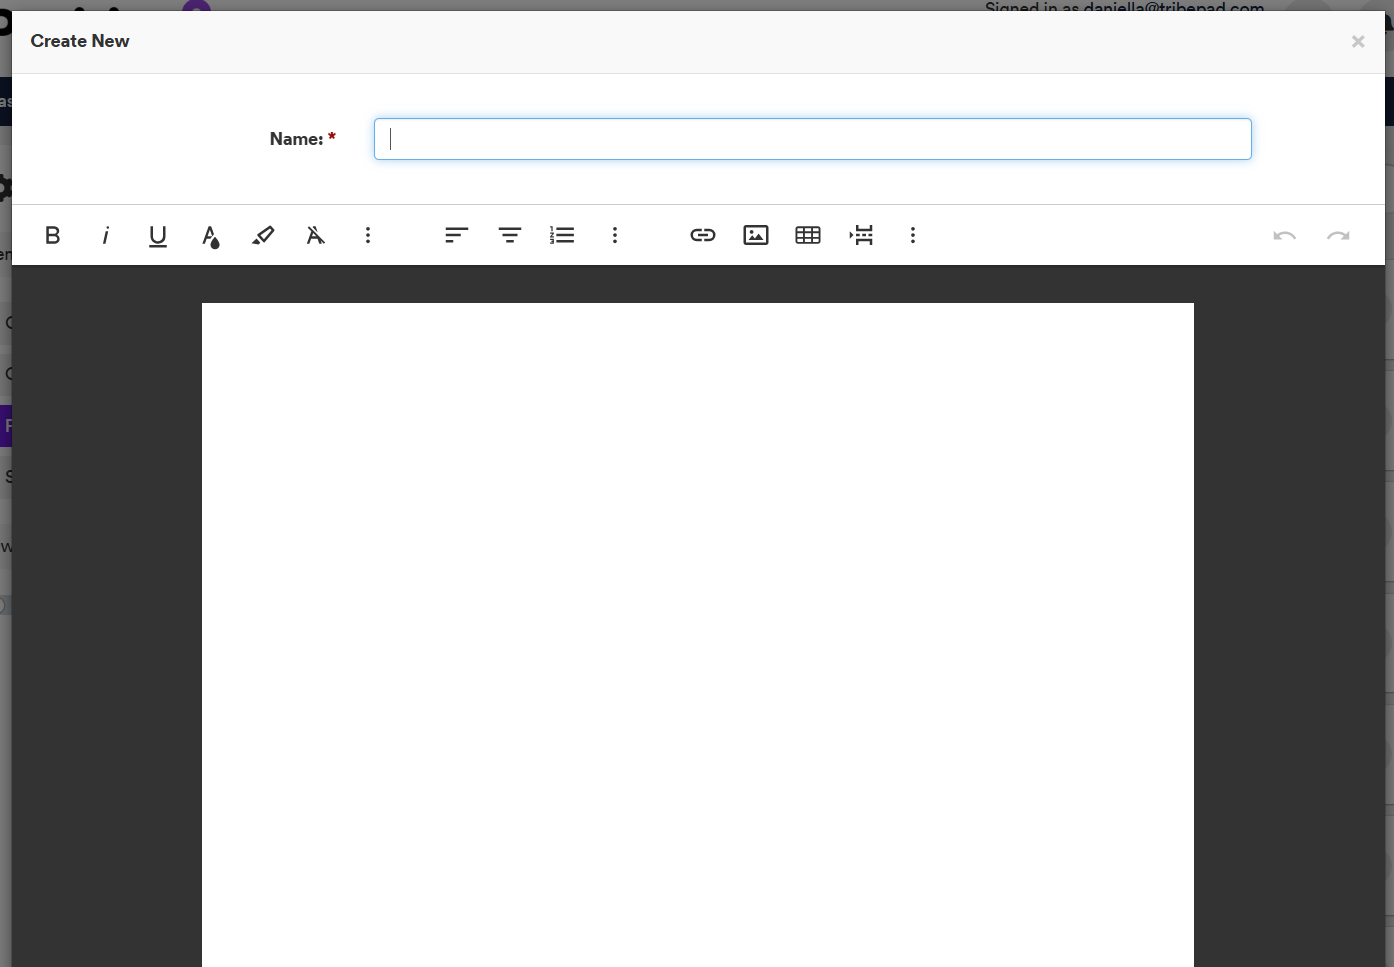
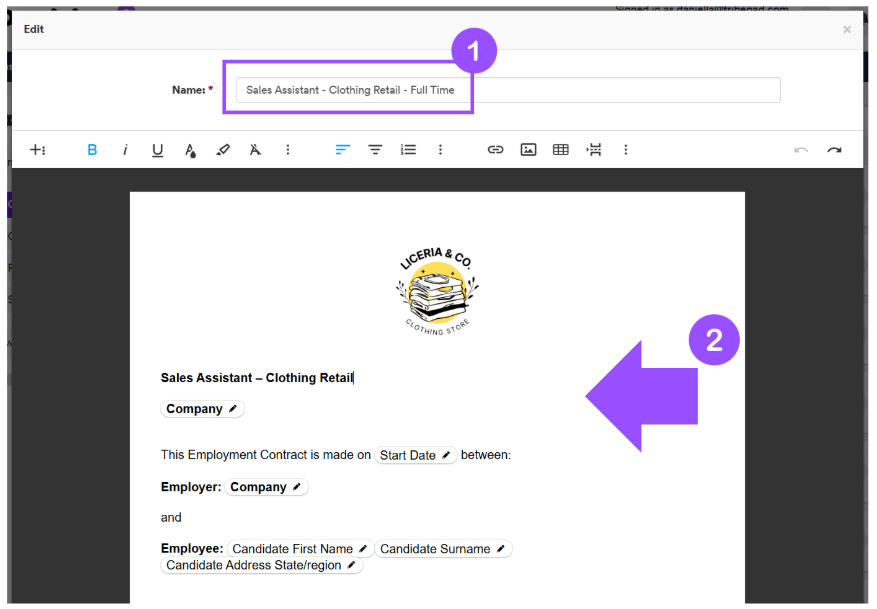
You will need to name your contract (1), this will also make it easier to find and use in the future.
You then need to either paste or type into the text box to create your contract (2).
When creating your contract you also have a number of editing and formatting options, that are accessible from the tool bar:
Once you have your basic contract template, it is advisable that you use Variables & Snippets.
➕ Variables
- Variables are pre-installed fields in the system that automatically pull in information based on the specific job a contract is attached to.
- This allows contracts to be personalised without manual editing - for example, automatically inserting the job title, location, or salary.
✂️ Snippets
- Snippets are custom-written blocks of text created by you. They often contain information specific to your company or role, such as uniform policies or bonus structures. Snippets can be added to all contracts or just those that are relevant.
For more information on how to create your own snippets, ⚓please see our further guidance below.
For more information on how to create your own custom variables, ⚓please see our further guidance below.
To start adding a variable or snippet, first click on the plus icon with the three dots, found in the edit/format tool bar. You will now see a menu bar on the left hand side, which will list all available options:
>To add a variable simply highlight the text that you would like to replace with the variable, and then select the relevant one from the tool bar, or drag and drop the variable into the correct place:
➕ Expression Variable
The Expression variable allows you to perform simple calculations within a contract or document by combining existing variables, much like using a calculator. It is primarily used to add, subtract, multiply, or divide values so that a calculated total can be displayed automatically in the contract.
To use this feature, add the Expression variable by either dragging and dropping it from the sidebar or simply clicking on it (1). You can then insert other variables and apply a calculation to generate the final value (2).

For example, you could calculate a candidate’s monthly salary by dividing their annual salary as so:
Annual Salary / 12

When the contract is generated (after saving and viewing a preview), the expression calculates and displays the result (1). You must make sure that you have filled in any variable information on the left in order for this to calculate correctly (2).

💡 Common Use Cases
The Expression variable is most useful when values within a contract depend on a calculated figure rather than a fixed amount. Common examples include:
- Benefit calculations
Some benefits may be based on a salary-related formula. For example, lunch voucher values could be calculated using a formula such as:
Annual Salary / Days Worked Per Year - Location-based salary adjustments
If a role includes a London Weighting Allowance (LWA) or similar adjustment, an expression can combine values such as:
Hourly Salary + London Weighting Allowance
The allowance amount can be selected using a custom variable, and the expression will automatically display the total. - Holiday entitlement calculations
Organisations that calculate holiday allowance using a formula can display the result automatically. For example:
Days Worked Per Week × 5.6
This would calculate and display the employee’s annual holiday entitlement.
Using expressions helps ensure calculated values are consistent and accurate, while reducing the need to manually work out figures when generating contracts.
>To add a snippet, follow the same instructions as above - by either clicking in the document and then clicking the relevant snippet, or by dragging and dropping it to the right place:
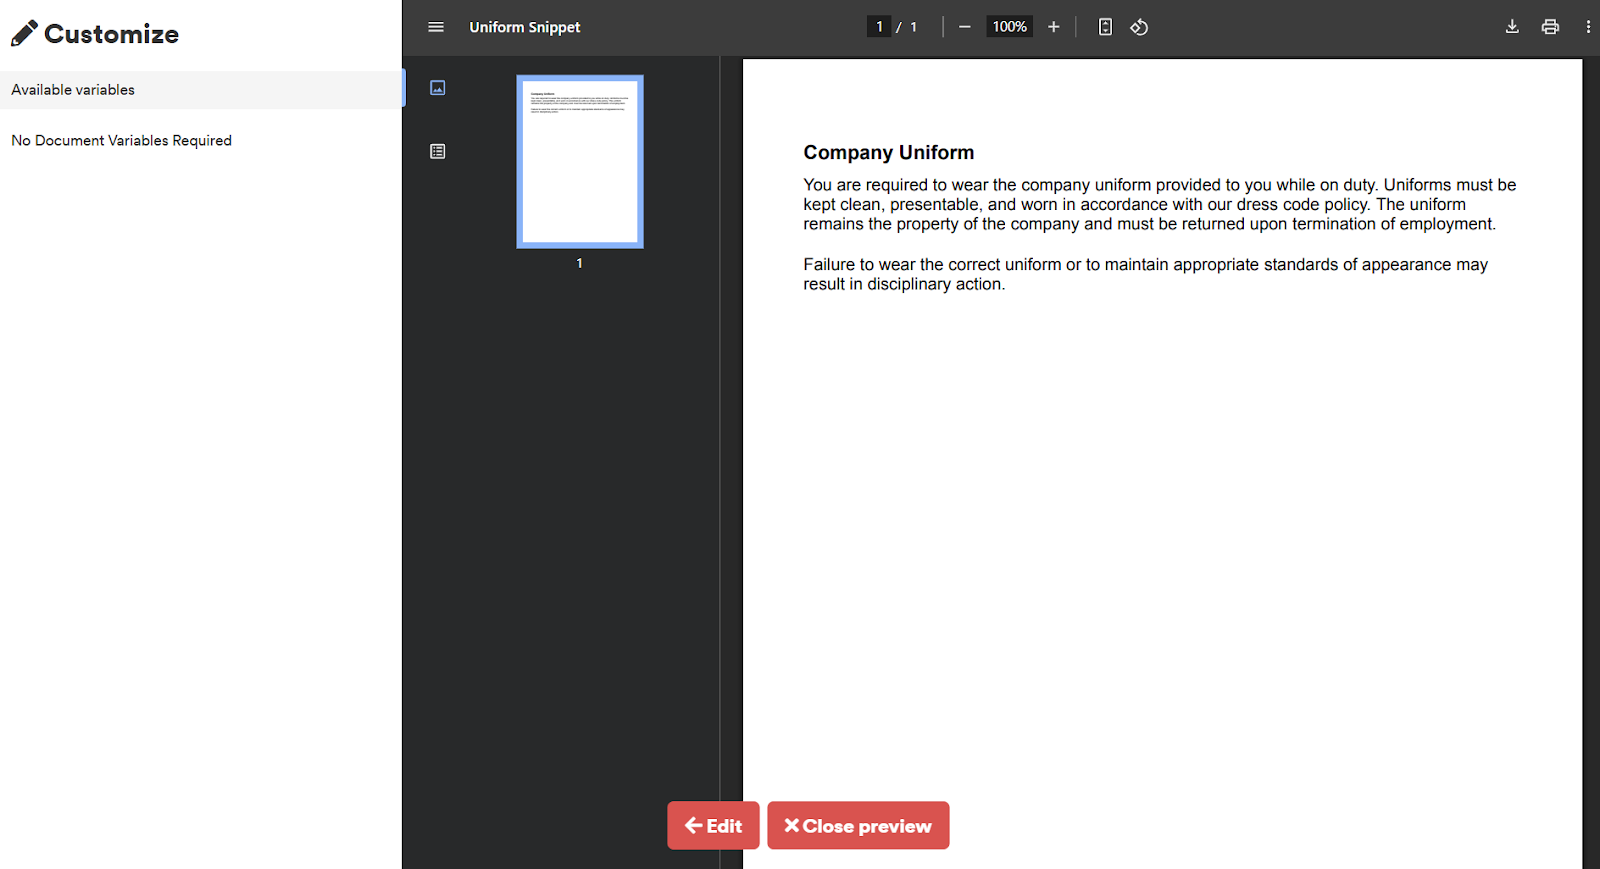
Once you are happy with your contract, you have the option to either “Save Details” or “Save and preview”:

Whilst looking at your preview, you will see the option to manually add in and customise further information that will display in your “Variables” in the left hand side.
If you attach your contract to a job, you do not need to add in any further details at this point, as they will auto-populate using the attached job details!
Once saved, your Contract will now be accessible from the “Document Templates” page.
📃 How To Create A Tribepad Generated CV
To get started simply click on the + icon (1):

You will now be taken to the “Create New” CV page:

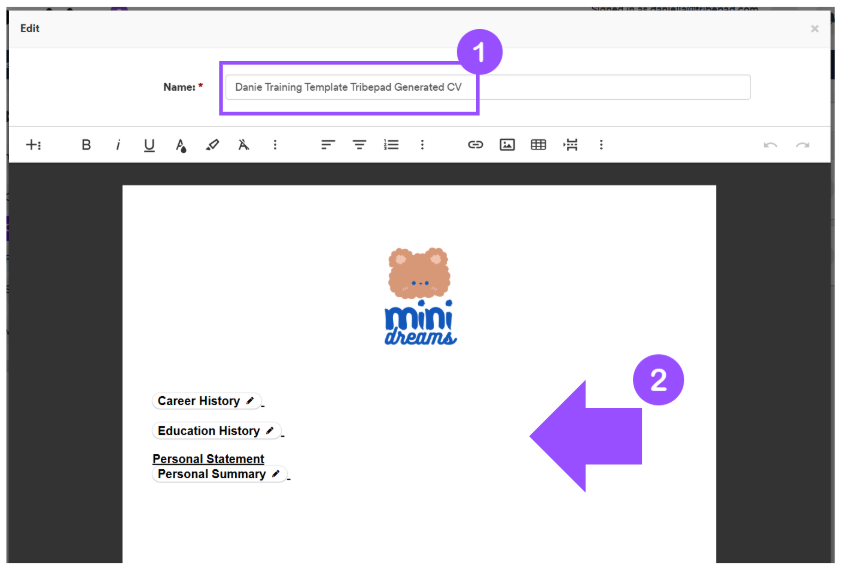
You will need to name your CV (1), this will also make it easier to find and use in the future.
You then need to either paste or type into the text box to create your CV (2).
When creating your CV you also have a number of editing and formatting options, that are accessible from the tool bar:
Once you have your basic CV template, it is advisable that you use Variables & Snippets, so that the details can pull through automatically.
To start adding a variable or snippet, first click on the plus icon with the three dots, found in the edit/format tool bar. You will now see a menu bar on the left hand side, which will list all available options:
When you have found the relevant one, either click or simply drag & drop to add it to the correct part of your template.
Once you are happy with your contract, you have the option to either “Edit” or “Close Preview”:
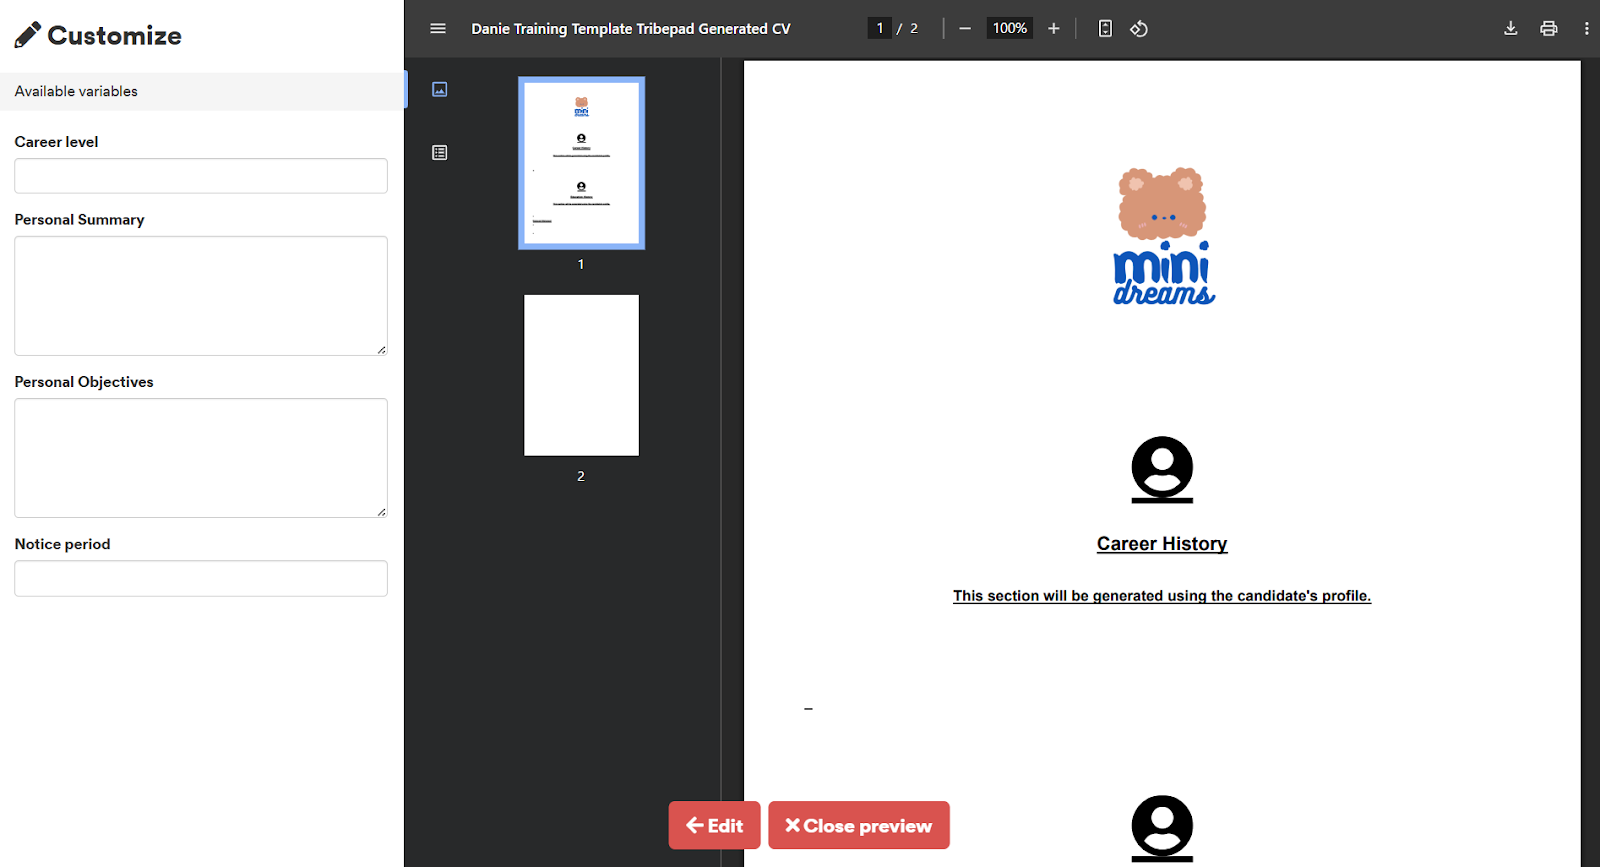
Once you press close preview, your template will be added to the “Document Templates” page to view and access.
📒 How To Create A Policy
To get started simply click on the + icon (1):
You will now be taken to the “Create New” Policy page:

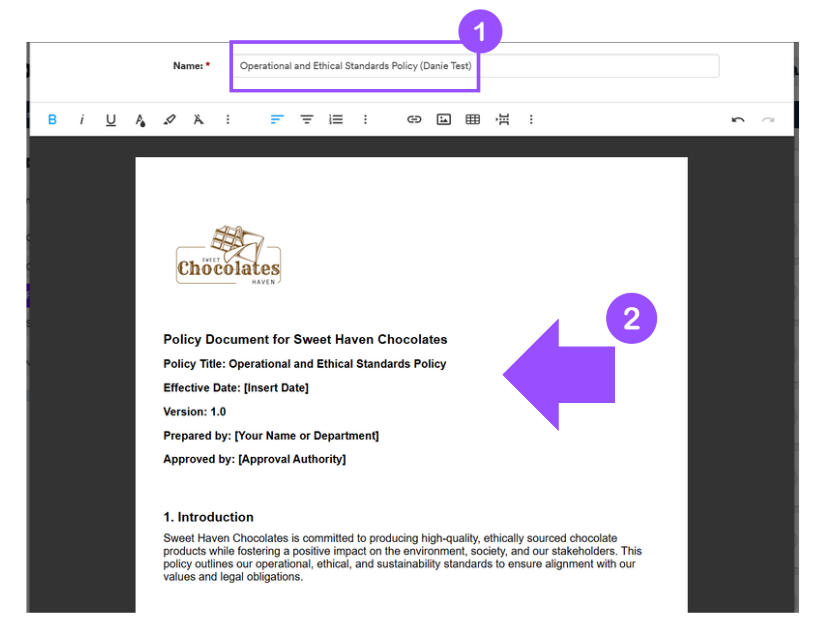
You will need to name your Policy (1), this will also make it easier to find and use in the future.
You then need to either paste or type into the text box to create your Policy (2).
When creating your Policy you also have a number of editing and formatting options, that are accessible from the tool bar:
Once you are happy with your policy, you have the option to either “Save Details” or “Save and preview”:
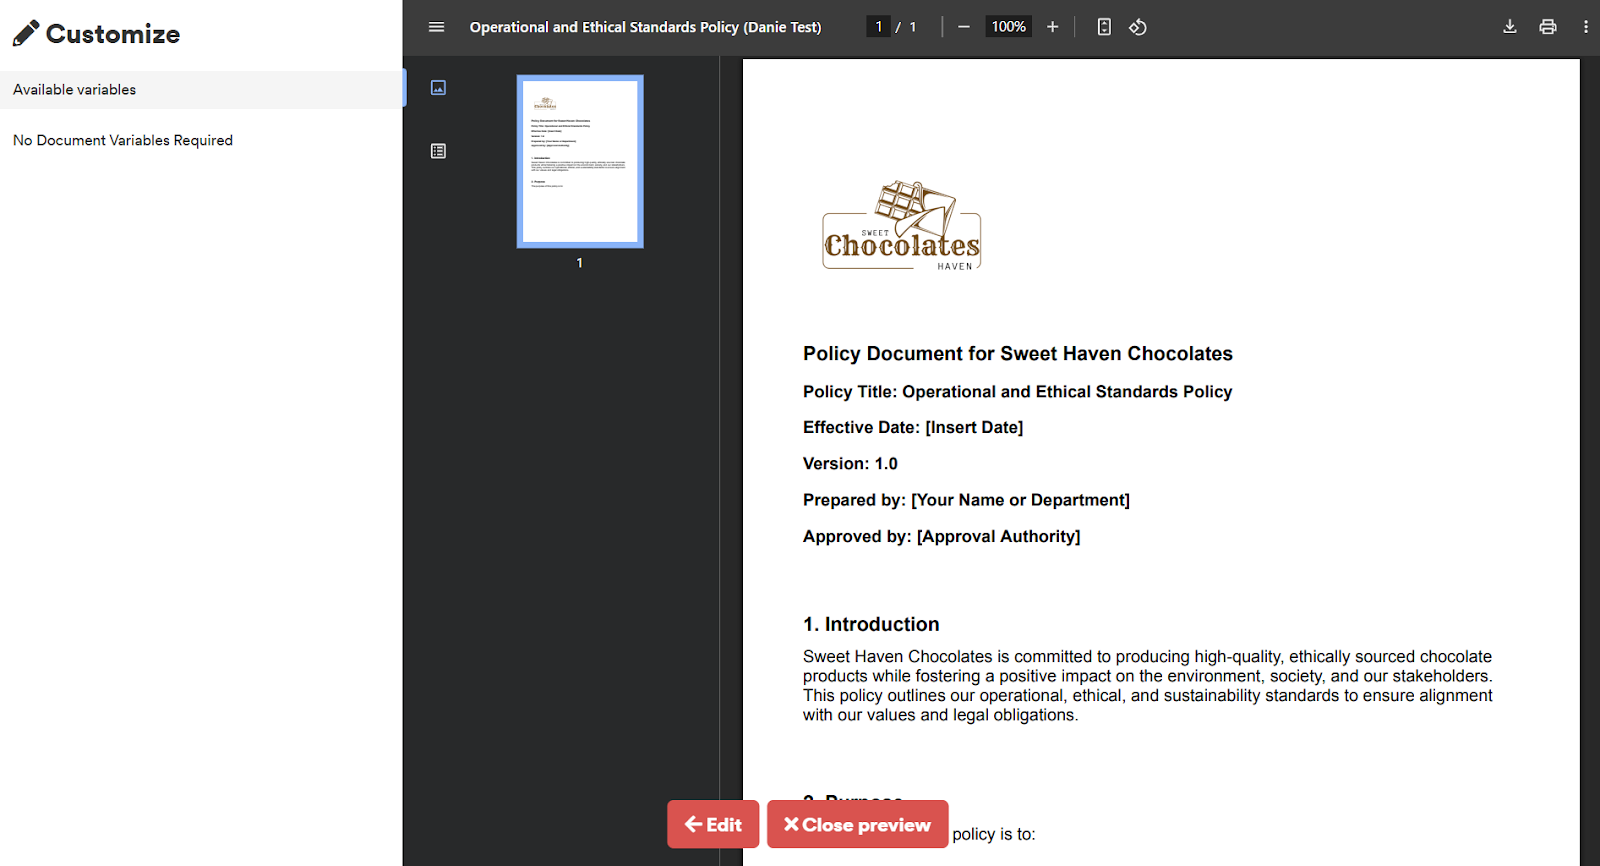
Once you press close preview, your template will be added to the “Document Templates” page to view and access.
✂️ How To Create A Snippet
To get started simply click on the + icon (1):
You will now be taken to the “Create New” Snippet page:

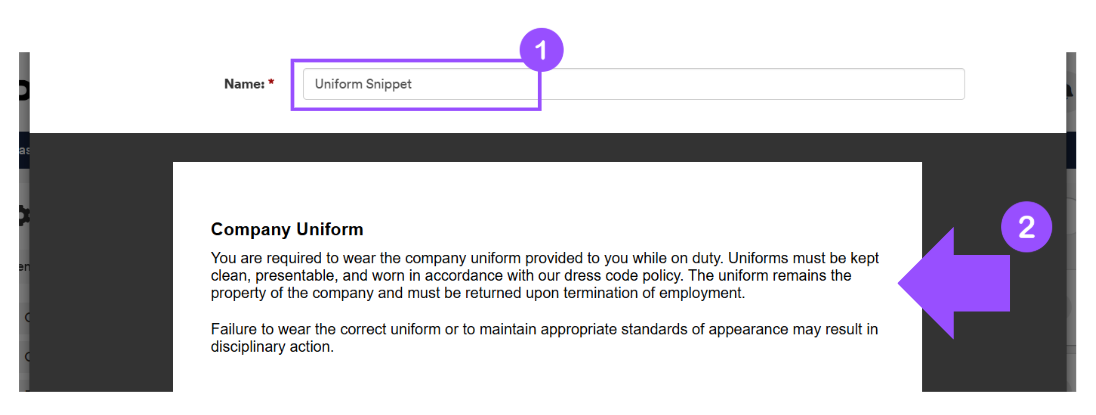
You will need to name your Snippet (1), this will also make it easier to find and use in the future.
You then need to either paste or type into the text box to create your Snippet (2).
Once you are happy with your snippet, you have the option to either “Save Details” or “Save and preview”:
Once you press close preview, your template will be added to the “Document Templates” page to view and access.

✒️ How To Create Custom Variables
To get started you will need to either create a new contract template or edit an existing one.
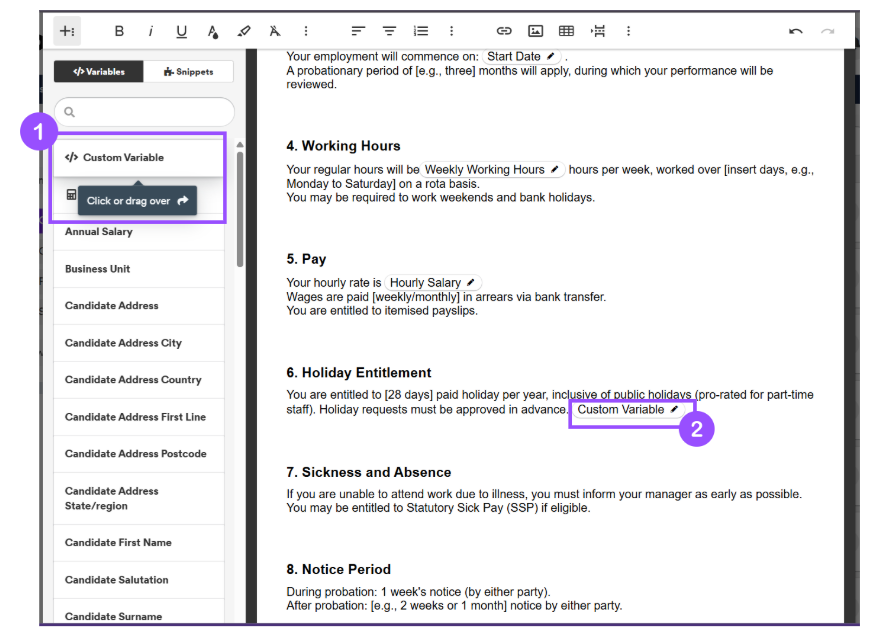
Whilst on the edit template page, select the plus with 3 dots icon to open up the variables and snippets tool bar (1). Make sure that you are on the “Variables” list (2) and select “Custom Variable” (3):

To add your custom variable, simply click or drag & drop it into the right spot within your contract (1). Once added, click the pencil icon to edit it (2).
After clicking on the pencil you will see the following edit options to create your custom variable:
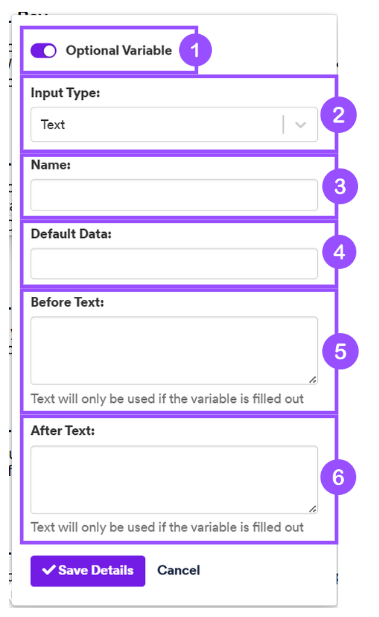
To create your custom variable, start by choosing whether you would like this to be optional or not by using the toggle (1).
→ If this is left off the user will need to enter the information when the contract is being created.
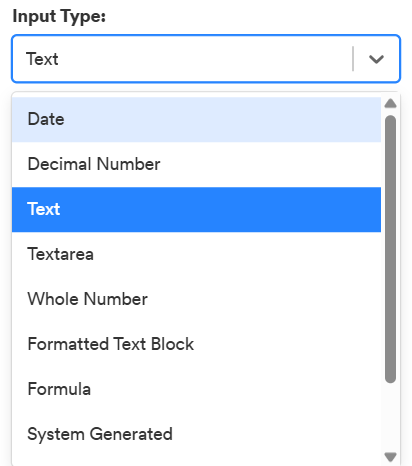
After, decide from the dropdown what type of input you would like to use (2):
You will now need to give it a name (3).
→ This is what will be displayed when the variable is within the contract edit page. This will not be displayed to candidates.
When entering your default data (4) this will be displayed when the contract is generated.
→ In this example we have put 5 - referring to 5 days
The before text box (5) allows you to create any text that you would like to display before your default data.
→ In this example we have put “Your holiday allowance will increase by”
Similar to the “before text”, any of the information entered within the after text box (6) will show after the variable and only if it has been filled out.
→ In this example we have put “days after you have worked for the business for 5 years or more”
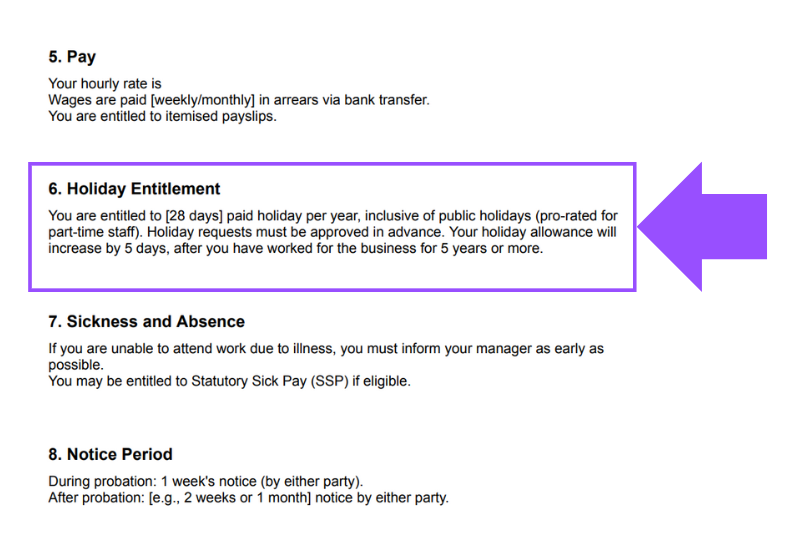
This means that once your custom variable is completed, it will display in the contract as:
“Your holiday allowance will increase by 5 days, after you have worked for the business for 5 years or more.”