This guide shows you how to create a video interview using templates.
1 - Login to the VI Platform
From the menu on the left hand side of your screen, navigate to the heading Components.

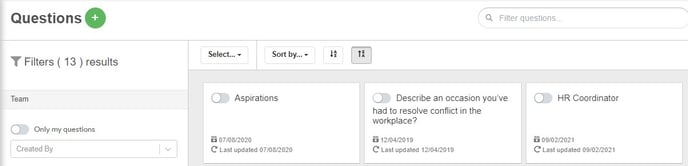
2 - Questions
Select questions from the components menu and you will be presented with the Question Library.
Select ![]() Create question
Create question
3 - New Question
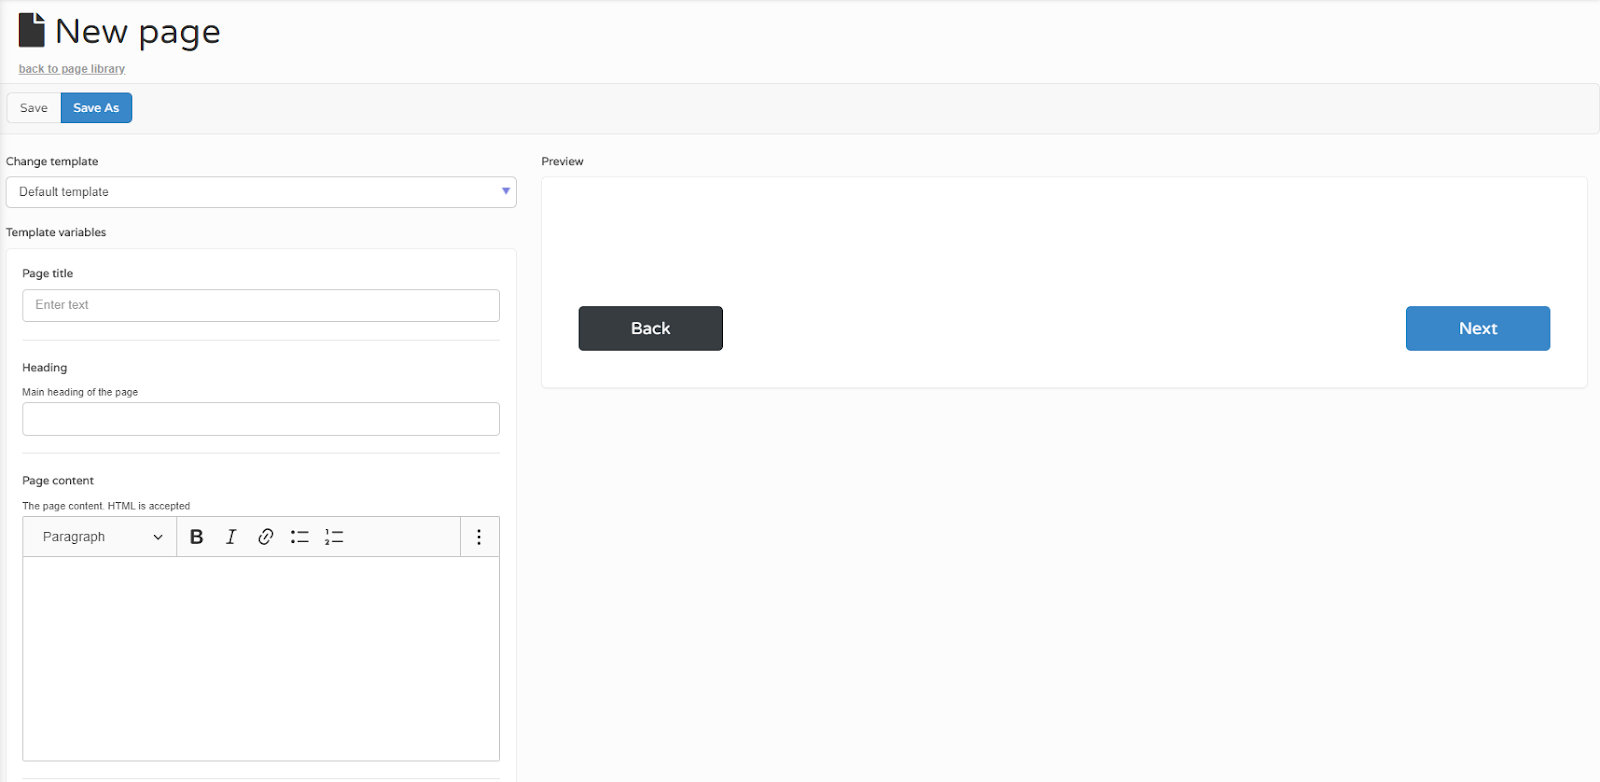
You will be presented with a new screen called New Question.
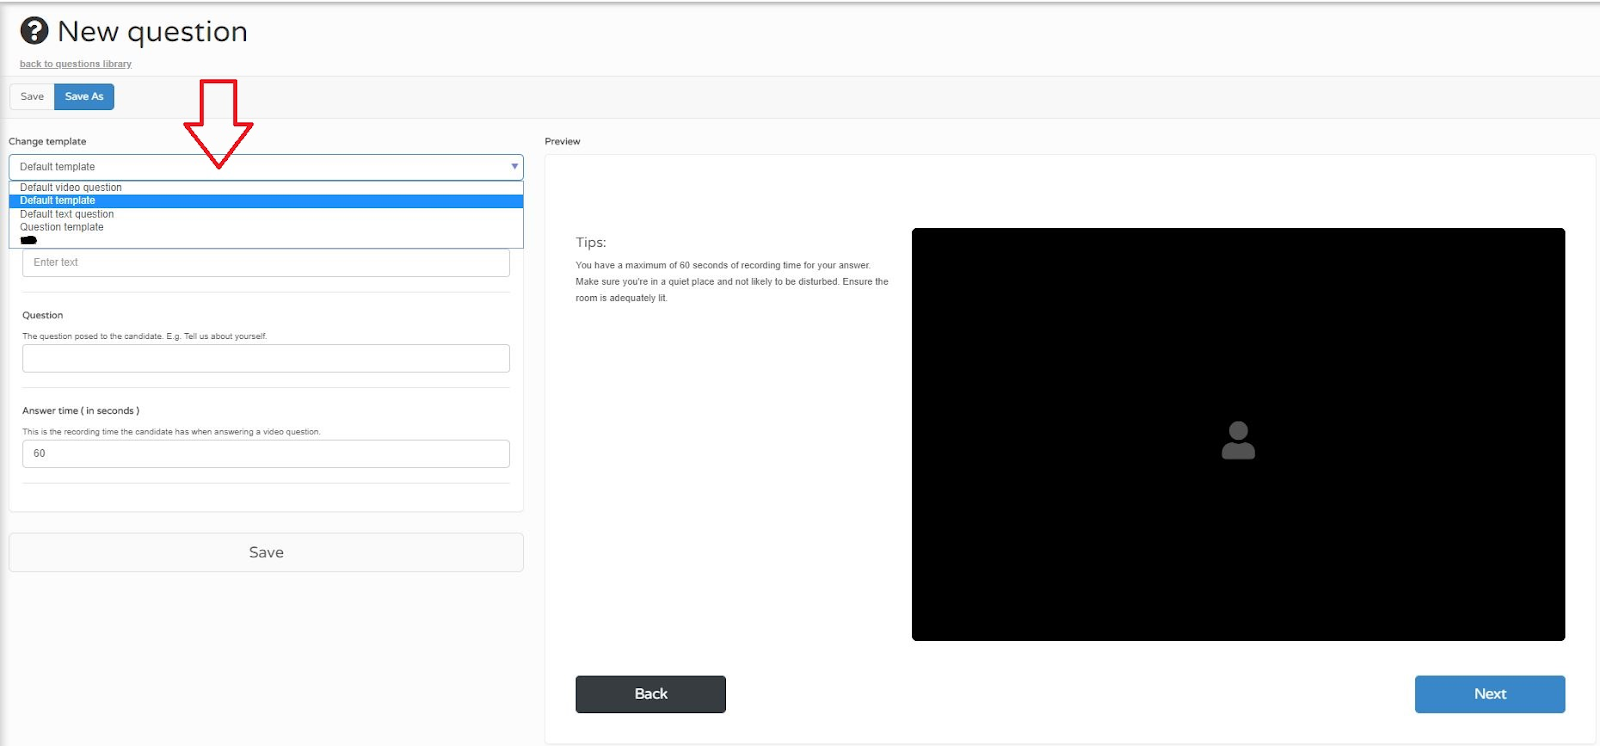
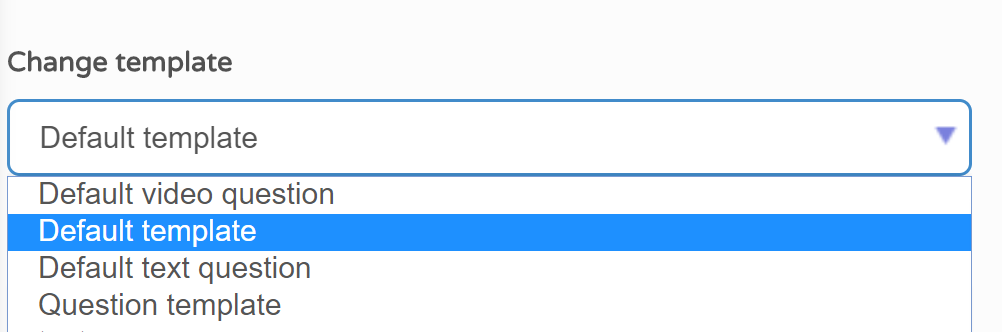
On the left-hand side of the screen there is a drop-down menu underneath, Change template.
The VI platform incorporates some templates that have already been created for you by default so that you can use them to add your content to.
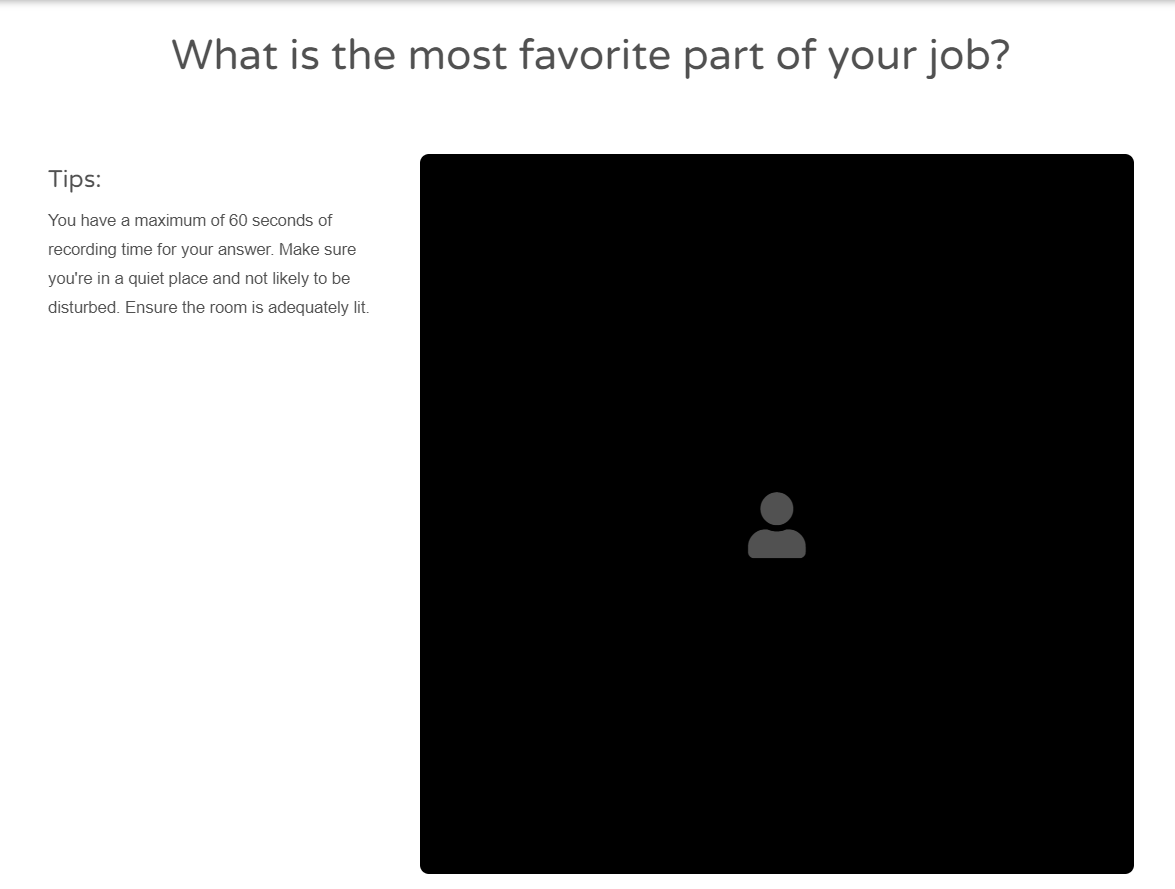
If you select the Default video question the image on the right-hand side of the screen will change to show you what that template will look like;
The smaller image represents the interviewers video (a question).
The larger image will be where the candidate has responded via video recording.
The tips provide some guidance for the candidate.

If you select the Text template, the image on the right will again change to show you what that template will look like;
The larger image will be where the candidate has responded via video recording.
The tips provide some guidance for the candidate.
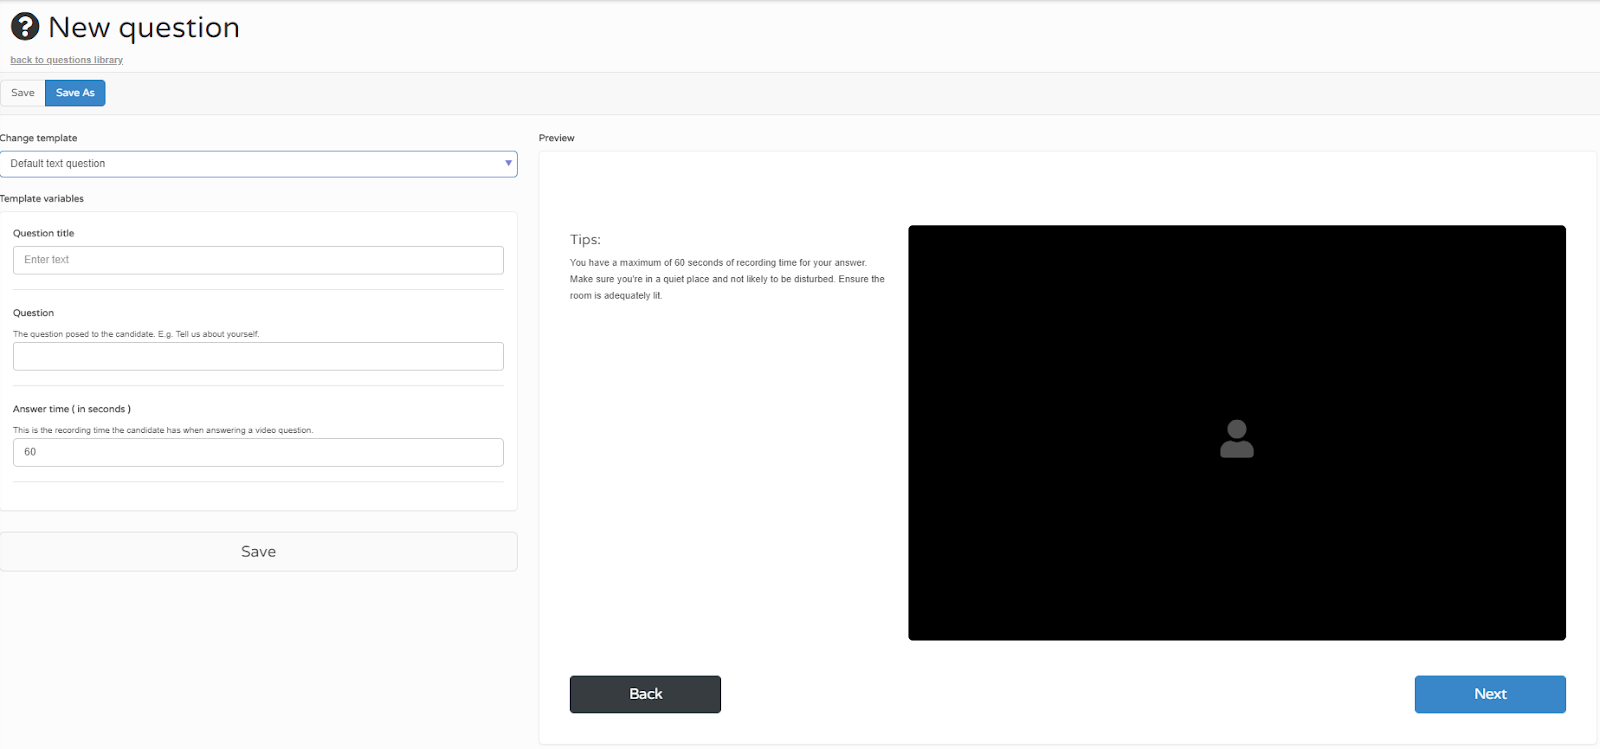
4 - Creating a text question
Select the default text question from the drop-down menu.
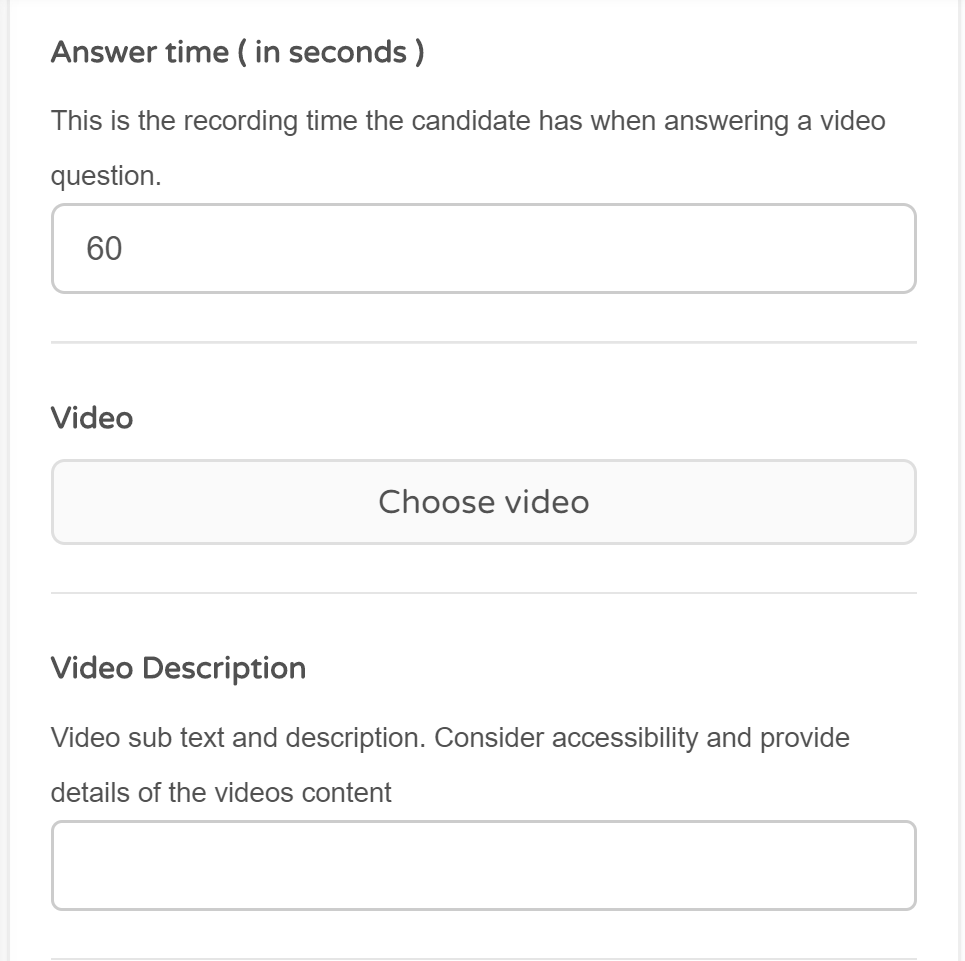
Enter a Question title - this is for internal purposes only, it won’t be presented to the candidate but it will be visible when you go to the question library. Enter your Question in the blank question field. Enter the maximum number of seconds that you want to allow the candidate to respond and select Save.

A pop-up will appear, select Save As.

At this point you review your saved question from the Question library.
Select the question title and you will be presented with the template question that you have created - in the image below you can see the question now appears at the top.
5 - Creating a video question
Simply follow the same process as above, but change the template selection - follow the steps on the left- hand side of the screen as before however you will have the option to choose your video interview.
The video will need to be ready to select from the media library.
6 - Creating pages
Select Pages from the components menu and select the green button + Create page.
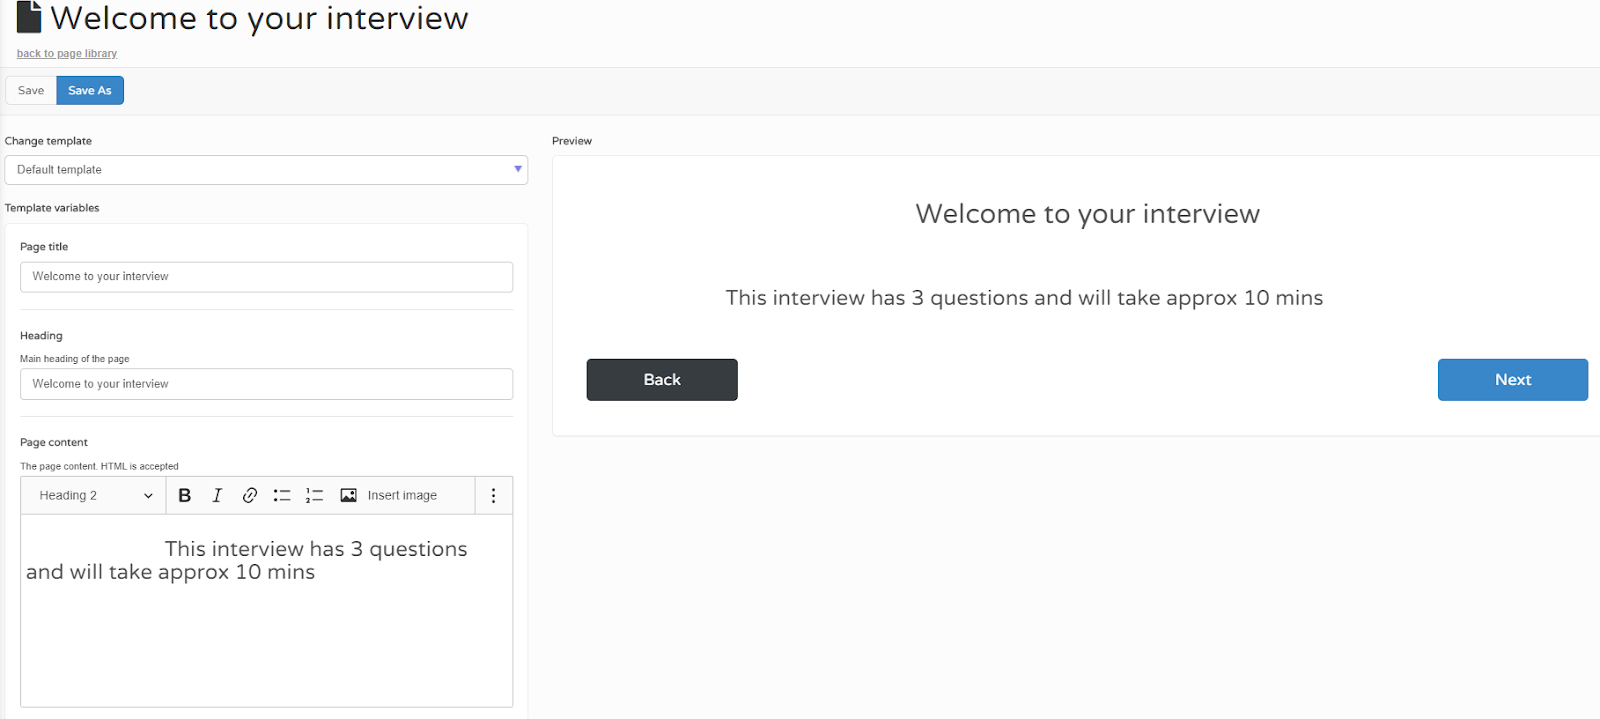
You will be presented with a screen like the image below - this is your template and you can choose from the default template options on the left-hand side of the screen and then complete the required information below your template selection.
Remember pages need to be engaging, you can provide a pre-recorded video introduction or a welcome page.
An example of a page containing some text.
When you have completed the details, select Save.
Your newly created page/s will appear in the Page library.
7 - Creating an interview
Select Interviews from the components menu and you will be presented with the Interview Library.
8 - + Create interview
Select the + Create interview button and you will be presented with a new screen.
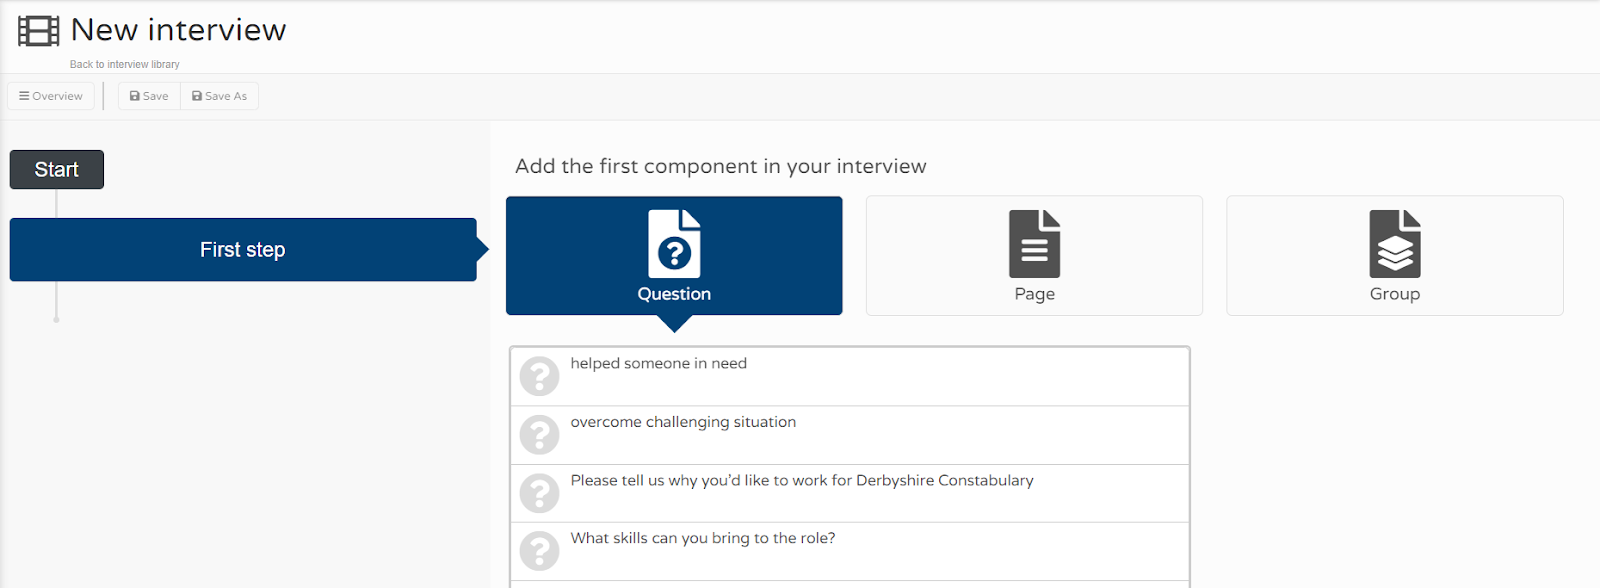
9 - First step
Select the questions that you want to include in your interview from the list provided.
For each question that you select you will be prompted to add scoring criteria, you don't have to but you can if you want scoring to be applied to the reviewing process.
After adding scoring criteria or if you want to skip the scoring criteria, select Insert.

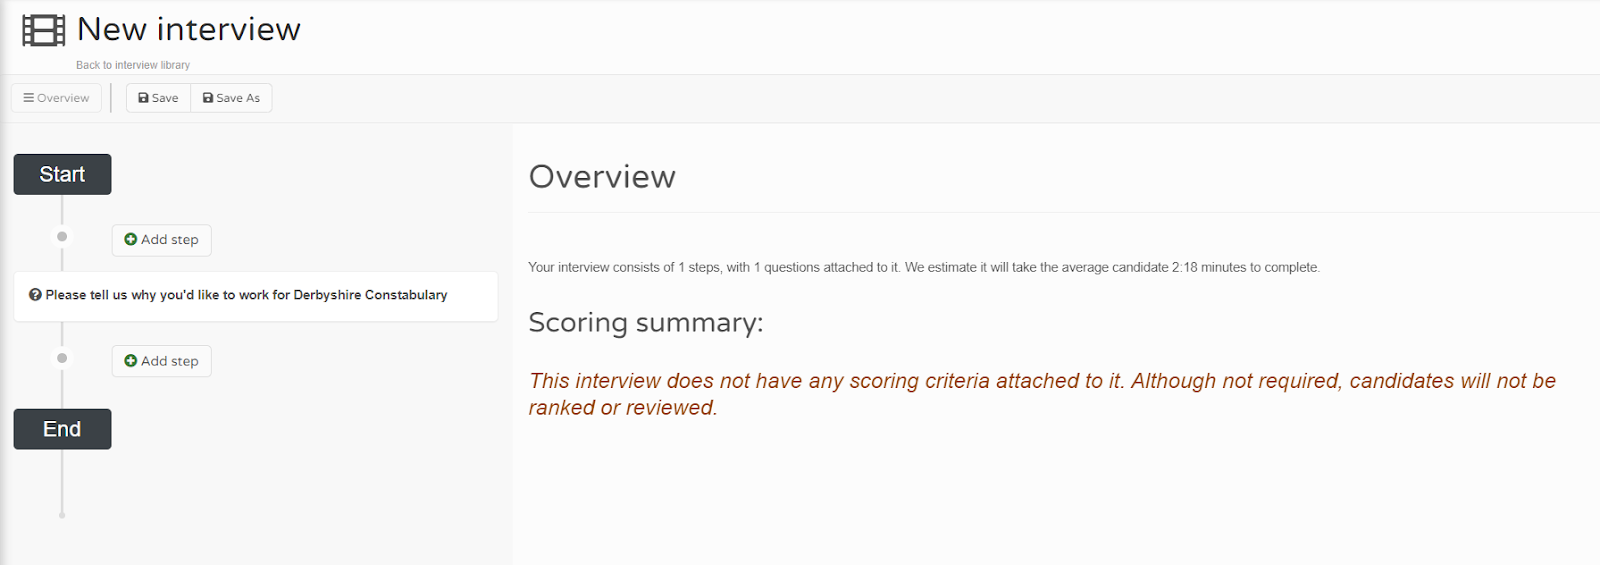
Once you have selected Insert you will see a timeline flowing downwards on the left-hand side of your screen.
The timeline represents each stage (question/page) of your interview from start to finish.
If you added scoring criteria, it would appear on the right hand-side of the screen.
See image below.
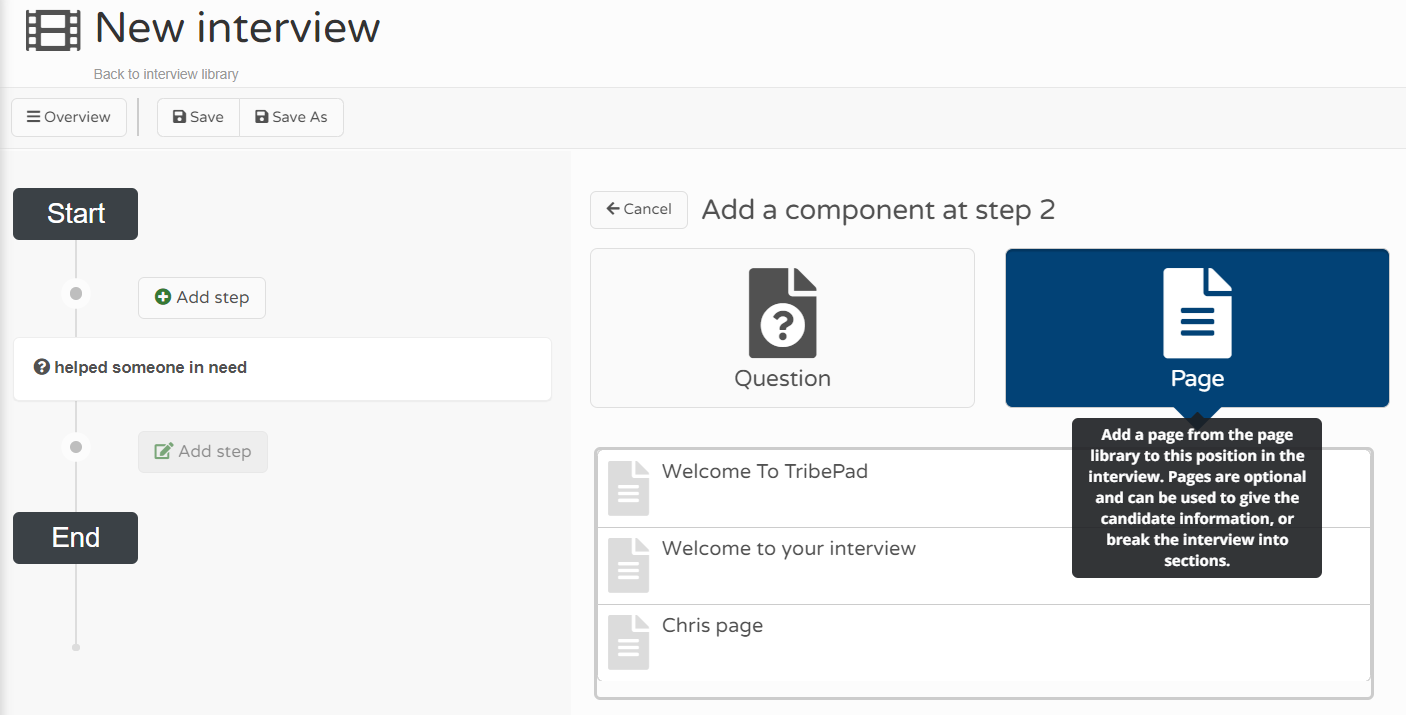
After you have added your first question, select + Add step from the timeline, this will allow you to add another question or perhaps you want to add a page that you have created.
10 - Add a page to your timeline
Select the Page button and any pages that have been created will appear for you to select and insert.
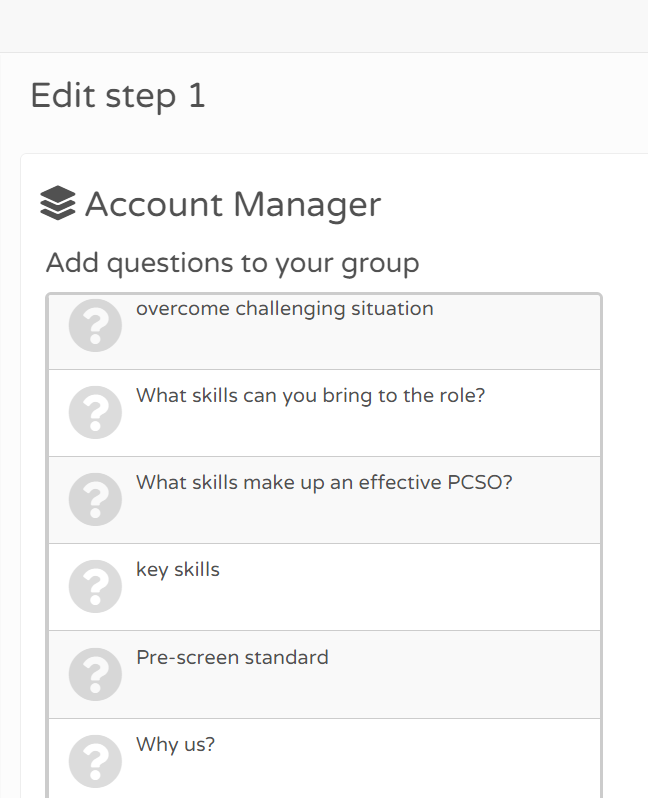
11 - Groups
Create a set of different questions for example 5 in total, but only 3 of the 5 are chosen at random for the candidate to answer.
You can add scoring criteria to each question, but keep the maximum score the same.
The score will be averaged once all reviews have been completed
Your interview may contain one of two questions and then the 3rd question is selected from the group you have created at random when the candidate completes the interview.
See image below.
Enter a name for the group of questions and select Update.
Select a set of questions from the list of questions that are presented to you.

Remember that the group of questions need to be similar to avoid any bias in the recruitment process (e.g. one candidate's question is more difficult than another candidate’s question).
Once you have made your selection, select Update, you will again be able to add scoring criteria to each of the questions in the group and the group will also appear in your timeline.
It's important that you add the steps in the correct sequence, if you want for example a Welcome Video to be presented as the first step of the interview, ensure that a Page is the first thing you add to your timeline.
Select Save once your interview is complete.
The interview will now appear in the Interview library.