Find out how to create your own group of columns to add into a Custom report
Column groups can be added to a custom report, by using the column group options:
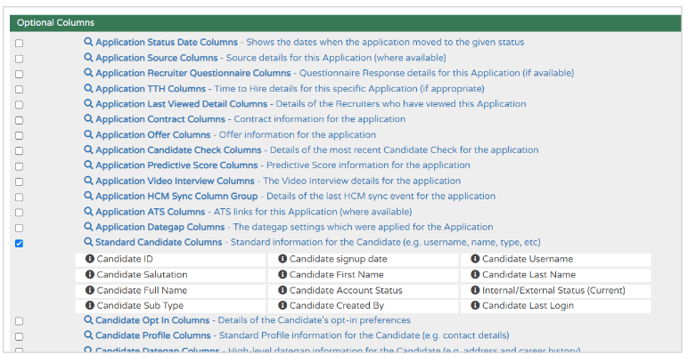
However, these options sometimes don't give you what you need.
Things you might want to include in a report which are not covered in these column groups, might be
- Questionnaire answers from candidates
- Bank details and/or NI number
- Reference details.
When you create a Custom Column Set (or 'Group', if you prefer), you can bring all of these details into a custom report, just as you can do with other columns already available in the platform.
Creating Custom Column Sets
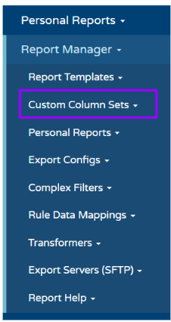
To create a Custom Column Set, log into Insights as usual, and go to the 'Report Manager' section on the left-hand side.
- Select 'Custom Column Sets':
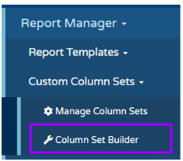
Then select 'Column Set Builder':
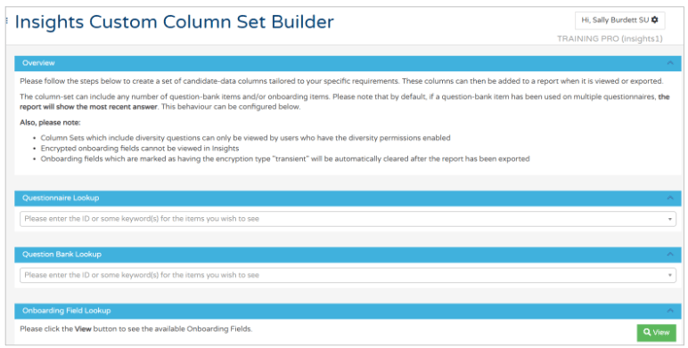
The screen will refresh and you will be presented with a screen that looks like this:
Let's take the example of wanting to bring in questionnaire answers into a report.
To do this, you will need to locate the questionnaire you want to report on.
Click on the 'Questionnaire lookup' section:
Enter the title of the questionnaire you are looking for.
- In this example, we will use the standard Diversity questionnaire that can be used on your platform:
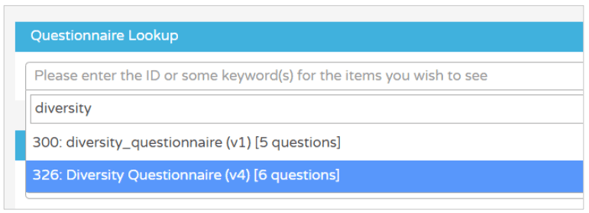
- If you type in a keyword, you may see multiple questionnaires are presented to you
- Select the most relevant one.
Once selected, you will see the questions presented underneath the questionnaire that has been selected:
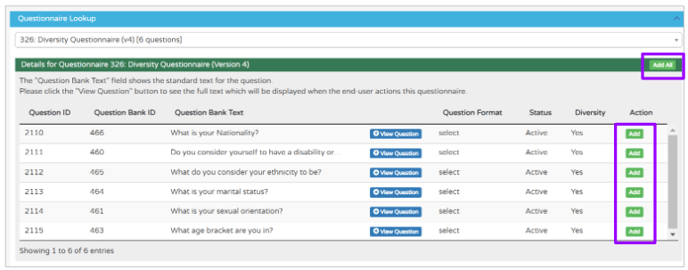
- You now have the option to add all the questions to a column set by selecting 'Add all' (top right-hand corner), or you can individually add the relevant questions by selecting 'Add' on the right-hand side.
Once selected, the questions will appear further down the page under the 'Custom Column Set Question Bank Items':
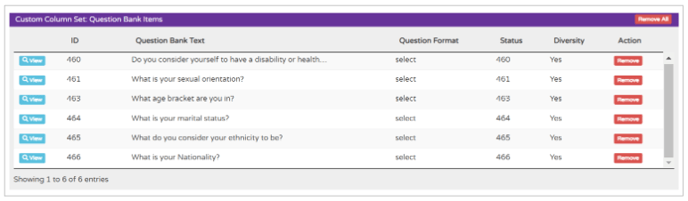
You can add questions for multiple questionnaires if you wish, by repeating the step above.
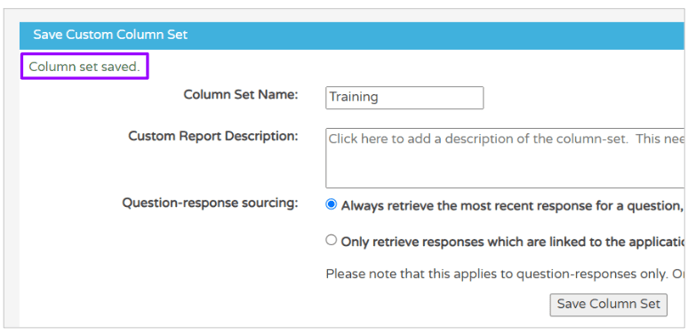
Once you are happy with your Column Set, you can save it at the bottom of the page:
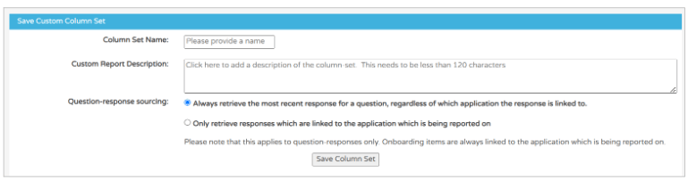
Please note this option at the bottom of the page:

- If you would like to take the most recent response to the questions asked, from the candidate's application, you should select the top option
- If you wish to only take the responses relating to a specific application, you can select the bottom option.
If you choose the second option, you can choose which application is used, by using relevant filters in your report.
Once you have saved your column set, you will see a notification on the left-hand side of the screen:
Adding your Custom Column Set to a Custom Report
Now that you have created a Custom Column Set, you can add this into an existing Custom Report, or add it in at the time of creating a new report.
For more information on creating a Custom Report, click here.
Please note - Custom column sets can only be added onto report templates that have an 'Applications' focus.
You will add this column set in at the point of 'Column Configuration:
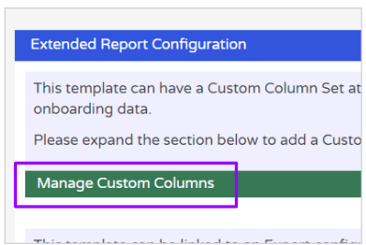
- Select the 'Extended Column Configuration' option

- Select 'Manage Custom Columns'
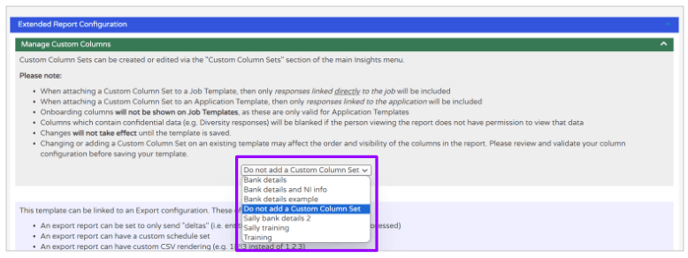
- Choose which Column Set you wish to be included in the report:
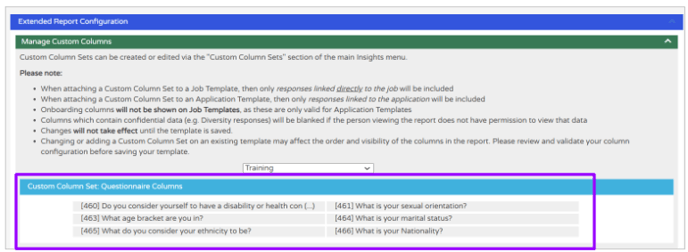
The screen will refresh and you will see all the columns detailed that you are adding into the report:
You will then need to launch the Column Configurator to add the columns in:
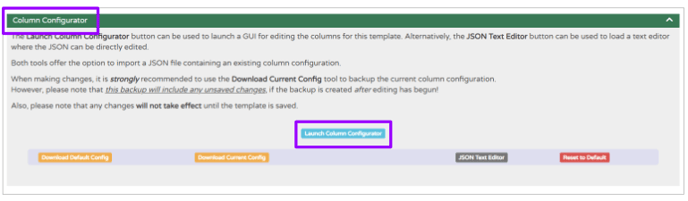
Again, for more details on how to do this, click here.
Adding sensitive data to a Custom Report
As well as adding in questions to a Custom Report, you can also add in Bank Details, National Insirance numbers and Reference details to a report.
This information is sensitive and is encrypted in your platform once a candidate has completed their Onboarding information.
This information will not be able to be viewed within Insights, but you can set up a report to extract this information from the platform and export it to a 3rd party system, for example an HR or Payroll system.
To add this information to a report, you should add it to a Custom Column set again.
This time, instead of 'Questionnaire Lookup', select the 'Onboarding Field Lookup' section:
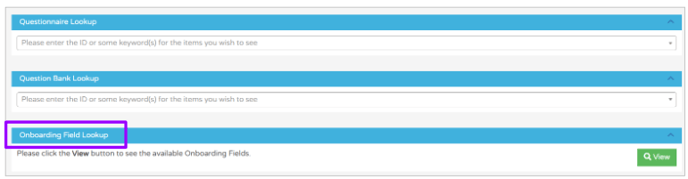
Select the 'View' button on the right-hand side, and you will see a list of encrypted fields that can be added to a column set:
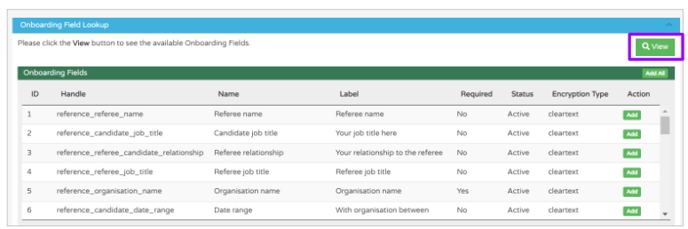
Just as before, you can add in whichever fields are required, by using 'Add all' or 'Add' on an individual basis.
Please note - if you are adding in Bank Details or NI number, there are several options that can be selected:
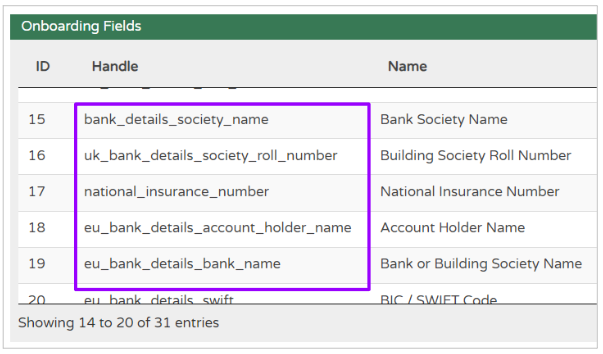
There are UK, EU, IN and IE options - make sure you select the relevant ones for your organisation!
Once you select specific options, they will show further down the page under the 'Custom Column Set Onboarding Items' section:

Once you are happy with your selection, you can save the column set at the bottom of the page and repeat the above process to add the columns into your report.
Please note - in order to extract the sensitive data above from the platform, you will also require an Export Configuration to be set up and added to your report.
For more details on setting up an Export Configuration, click here.