Find out how to add Hierarchy data and individual nodes using the Manage tool
What is 'Hierarchy'?
The Hierarchy feature allows you to set up a formal structure in the ATS, which reflects your organisational structure.
Adding users to a hierarchy allows you to control what they see in the ATS, and what they are able to do. Users can be added to a specific 'node' which means they will only be able to see and interact with information relating to that level in your organisation.
Accessing the Hierarchy Manager
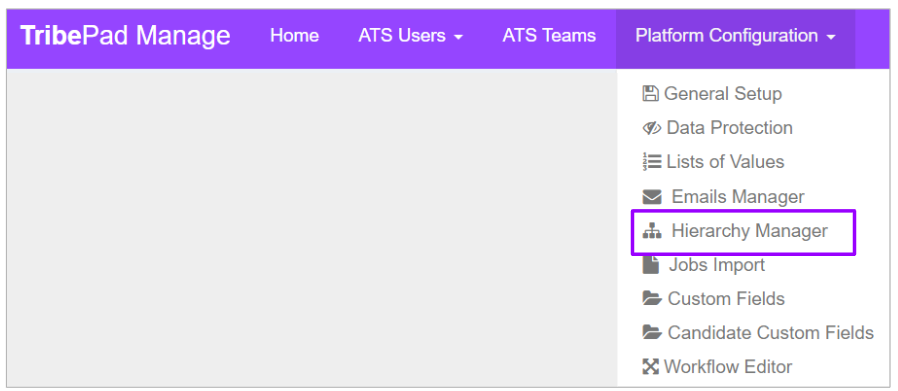
Once you have logged into Manage, go to the 'Platform Configuration' menu and select the 'Hierarchy Manager' option from the drop-down menu:
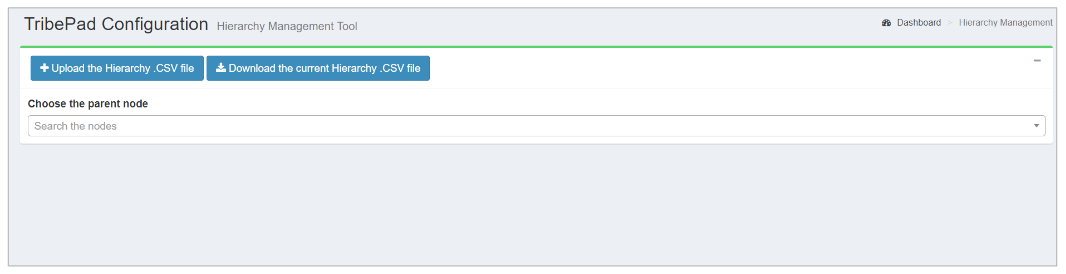
You will be presented with a page that looks like this:
Adding a hierarchy
The easiest way to add in a hierarchy to your ATS, is to upload a CSV file with all nodes included. To do this, simply click on the 'Upload the Hierarchy' button at the top of the page:
![]()
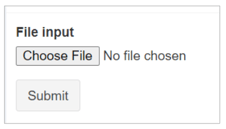
Simply choose the relevant file and select 'Submit':
Amending the hierarchy
You may find that you need to make amendments to your hierarchy structure at some point.
To do this, simply download the existing hierarchy structure that is contained within the ATS, by selecting the 'Download the Hierarchy' button at the top of the page:
![]()
You can then make the relevant amendments to the CSV file as required. Once you are ready, simply re-upload the file using the 'Upload' button, as detailed above.
Amending nodes
If you do not need to make extensive changes to your hierarchy, you can add or amend specific nodes instead.
A 'node' is a branch of the hierarchy and allows users who are linked to that level, to only view and interact with job roles and candidates relating to that level in your organisation.
Nodes branch out from each other. You will have a node at the top of your organisational structure, and different nodes will stem from there.
In our example, the top node is 'Product all jobs':
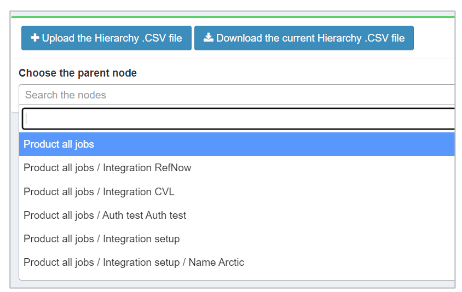
You can see that all other nodes stem from there as they include 'Product all jobs' as part of their label.
The 'lower-most' node would be the one at the bottom of the list:

This is because it has two nodes that branch off from the original 'Product all jobs'.
Within this particular node, if a user was assigned to the 'Name Arctic' node, they would only be able to see jobs linked with that level of the structure.
If, however, a user was assigned to the 'Product all jobs' node, they would be able to see anything branching off that node.
Within hierarchy, the general rule is that you cannot see anything above your assigned node, but if you are assigned to the top node, you can see everything below that.
To amend a node, select the relevant 'Parent node' from the drop-down list.
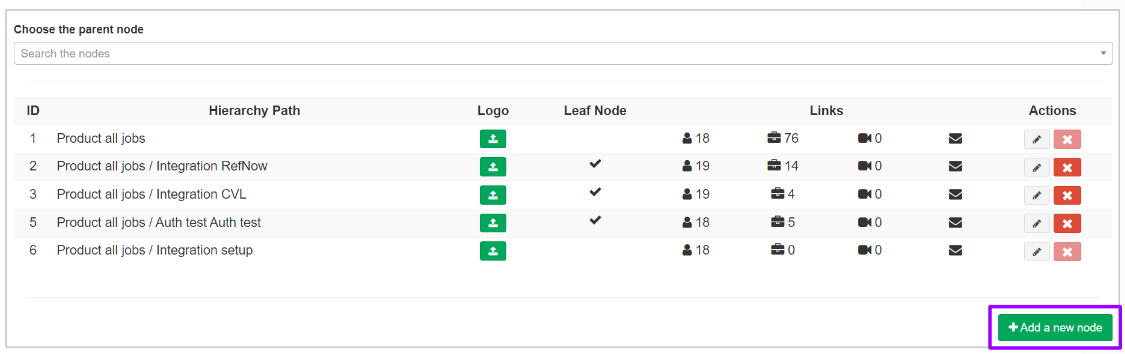
You will be presented with a screen similar to this:
As the top node ('Product all jobs') has been selected from the drop-down list, all nodes that stem from it are presented on this screen. If you selected a node further down the hierarchy, only nodes below that would be shown here.
The icons and columns on the right-hand side of the screen indicate the following:
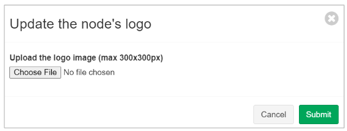
- Logo - this allows you to upload a logo for that specific node. Clicking on the green arrow icon
 presents a pop-up screen where you can upload an image of your choice:
- Leaf node - this indicates that the node 'branches' from or to another, i.e. there is a higher or lower level in the hierarchy than this one.
You can see from the example above that the top node ('Product all jobs') and the bottom node ('Product jobs / Integration setup') are not identified as Leaf nodes.
- 'Product all jobs' is the highest node in the structure
- 'Product all jobs / Integration setup' is the lowest node in the structure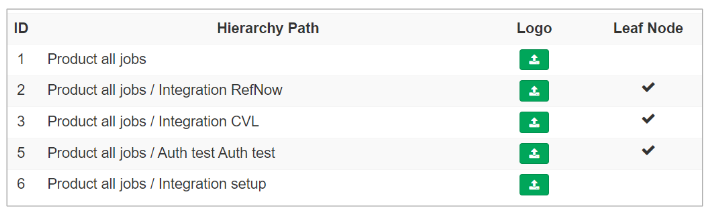
- Links - several icons are displayed here:
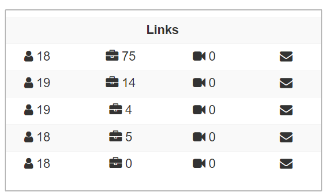
 - the number of users with access to that node
 - the number of jobs linked to that node
 - the number of VI (Video Interview) accounts linked to that node
(This will only show values if you have VI enabled on your platform) - which email pack (specified in Manage) has been linked to this node
Users and Jobs linked to a hierarchy cannot be amended from this point:
- Users are added to the hierarchy at the point of adding them into the ATS
- Jobs are linked to a hierarchy at the point of job creation
To amend the node, select the 'edit' (pencil) icon on the right-hand side of the page, under the 'Actions' heading:
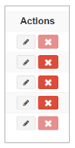
You will be presented with a pop-up screen like this:
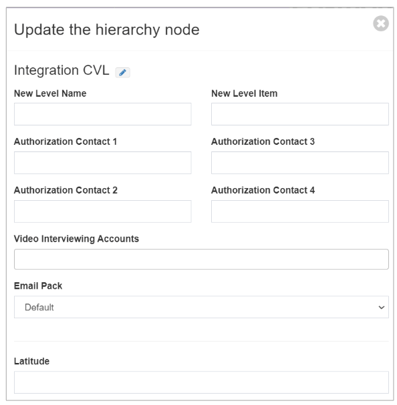
To amend the name of the node, select the 'edit' (pencil) icon at the top of the page next to the name of the node:
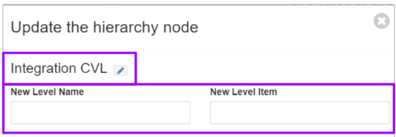
You can also enter the name and the level of the node if you choose.
For example, the name might be 'Store' and the level might be '1234', so the node would be called 'Store 1234'.
You might want to add in multiple nodes branching off this node, and so you could name them 'Store 5678', 'Store 0910', 'Store 1112' etc.
Further down the page, you will see a section to enter details for Authorisation Contacts:
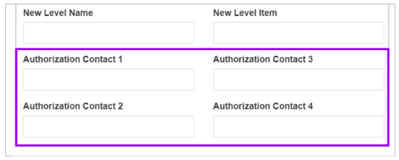
This relates to the details that are pre-populated on the Job Authorisation page (if using the function) when a job is created and before it is published:
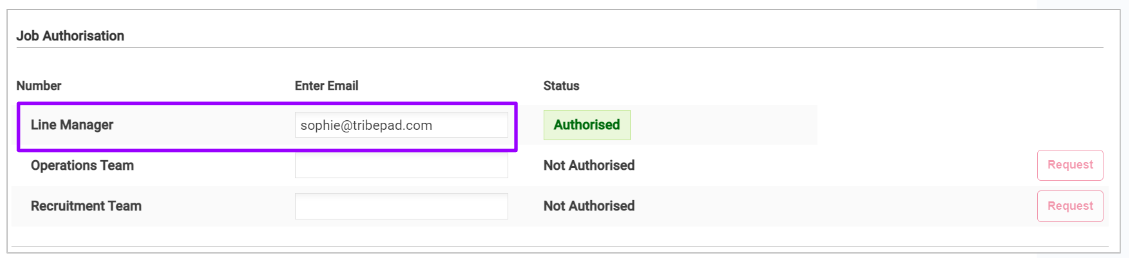
Any emails that are entered in the 'Authorisation Contact' boxes (above) will be pre-populated on the Job Authorisation page, when the specific hierarchy node is utilised.
These email addresses can be overwritten if required, on the Job Authorisation page within the ATS.
Further down the page you will see 'Video Interviewing Accounts':
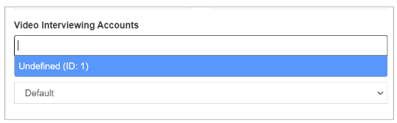
If you have VI enabled on your platform and would like specific accounts to be linked to a specific node of the hierarchy, you can add them in here.
And again down the page, you will see an 'Email Pack' option:
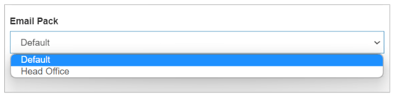
If you have multiple email packs set up for your ATS within Manage, you can specify which one will link to a hierarchy node if you wish.
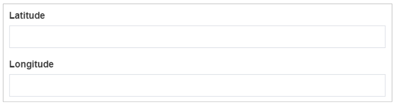
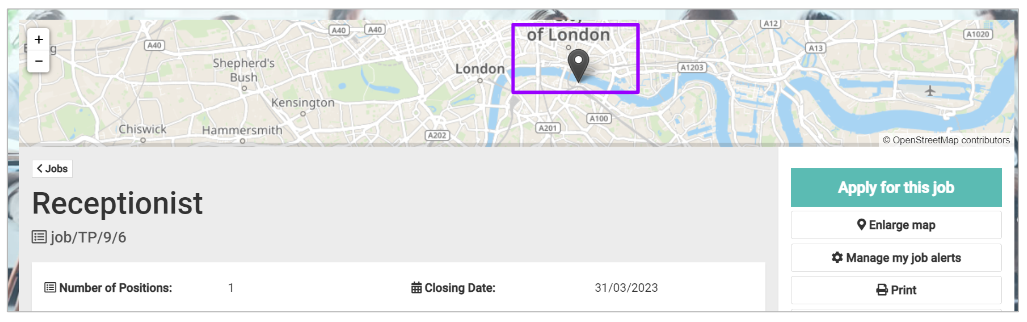
Scrolling further down, you can see 'Latitude' and 'Longitude' fields. These relate to the job location that is displayed when using the 'Map' feature on your job adverts.
If you enter Latitude and Longitude values here, any job linked to that hierarchy will display that specific location on the map:
This is also the same if entering the location details right at the bottom of the page:
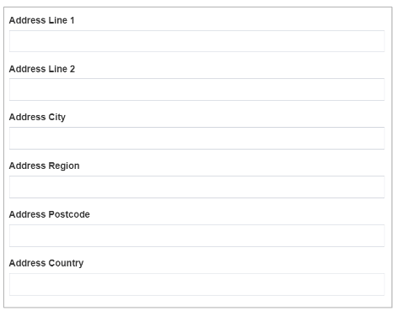
The address details will auto-populate the address details on a job if used here, within the node.
Including the hierarchy information within a job for mapping purposes, is a permission that can be activated for you.
If this is something you require, please speak to your ATS lead within your organisation.
Once happy with the amendments you have made, select 'Submit' at the bottom of the page:
The screen will refresh and you will see a successful message at the top of the page:
Adding a node
When you are amending nodes, you may wish to add new nodes.
To do this, select the relevant 'Parent node' again from the drop-down list.
At the bottom of the screen will be an option to add a new node:
You will be presented with the same pop-up screen as just detailed, but you will also be able to add in the new name and logo for the node if you choose:

Once new nodes have been added in, they are able to be selected when creating jobs, creating templates and assigning users in the ATS.