Learn how workflows are assigned to a job and sent.
Overview
Once you have created your onboarding template, you can align it to a job so its ready to send to a candidate and any assigned users.
How to assign an onboarding template to a job.
To assign an onboarding template to a job, you will need to be on the first page of the job creation process, whether you are creating a new job or editing an existing job.
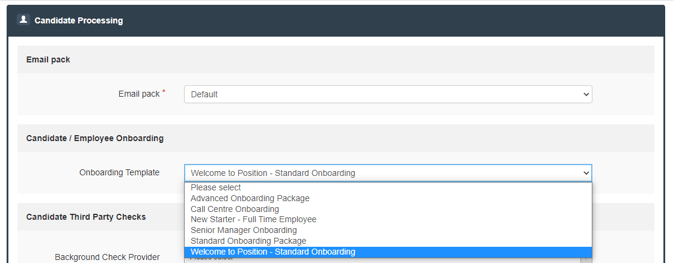
- Scroll down the page to Candidate Processing.
- Select the drop-down menu next to the Onboarding Template.
- Select the relevant template.
Continue with the job creation process to save the selection you have made.
How to send an onboarding workflow
Once you are ready to instigate the onboarding process, navigate to the relevant job view.
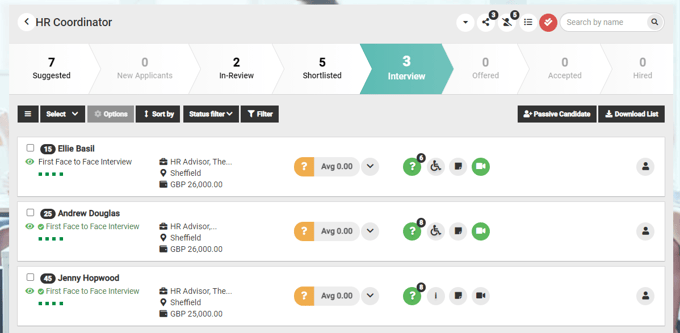
*In this example, the onboarding steps begin at the Offer stage - you will select the relevant stage to your own onboarding template.
- Select the candidate so a tick appears in the check-box next to the candidate name.
The Options menu will become available.
- Select the menu and scroll down to Offer.
A pop-up will appear similar to the image shown below.
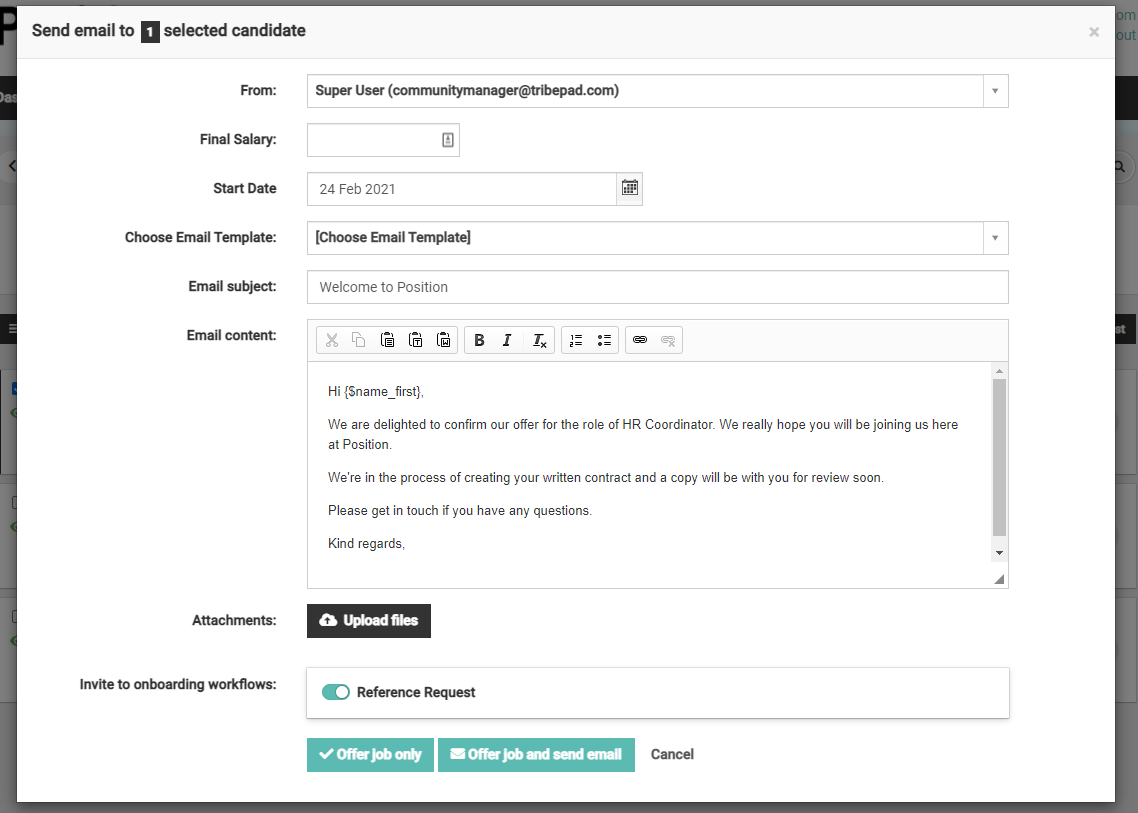
At the bottom of the image you will see:
-
- Invite to onboarding workflows
Alongside the workflow, the workflow item is shown and in this example, its a Reference Request. The toggle is already selected, this shows that the workflow item was set up to be preselected.
- Invite to onboarding workflows
At this point once your email content is ready, you can select:
- Offer job and send email.
The recipient will receive the email, in this example, it's the candidate.