A guide to how to use Custom Filters when exporting a report
'Custom Filters' are found at the top of every report page within Insights, alongside the other 'quick date range' filters:

They allow you to manipulate the data that is contained within a report, and allow you to see the data your way.
Custom Filters are different for every report, and change according to the information that is presented within each report.
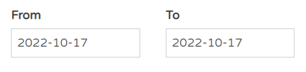
Typically though, they allow you to set a specific date range:
You may also see filters that apply to specific jobs, regions, countries and owners or recruiters:
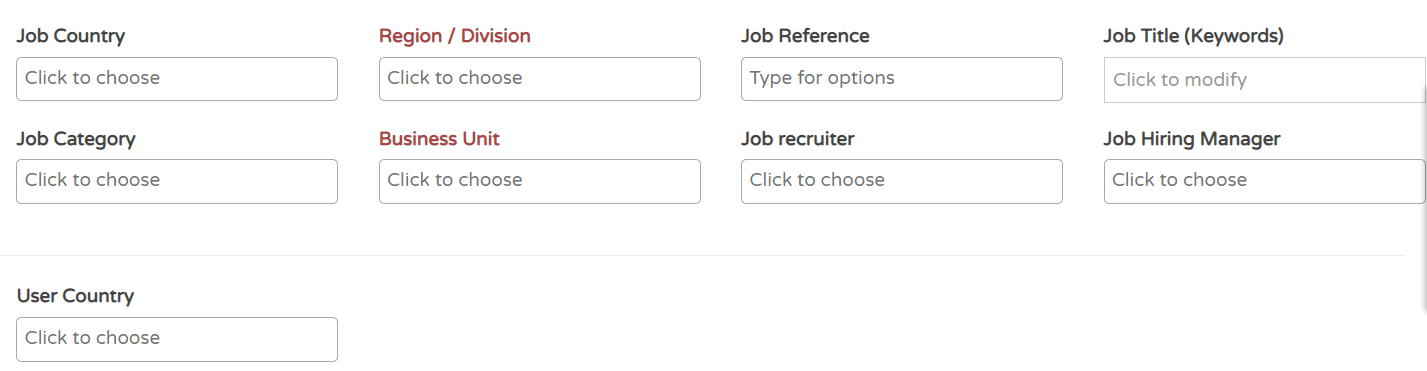
- You can add in as many filters as you choose and often you will see a drop-down box to choose from:
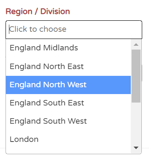
Within these drop-down options, you can still choose multiple options, for example with the box above, you can choose multiple regions to be shown within the report.
Even though each report's custom filters are different, some typical ones include:
- Custom Field Searches
- These are defined from any custom fields you have in your ATS like the ones in the below example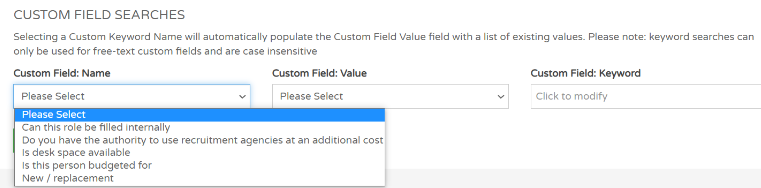
- Time period calculations
- You are able to state whether to include total days or just 'working days', i.e. Monday - Friday
- Stop the Clock calculations
- If you use the 'Stop the Clock' function within your ATS, (i.e. freezing recruitment activity on a job for a period of time to avoid a negative impact on your TTH and TTF statistics), you can choose whether to incorporate it into your report filtering:
- Job date ranges
- You can see more in depth information on when jobs were opened and/or closed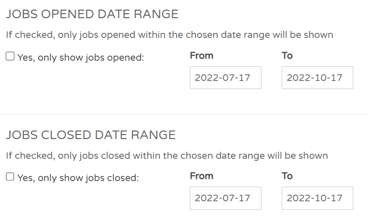
- Candidate Username
- If you want to include details on your candidate usernames or email addresses, you can apply this filter
You will always see a 'Submit' button  and a 'Reset' button
  at the bottom of the list filters
- The 'Submit' button saves any filters you have applied to the report
- The 'Reset' button resets to a default date range of 'Today'.