Find out how to create and customise Interview and Application workflows in the Manage tool
Interview and Application workflows can both be customised to your requirements through the 'Workflow Editor' dropdown menu in Manage.
To carry out this type of administrative process you would usually be classed as a Super User and have access to Manage.
If you don't have access to Manage or you do have access but you cannot set up or customise these workflows, please speak to your main ATS lead within your organisation or your Tribepad Account Manager.
Check out this video on editing your workflows, or read on for a step-by-step guide:
How do I access 'Workflow Editor'?
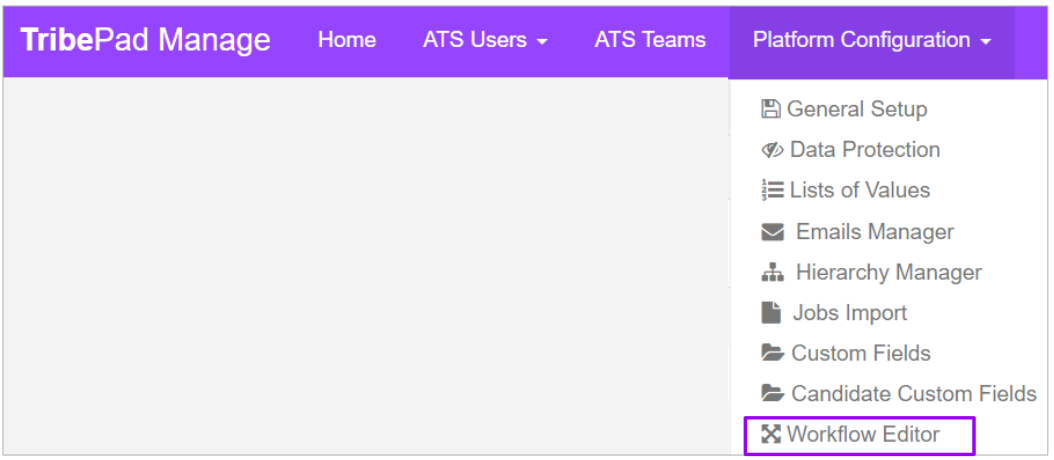
Once you are logged in to Manage, the 'Workflow Editor' page is accessed through the 'Platform Configuration' dropdown menu:
You will be presented with this page:
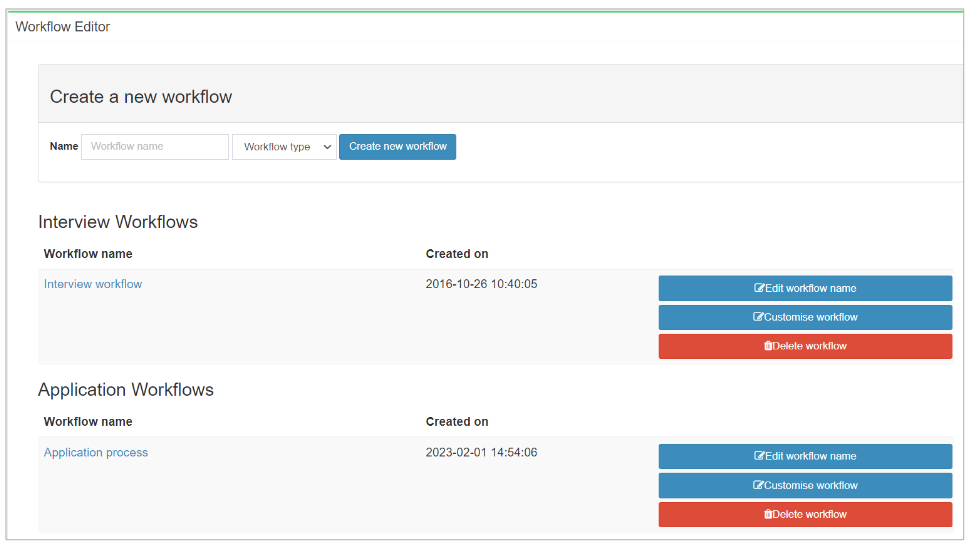
- You will have a default workflow for both the Interview process and Application process.
Customising an Interview workflow
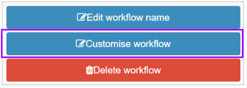
To customise an existing workflow, simply click on 'Customise workflow' on the right-hand side of the page:
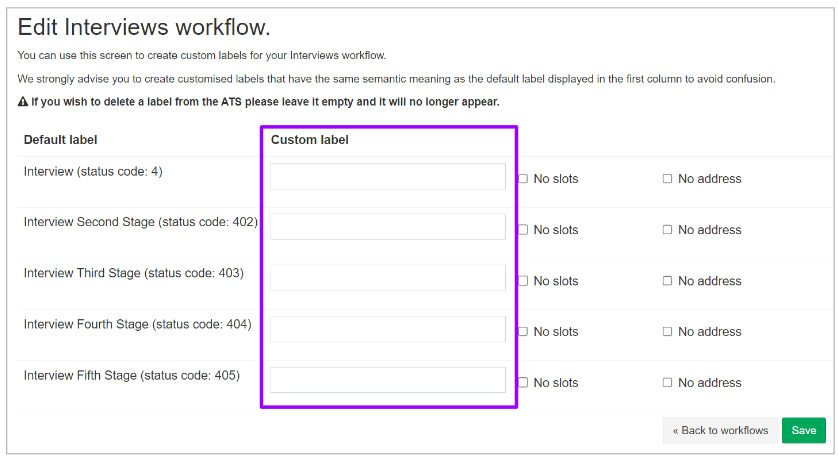
When clicking on an Interview workflow, you will be presented with this pop-up screen:
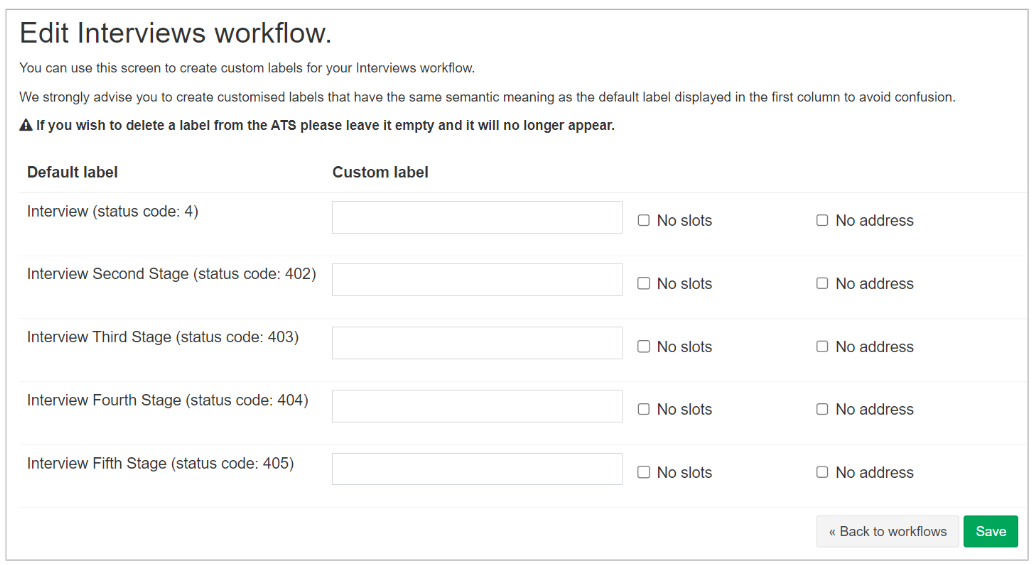
As you can see, each interview workflow has 5 stages. Their 'Default labels' are:
- Interview
- Interview Second Stage
- Interview Third Stage
- Interview Fourth Stage
-
Interview Fifth Stage
We understand that this is probably not what you would like to call each stage of your interview process, so you have the ability to name them according to your requirements.
You can enter under the 'Custom Label' section of the screen, what you would like each stage of the Interview process to be called:
You might want to name them
- Telephone / Teams interview
- Face-to-face interview
- Second Face-to-face interview
- Assessment centre
- Work trial
Obviously these are just examples of what you might choose - whatever you enter into these fields is up to you and your organisation.
You also have the option to include 'Slots' and 'Address' in the interview stage:
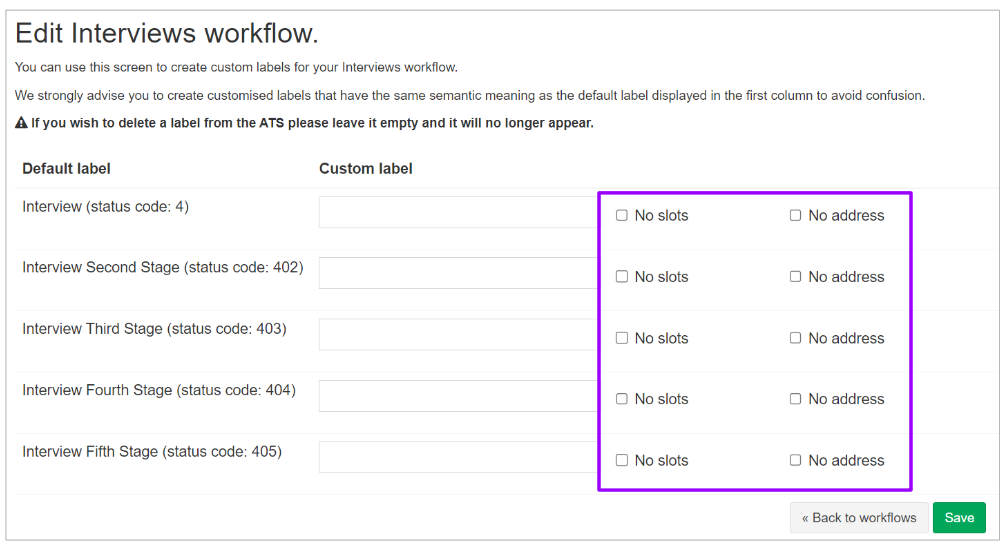
Slots
This relates to the slots that can be set up for interviews
Address
This relates to the type of interview requiring an address to be assigned to it
You can select these tickboxes or leave them open, according to the needs of that specific interview. For example,
- Your First stage interview might be a Telephone interview
- No slots are required as the interview will be confirmed with the candidate as and when required
- No address is required because the interview is telephone-based:

Alternatively, your Second stage interview might be a face-to-face interview.
- Slots are required because more than one candidate is to be scheduled for interview
- The address is required because the interview is taking place at an office face-to-face:

Once you are happy with your Interview workflow, select 'Save' in the bottom right-hand corner:
When it has saved, you will see this banner at the top of the page:

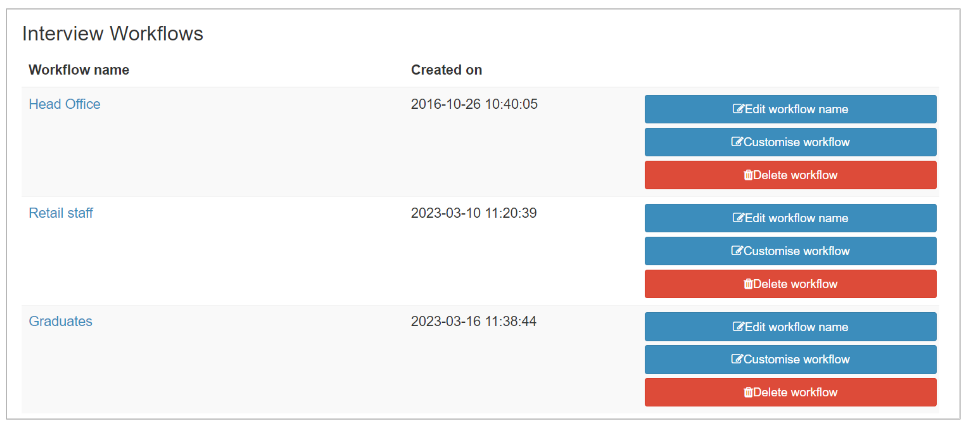
You can have as many different Interview workflows as you require.
For example you may have a workflow set up for Graduates, another for Retail staff and another for Head Office roles.
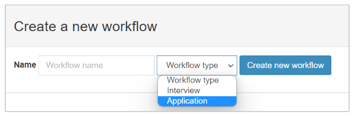
To add a new workflow, simply use the tool at the top of the page:
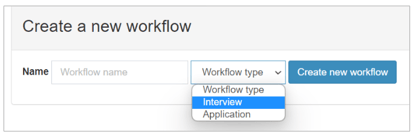
- Give your workflow a name
- Select 'Interview' workflow type from the dropdown
- Select 'Create new workflow'
Then you can customise the workflow as required, as we have just detailed above.
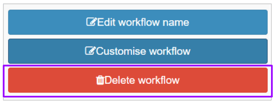
You can also choose to Delete a workflow.
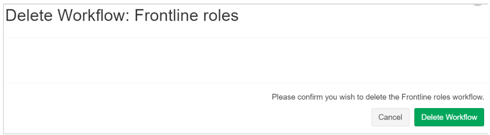
Simply select the 'Delete workflow' option:
You will see a prompt on screen to verify you wish to delete the workflow:
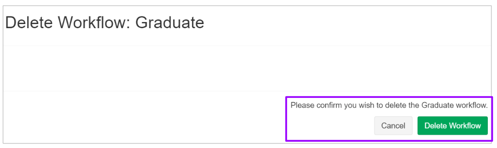
If a workflow is already in use and assigned to a job, you will see a notification allowing you to remap the job to an alternative workflow.
Adding Interview workflows to a job
Once you have created your Interview workflows, they can be added to the relevant job in your ATS.
- Go to 'Add a job' or edit an existing job
- Scroll down the page to 'Candidate processing'

- Scroll down to 'Interview Stage'
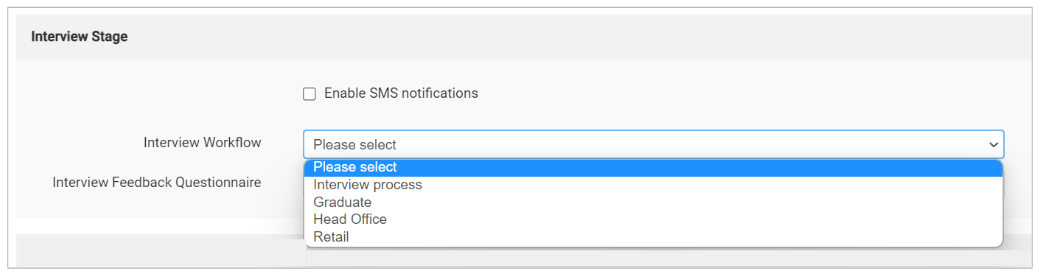
- Next to 'Interview Workflow', select the drop-down menu and you will be able to see the available interview workflows
-
Select the relevant workflow.
Once the workflow has been assigned to a specific job, when an interview is booked for a candidate, the names of the stages will have been changed.
Here is what it may look like:

- Select the relevant stage according to your needs.
Customising an Application workflow
Similar to the Interview workflows, an Application workflow can also be customised to your requirements.
While the Interview workflow refers to the stages of the interview process, the Application workflow refers to the stages of the application process that a candidate will go through.
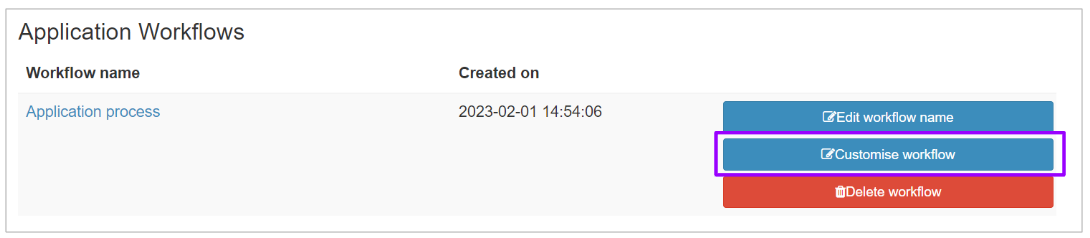
From the 'Workflow Editor' page, simply click on 'Customise workflow' on the right-hand side:
You will be presented with the following screen:
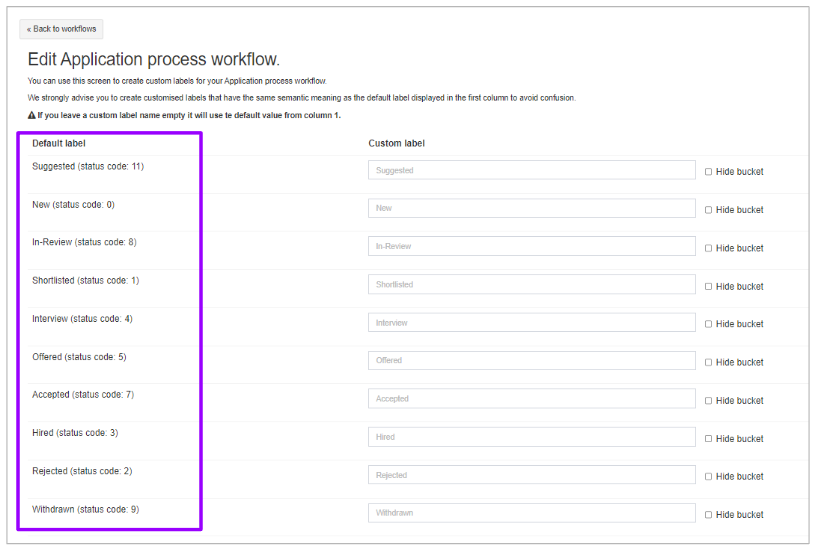
As you can see, there are 10 stages in the Application process that a candidate may go through:
- Suggested
- New
- In-Review
- Shortlisted
- Interview
- Offered
- Accepted
- Hired
- Rejected
- Withdrawn
While these stages are very typical of a standard recruitment process, you may feel they are not entirely suited to your organisation.
Like with the Interview stages, you are able to amend these according to your needs, under the 'Custom Label' heading:
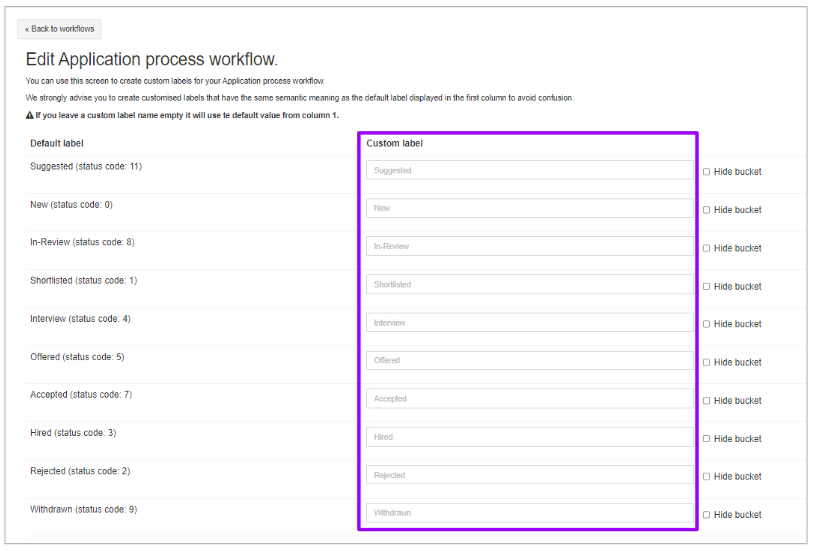
You might choose to rename 'New' as 'New Applicants' or 'In-Review' as 'Under Review' for example.
You can name these stages whatever you choose, or if you do not require the stage to be present in the process, you have hide it entirely by selecting the 'Hide bucket' tickbox on the right-hand side:
![]()
Please note - whatever you rename these stages should be indicative of what the original name was.
This is because within our Reporting tool, Insights, the data that is pulled will relate to these stages. The custom labels will be included in a report, but if they refer to something completely different, the data presented will be skewed.
Any stages left unchanged will revert to the Default label on the left-hand side.
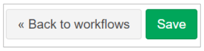
Once happy with your edits, select 'Save' in the bottom right-hand corner:
The screen will refresh and you will see the following banner at the top of the page:
Much the same as the Interview workflows, you can have as many different Application workflows as you require.
For example you may have a workflow set up for Support roles and Frontline roles:

To add a new workflow, simply use the tool at the top of the page:
- Give your workflow a name
- Select 'Application' workflow type from the drop-down
- Select 'Create new workflow'
Then you can customise the workflow as required, as we have just detailed above.
You can also choose to Delete a workflow.
Simply select the 'Delete workflow' option:
You will see a prompt on screen to verify you wish to delete the workflow:
If a workflow is already in use and assigned to a job, you will see a notification allowing you to remap the job to an alternative workflow.
Adding Application workflows to a job
Once you are happy with your Application workflows, you can add them to a job.
- Go to 'Add a job' or edit an existing job
- Scroll down the page to 'Job Application Workflow'
- Select the relevant workflow from the drop-down:

Once the Application workflow has been saved, it will show the updated stages of the process in the Job flow:
