Find out how to utilise the Checklist with your Onboarding packages
The Onboarding checklist gives you easy visibility of what workflow items have been completed and what is still outstanding, either by the candidate or internal users.
The checklist can be added to either brand new or existing workflow items within an Onboarding package.
Checklists are a feature that can be added to your Onboarding module at no extra charge.
If this is something you might be interested in, please speak to your main ATS lead within your organisation, or speak to your Account Manager.
Adding a checklist to a Package
Checklists must be added at a Workflow Item level in your Onboarding package.
They can be added to a brand new Workflow or an existing one
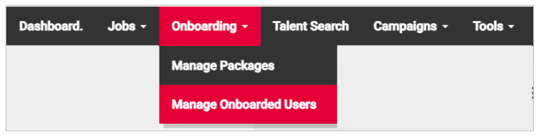
- Either way, go to your Onboarding menu, select 'Manage Packages' (or 'Manage Templates', depending on your configuration):
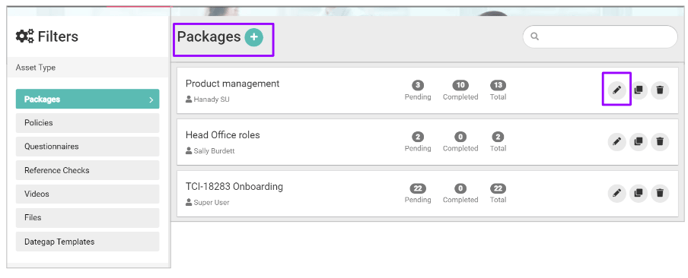
Select either the ‘+’ symbol to create a new package, or the 'Edit' icon on an existing package to add to an existing workflow:
If creating a new Onboarding package, create it in the usual way:
If adding in a new Workflow (i.e. deciding 'when' the action will take place), add in the usual way by selecting the '+' symbol:


- If editing an existing Workflow, select the ‘Edit’ icon on the workflow

Complete the Workflow in the usual way: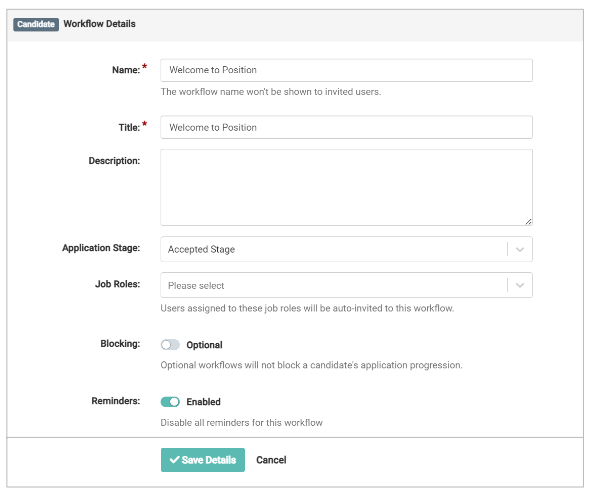
If adding a new Workflow Item (i.e. the 'thing' that is to be completed, e.g. a Reference Request, a Questionnaire etc.), add in the usual way:

- If editing an existing workflow item, select the ‘Edit’ icon:

You can now choose to add a workflow item to a checklist:
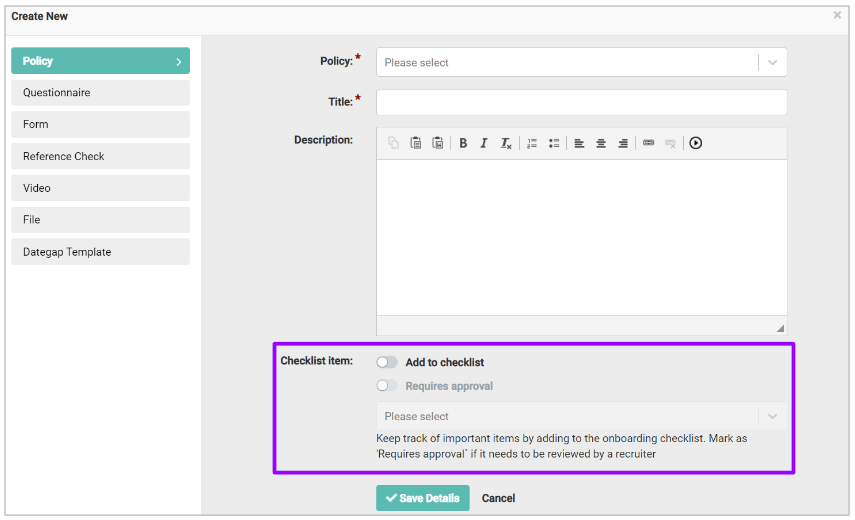
As well as adding the workflow item to a checklist, you can also choose if the item requires approval or not:

- If you choose the ‘Requires approval’ option, you can state which user type should give this approval.
Please note - Only 1 user type can give this approval. This should be the user type who will be most likely to coordinate the Onboarding of candidates in your organisation.
Once happy with the details included in the workflow item, select to save it.
Viewing a Checklist
When a checklist has been added to a workflow item, you can see it in the ‘Manage Onboarded Users’ page.
A new field on the page has been added to show if the candidate/internal user requires review:

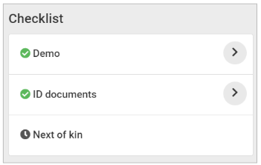
Clicking into a specific candidate/internal user will show you the workflow items that have been added to a checklist:

- Each workflow item that has been added to the checklist will be colour-coded according to if it has been completed yet
Green tick = completed
Amber question mark = completed but requires approval
Black clock = pending
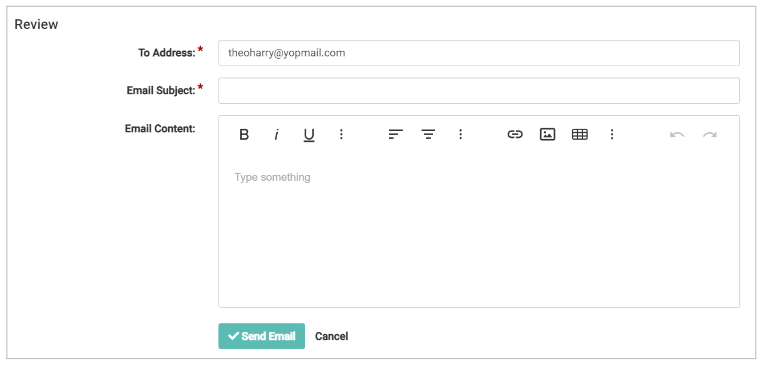
Further clicking on the arrows on the right-hand side of the screen show further details on what the candidate/internal user has provided or completed:


If the workflow item has been marked as requiring approval, and the ATS user is the appropriate user type (as assigned when the workflow item was added to the checklist), 'Mark as Approved' is shown on the right-hand side of the item:


- The candidate is then prompted to log back into their dashboard to complete the workflow item again.