


⬇️ Downloading and Preparing Your Bulk Import File
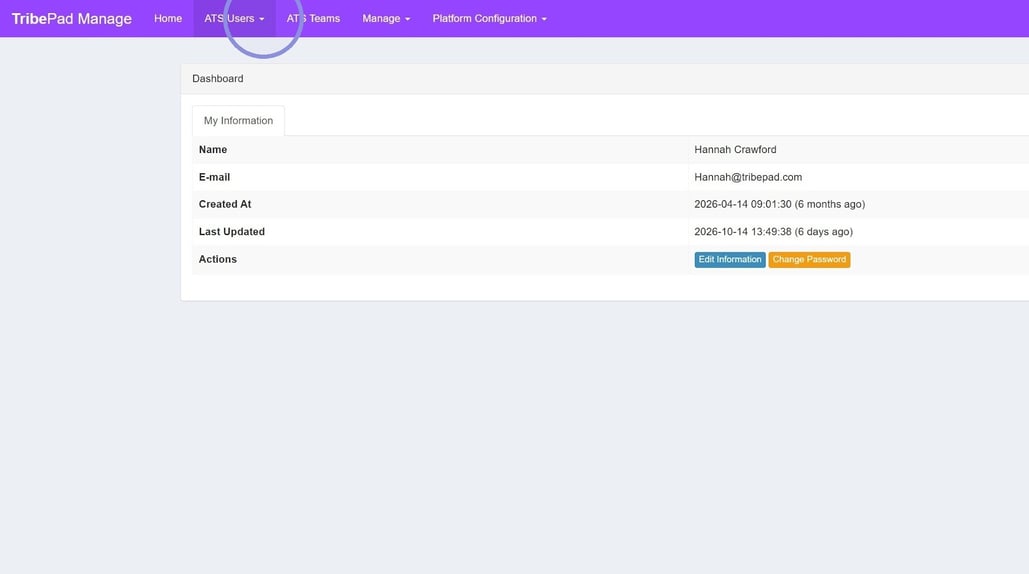
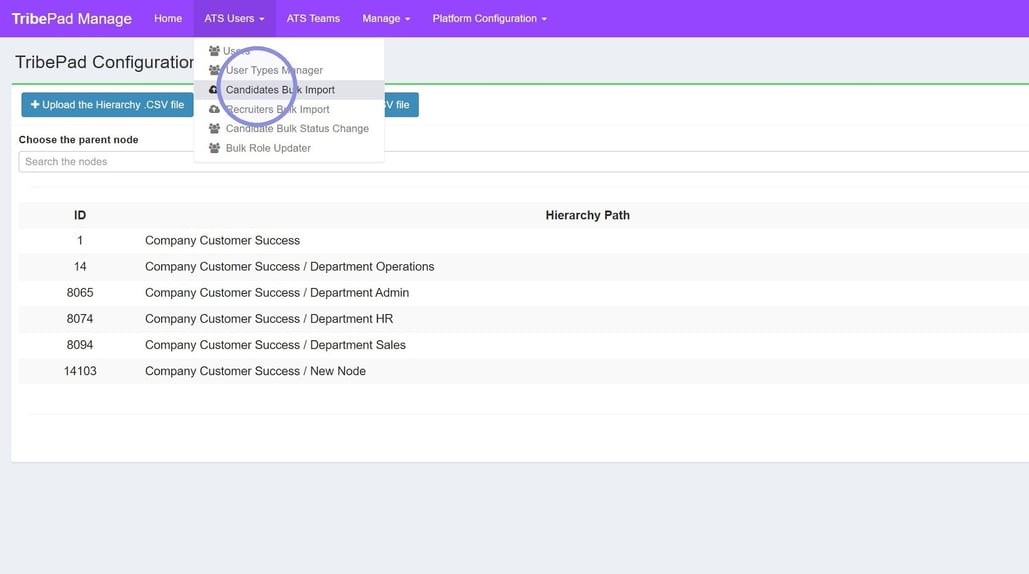
Log into Tribepad Manage and navigate to the ATS Users drop down
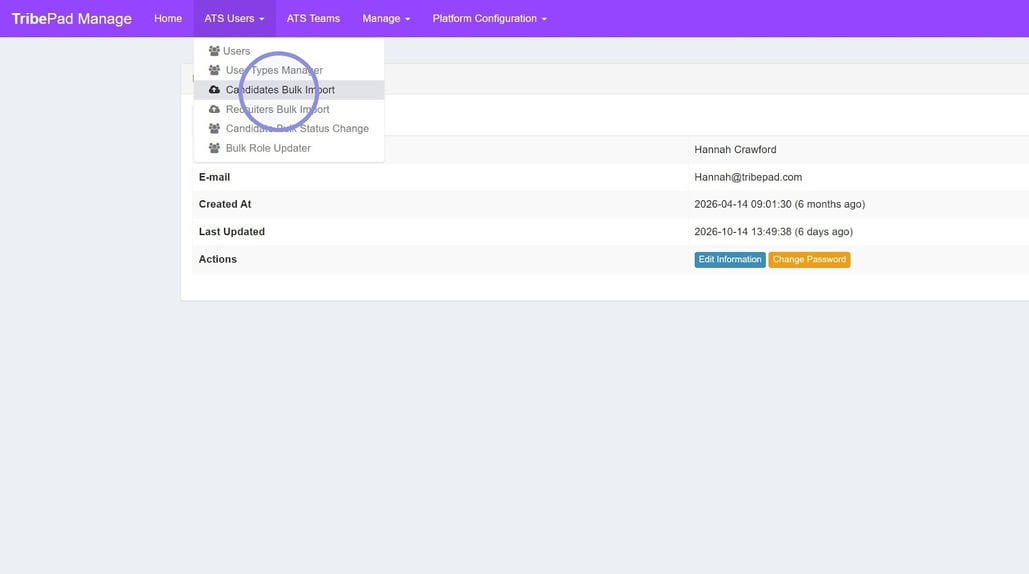
Select Candidates Bulk Import
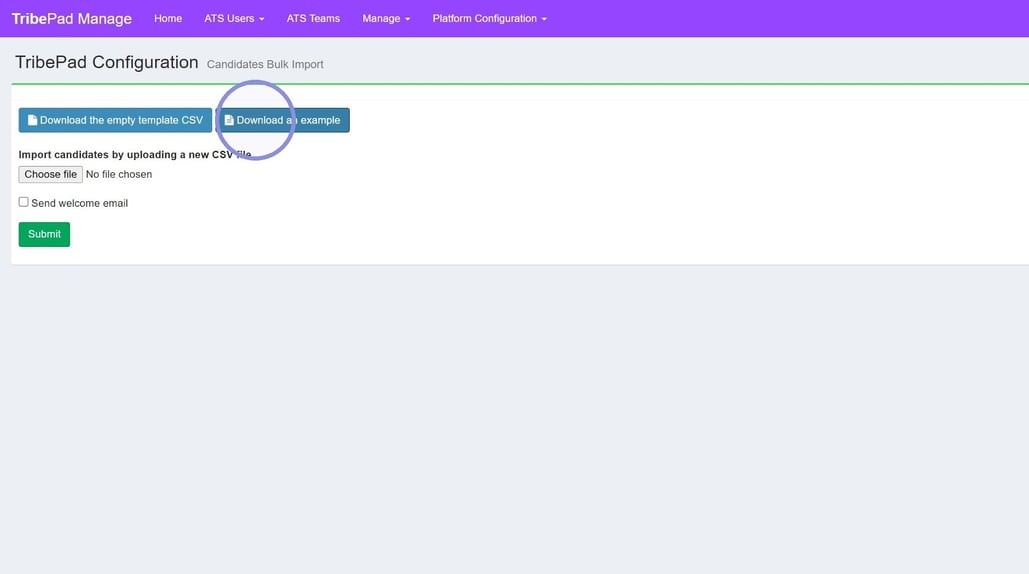
Download an example to use as a guide of headers and how to format the data
Load the document up within google sheets/excel
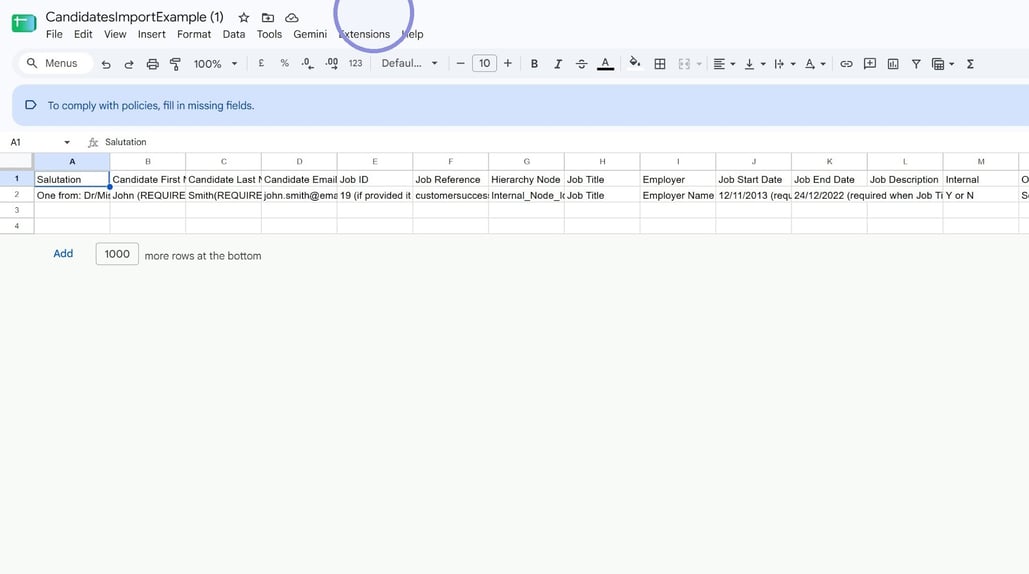
Start to fill out your candidates details using the example row as a guideline.

Some elements become mandatory if you fill out other elements within that section- for example. If you fill out Address line 1, you must fill out the rest of the address columns for that particular candidate
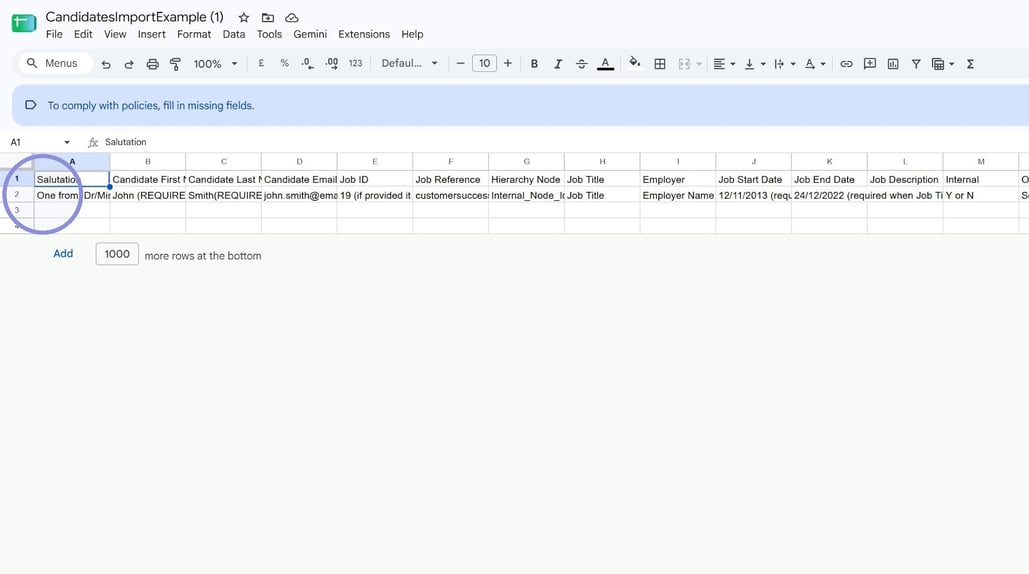
➡️ Linking Candidates to Jobs & Assigning Candidates to a Hierarchy Node
You can also directly link a candidate to a job by inputting the job reference into the provided column. But please note the job must be existing in the database
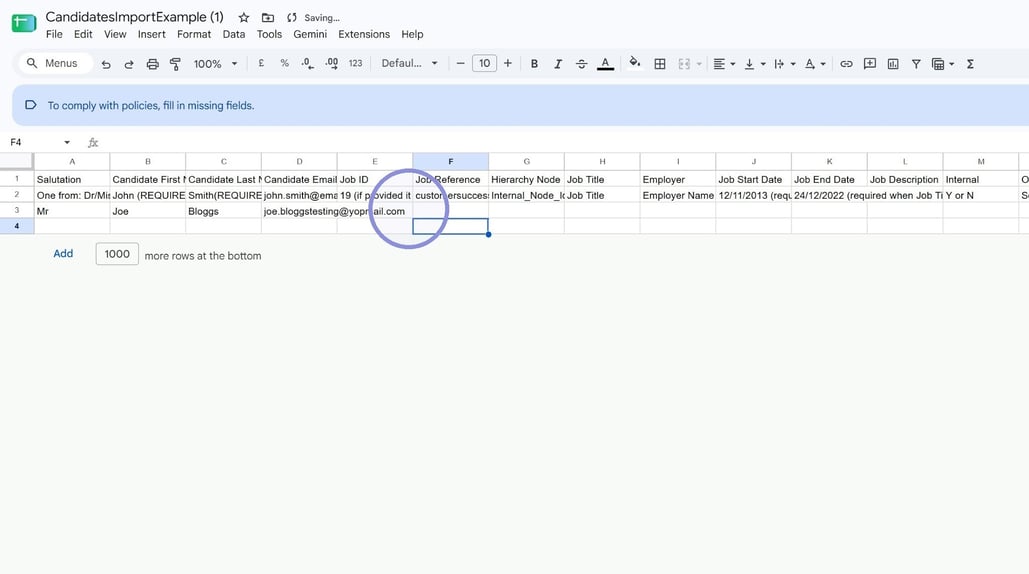
If you want to connect a candidate to a hierarchy node you can do so here but you'll need to use the internal ID.
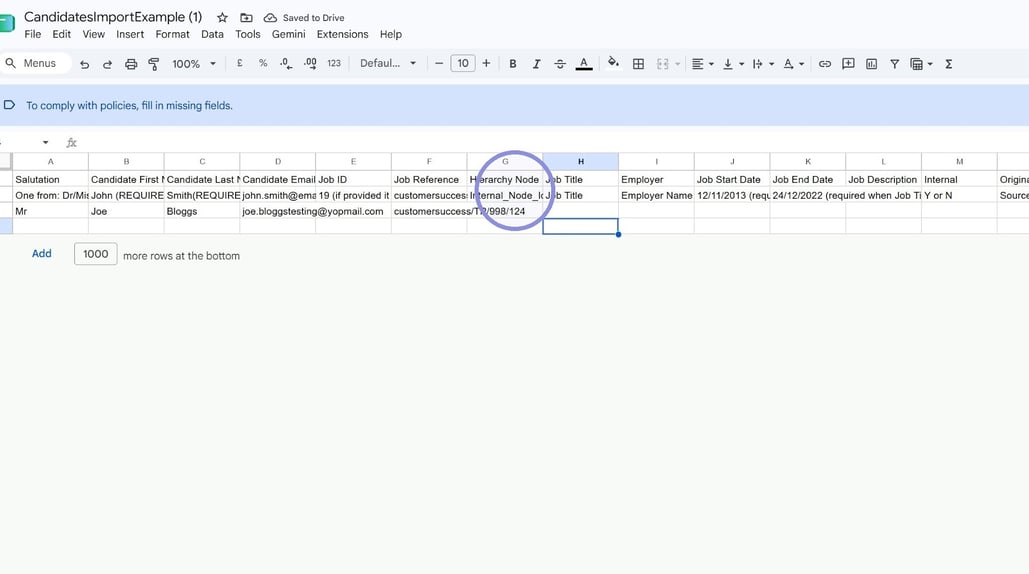
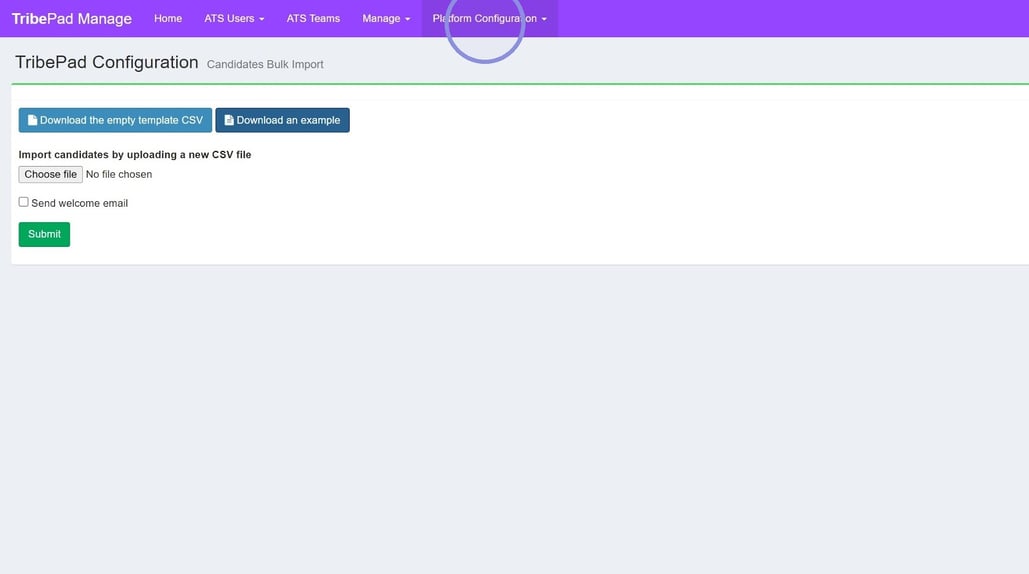
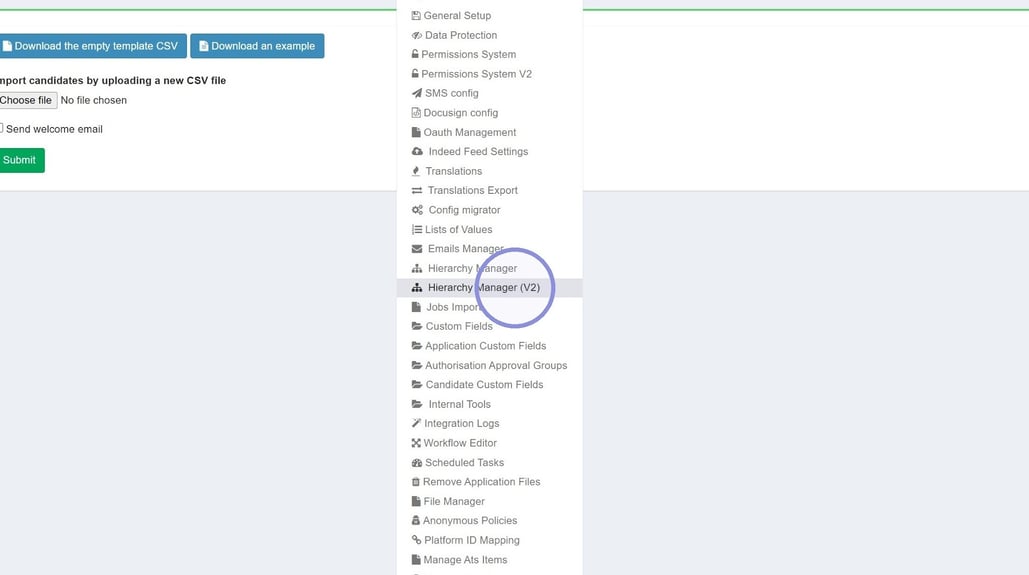
To find the internal ID for the hierarchy node, head back to manage and click the platform configuration drop down
Click "Hierarchy Manager (V2)"
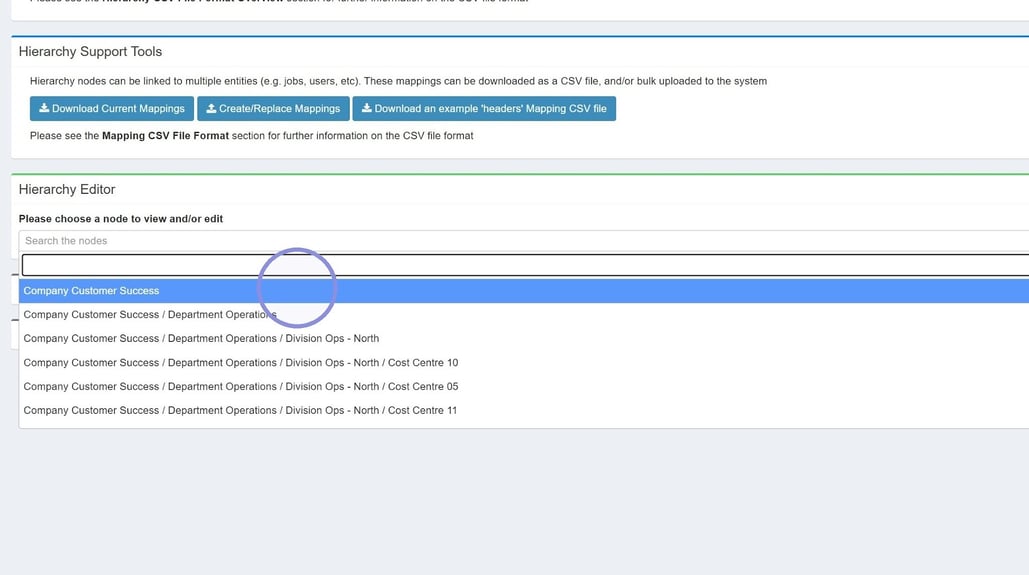
Scroll down to the hierarchy editor and click "Search the nodes". From there you can start to type the name of the desired node. Click the node to see what ID it is on the next page
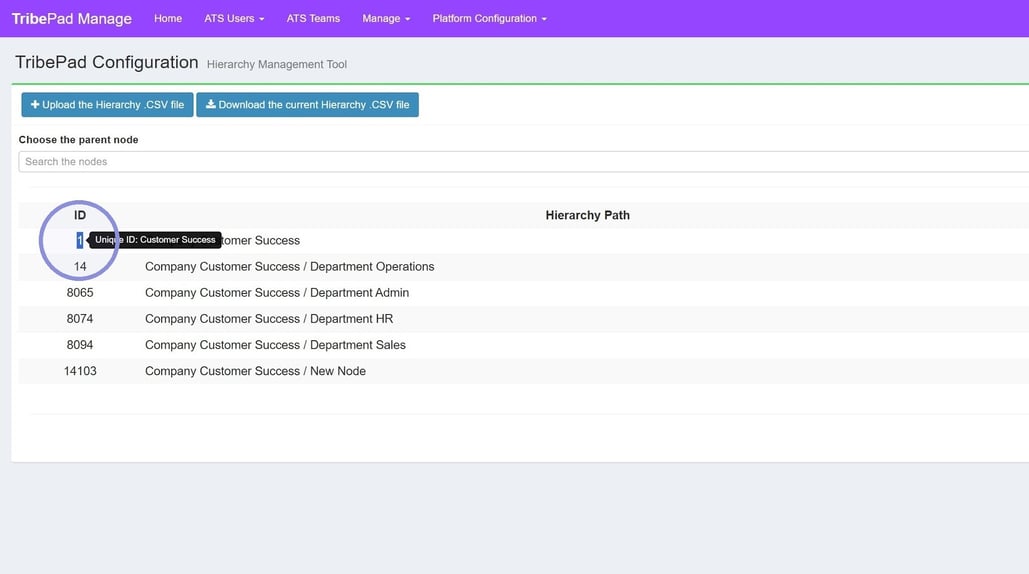
Hover over the ID number to see the Internal Node ID and enter it exactly as it's displayed into your sheet
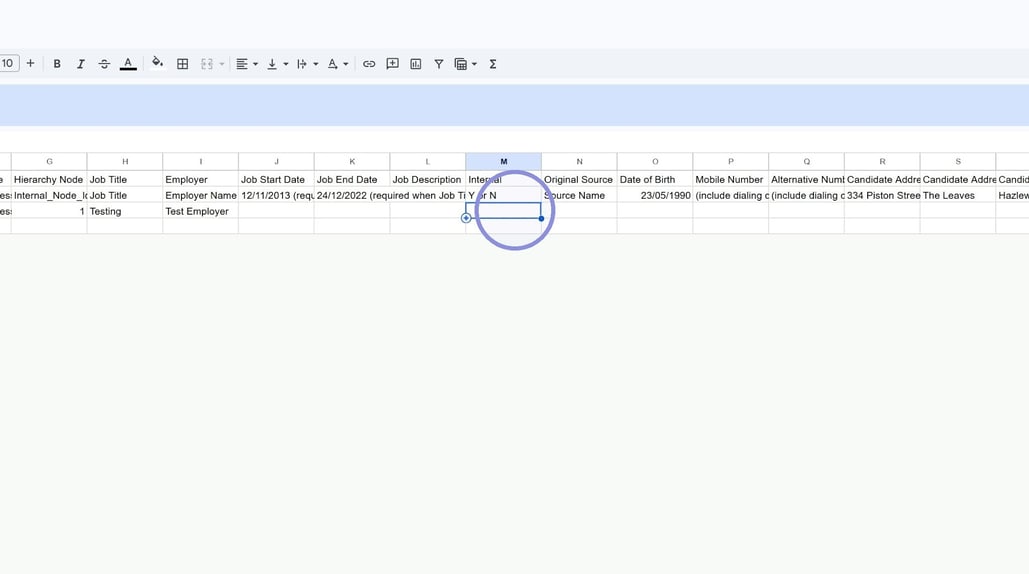
Another important one not to miss is the Internal marker on the candidate. If they are an internal candidate enter a "Y" if they are an external enter a "N"
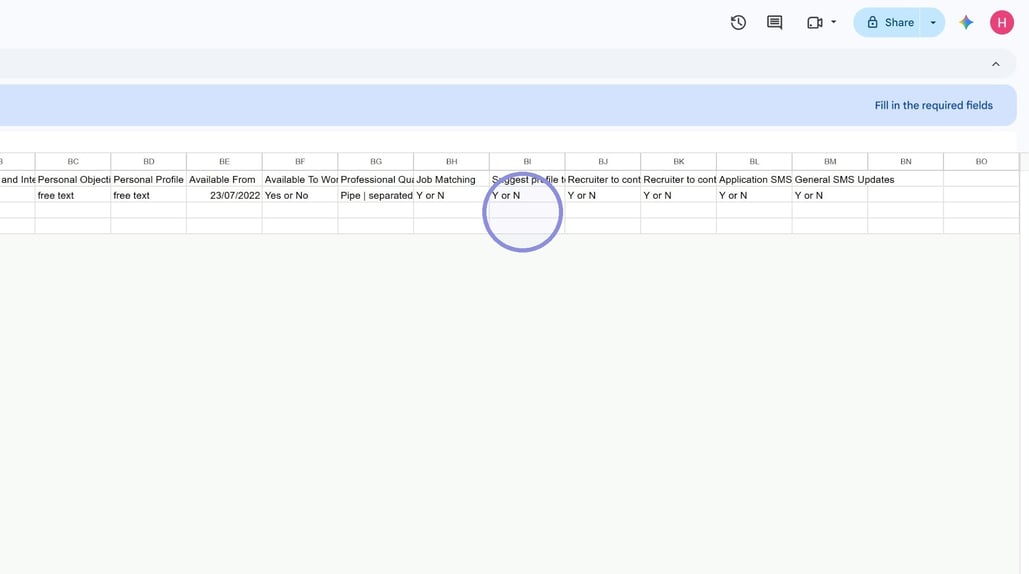
Lastly you can fill out the candidate opt-ins. If you choose to do this on behalf of a candidate, please make sure you have their permission to do so in line with GDPR Regulations
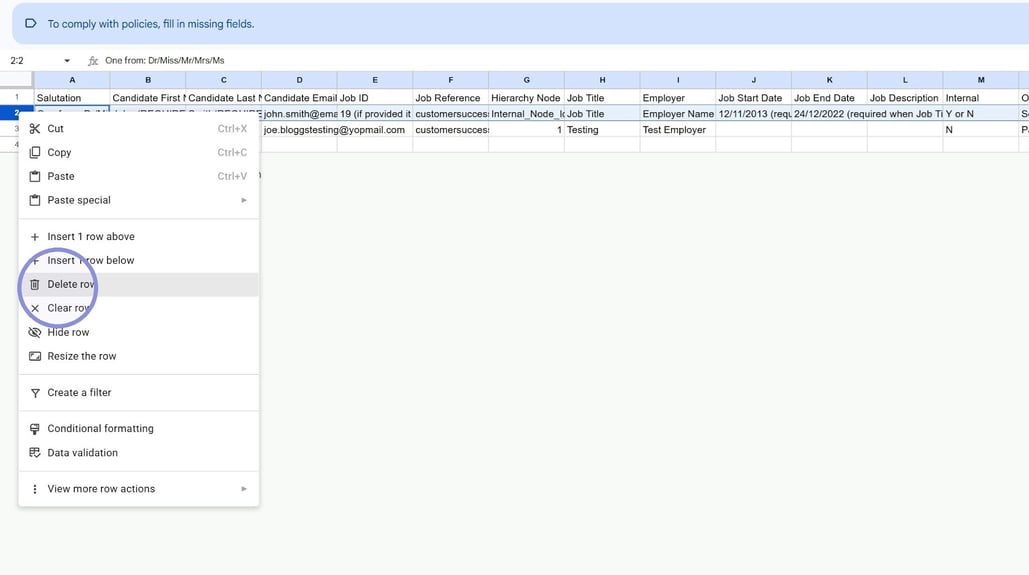
Once you have finished filling out your candidates details for the Bulk upload tool, make sure you remember to delete the example row from your file
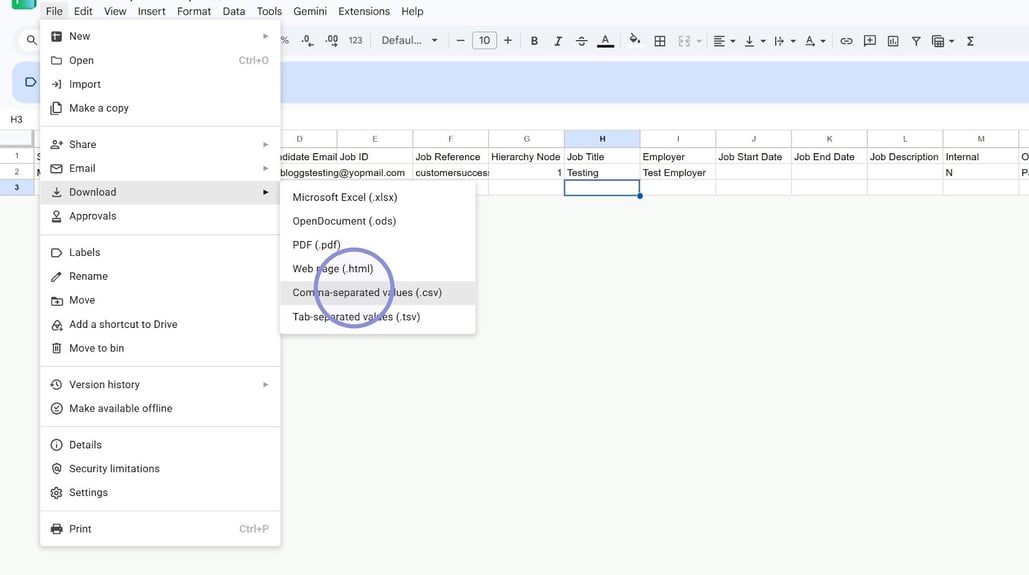
Then you'll need to save/export your file as a CSV
➕ Uploading and Submitting Your Bulk Import File
Head back to your candidates Bulk Import tool
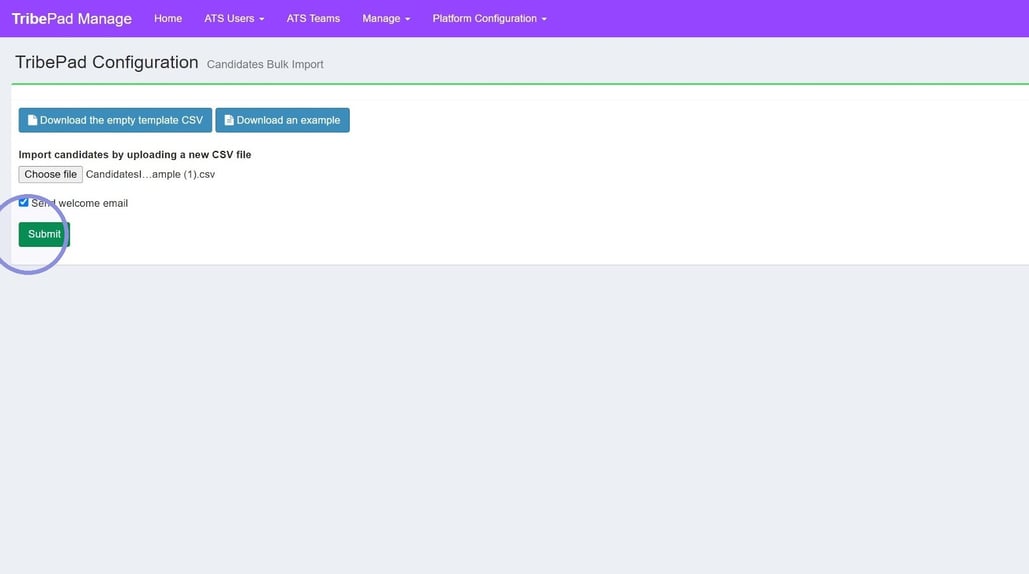
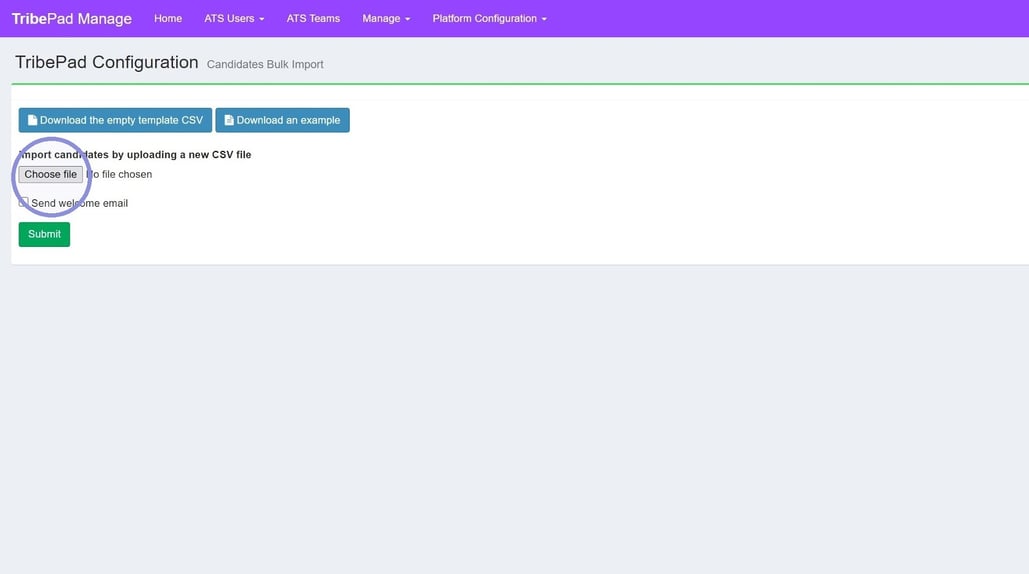
Click this choose file field and select your CSV from your folder
If you wish to send the candidates you're uploading a welcome email to inform them you have added them to the system, please tick this box.
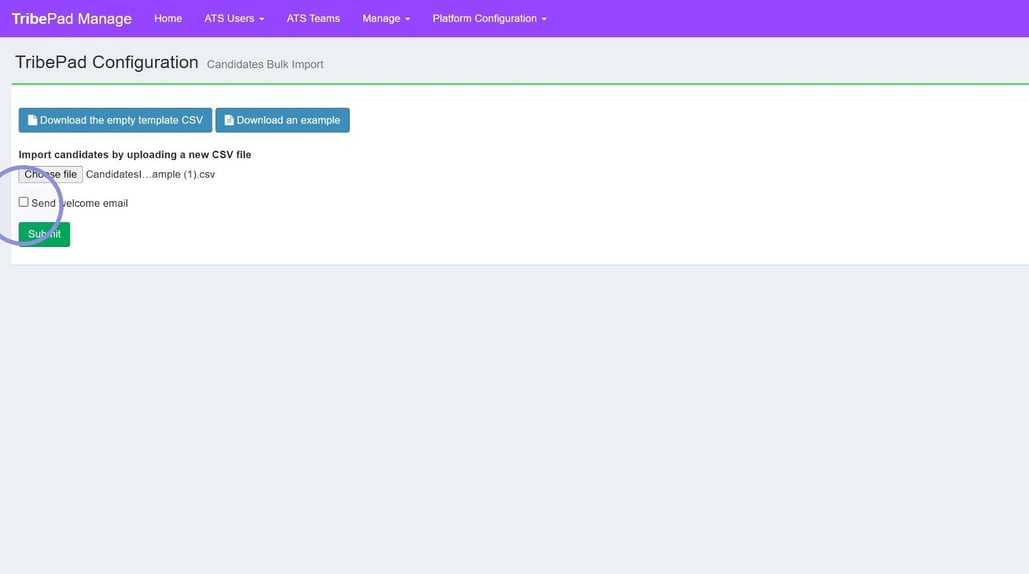
Click submit to upload. If you have any candidates who have errored, once the file has processed you will see a breakdown of any incorrect data and why. If it is successful you will also get a message and an email to let you know this has been the case