


🔑 Bulk Import Access
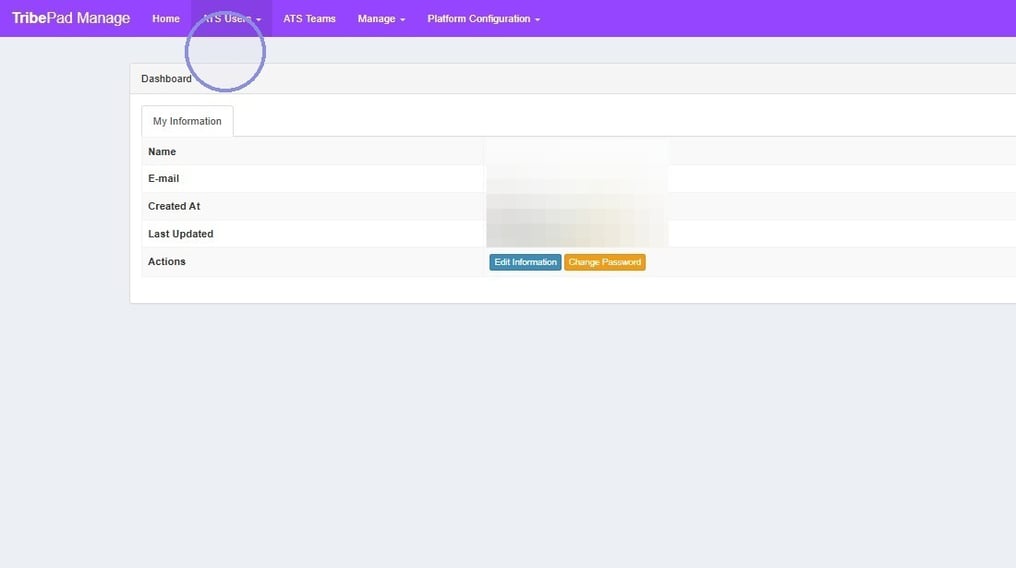
Head to Tribepad manage and Click "ATS Users"
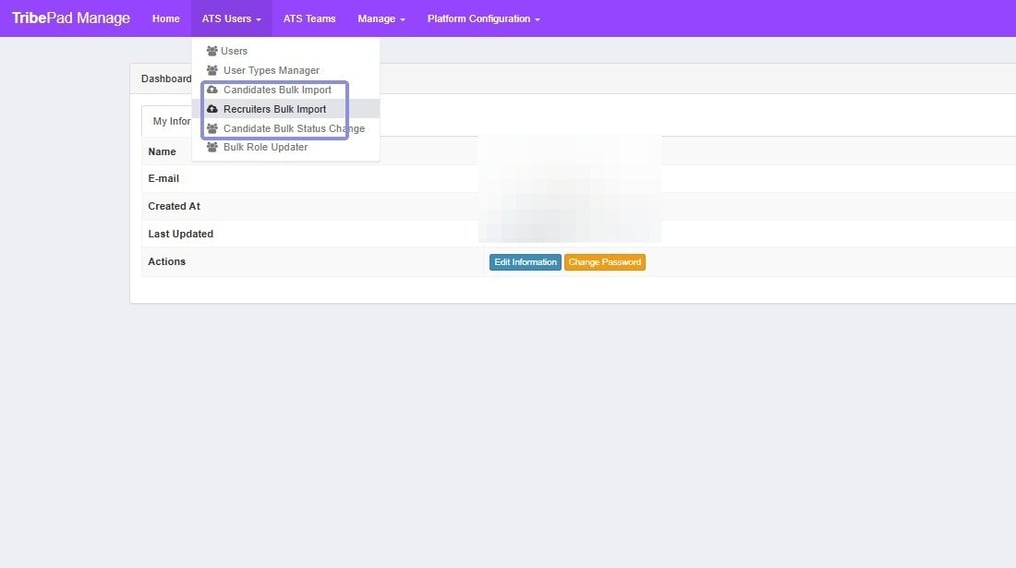
Click "Recruiters Bulk Import"
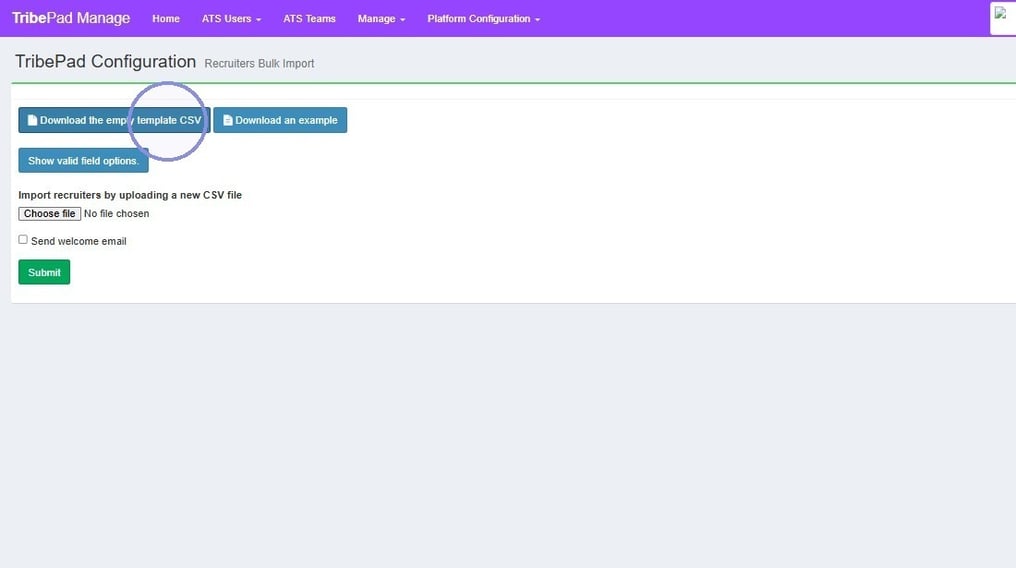
You will then see 3 blue buttons, The first being an empty template CSV, the second an example of what the file should look like and the third is valid field options- the coding for different countries and Multi Poster Tools (which we will need a little later on.)
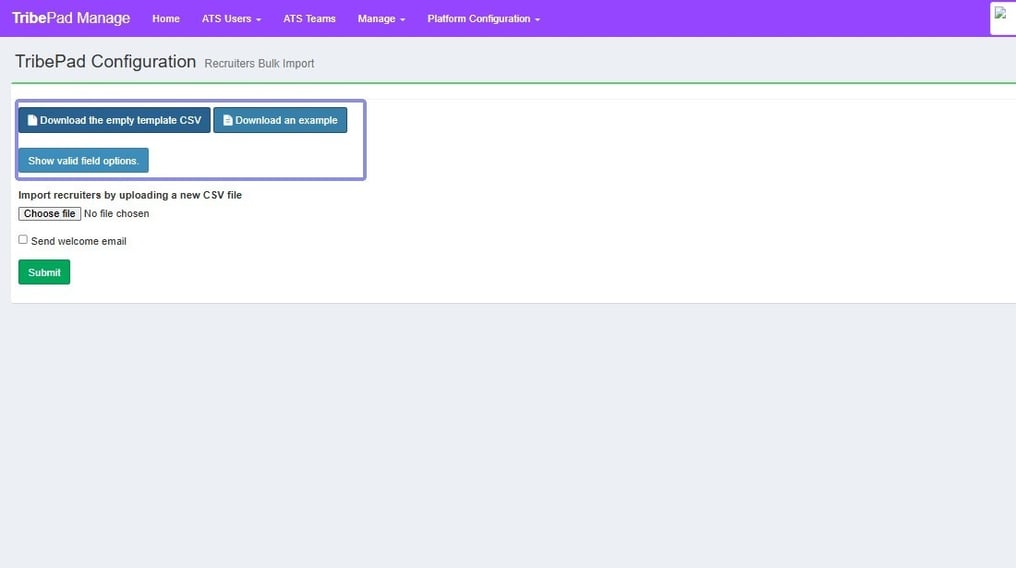
But in order to get started you'll need to click "Download the empty template CSV" and open this up in your preferred spreadsheet programme
📊 CSV Preparation
Once you've loaded up the file in Sheets or Excel, you'll need to start filling out the information in the columns. The "Salutations" should align with what is available within your platform
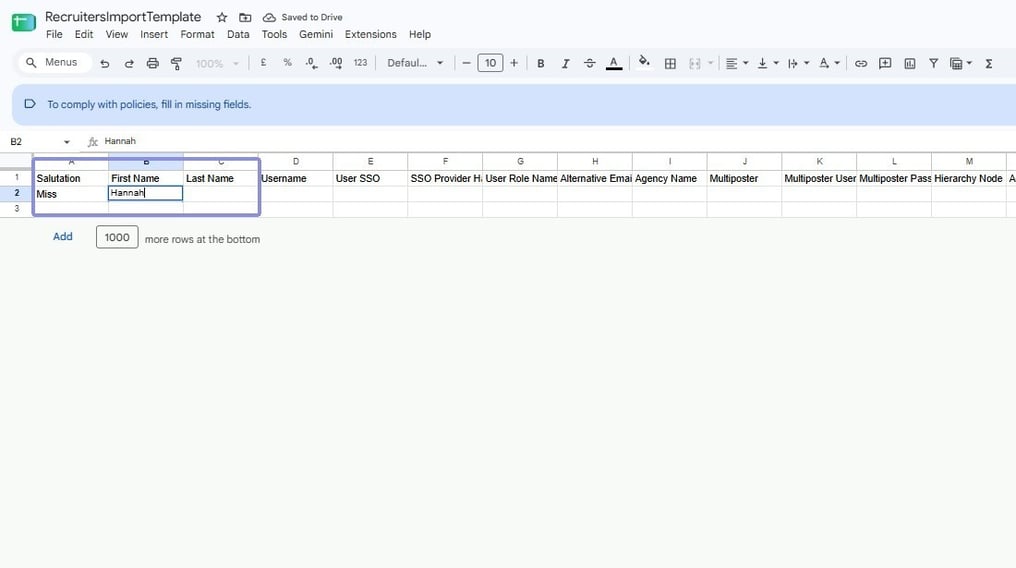
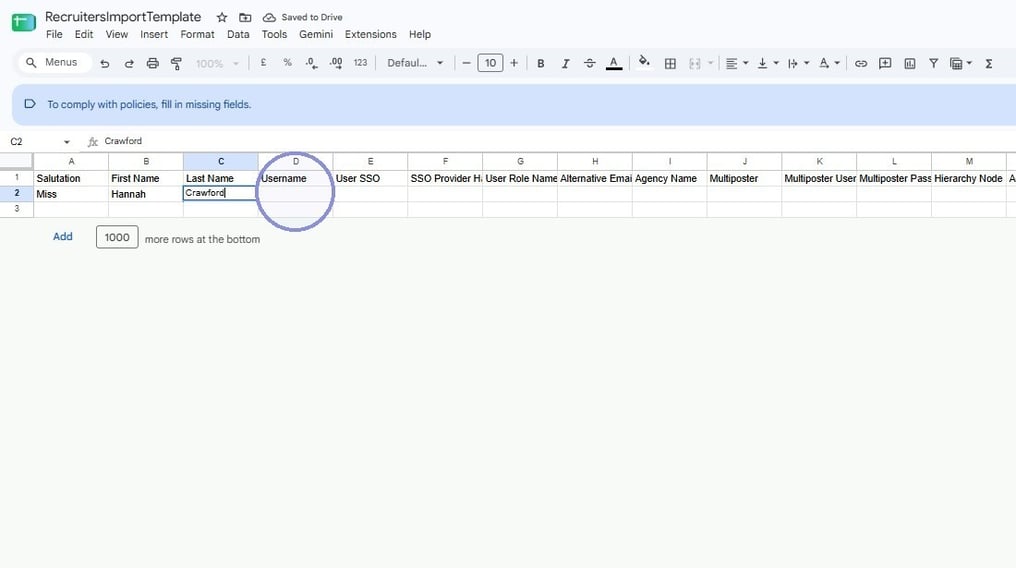
You'll then need to enter the username, as per the username rules this can either be the User's email address or it can be a coding such as "Firstname.Surname"
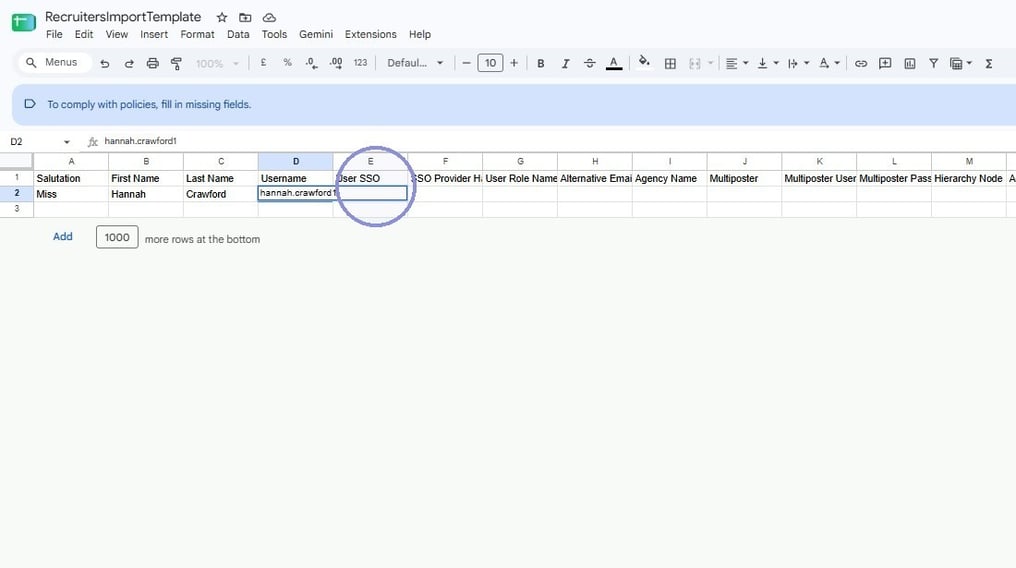
If you have Single Sign-On activated, you'll need to enter the user's email address here
You'll then need to enter which type of User they're going to be from your current user types. For my example I'm going to set this user up as a "Hiring Manager"
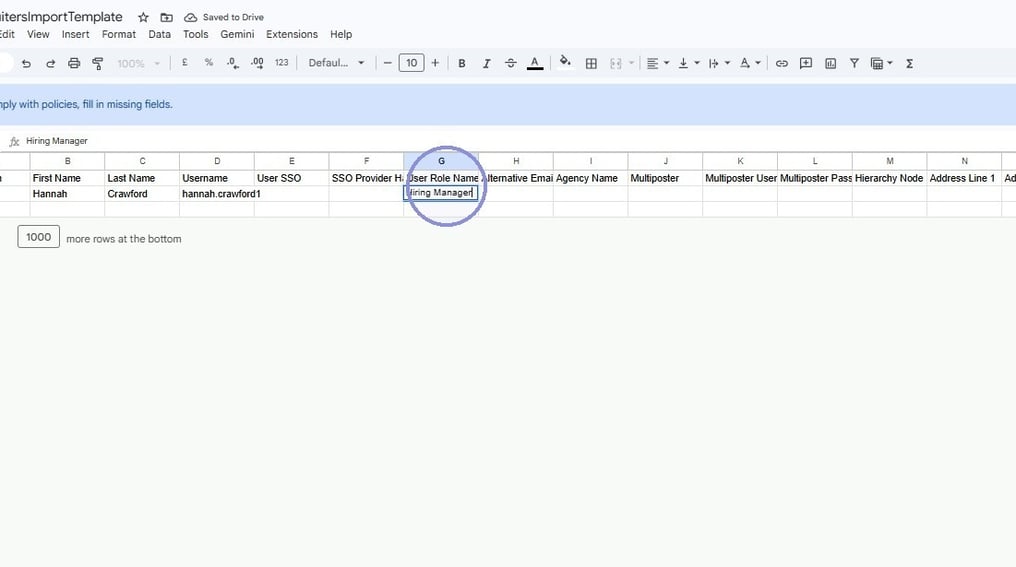
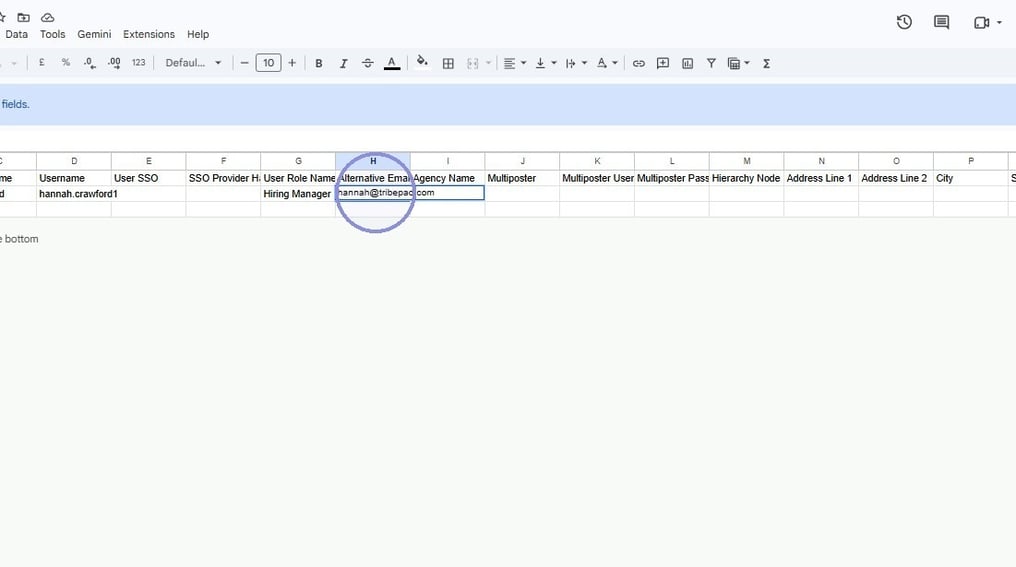
Next input an alternate email address. This typically will be the users normal email address, especially if you have used a coding such as "Firstname.Surname" for their username as this is how they will be notified of jobs being shared, Interviews confirmed etc.
If you use a Multiposting tool of which you need the user to be able to access you need to fill out the details here
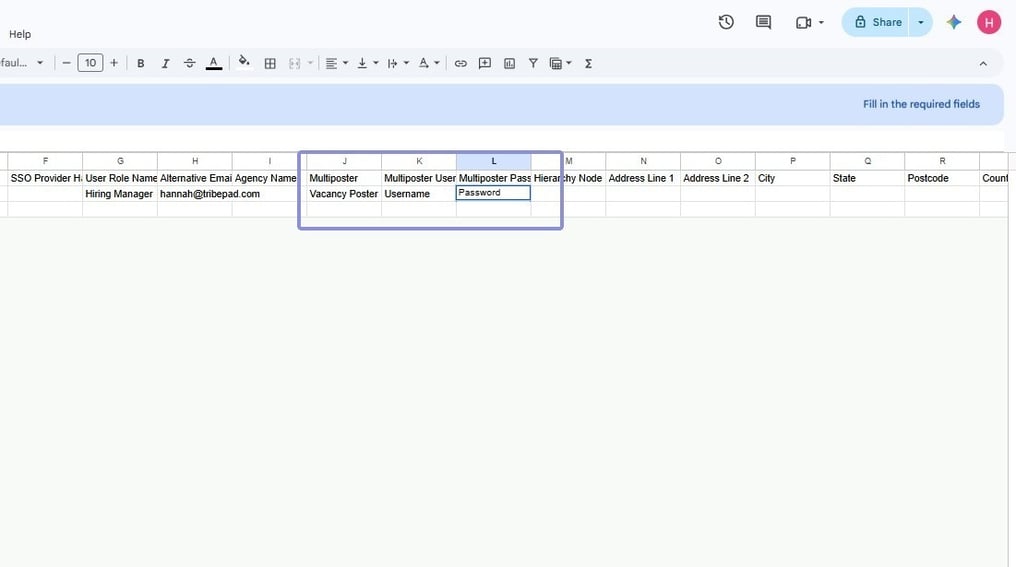


However, if you choose not to attach them, it means that you have to share them into their jobs on a case by case basis and gives you more control over what a user can access.
🔑 Hierarchy Configuration
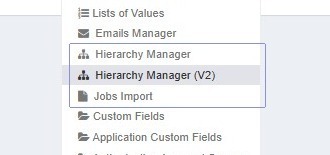
Head back to Manage and click "Platform Configuration"
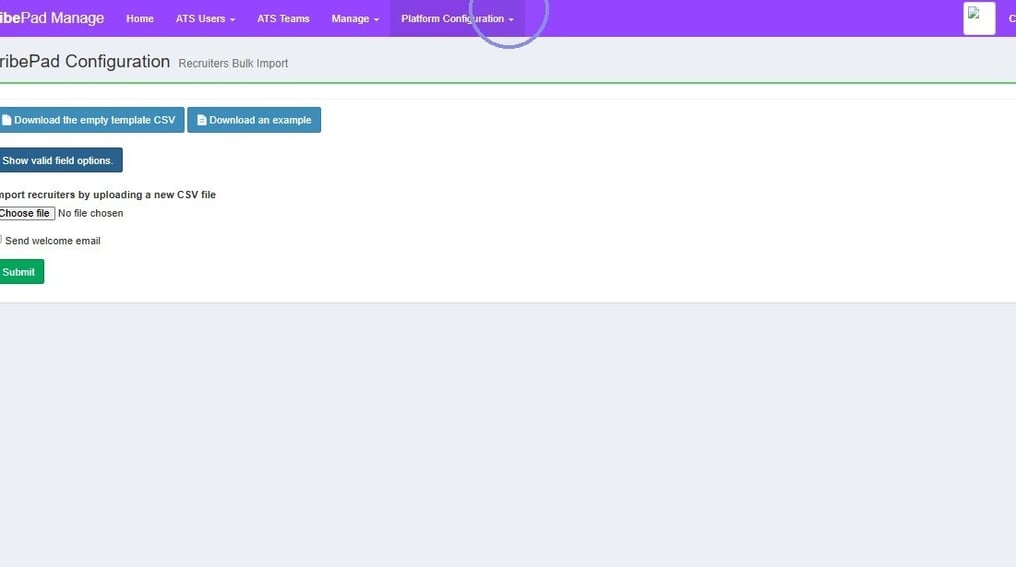
Click "Hierarchy Manager (V2)"
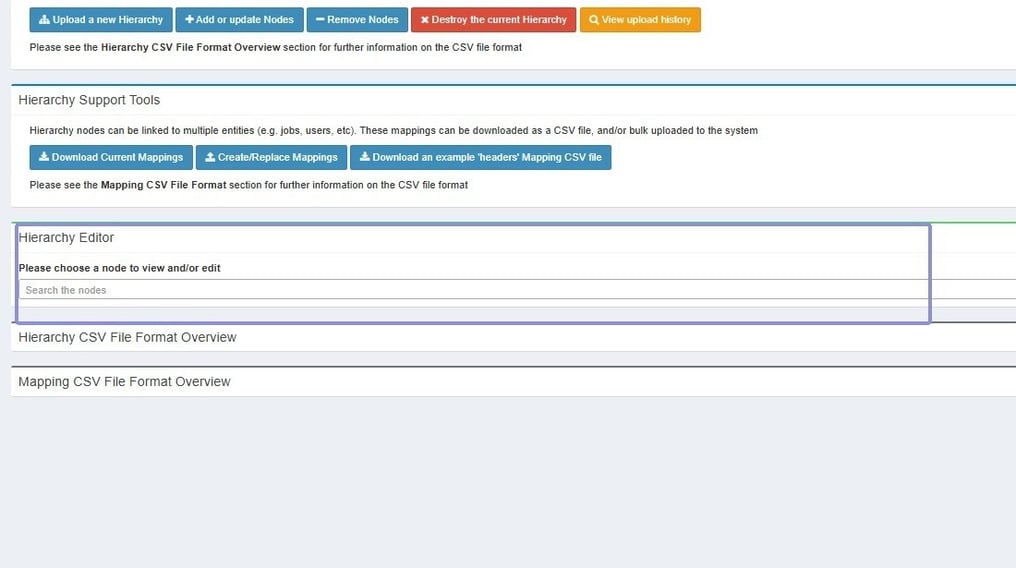
You then want to find the node using the "Hierarchy Editor" tool
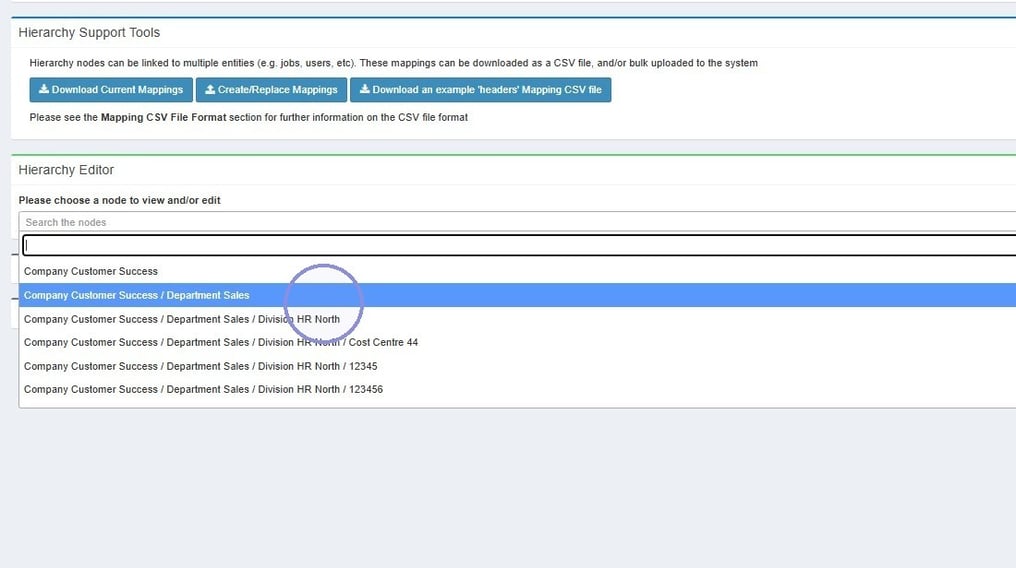
Click into where it says "Search the nodes" and select the node on the hierarchy that you're looking for.

Once you node has loaded up you want to hover over it's ID number in order to see the CSV code you'll need to enter
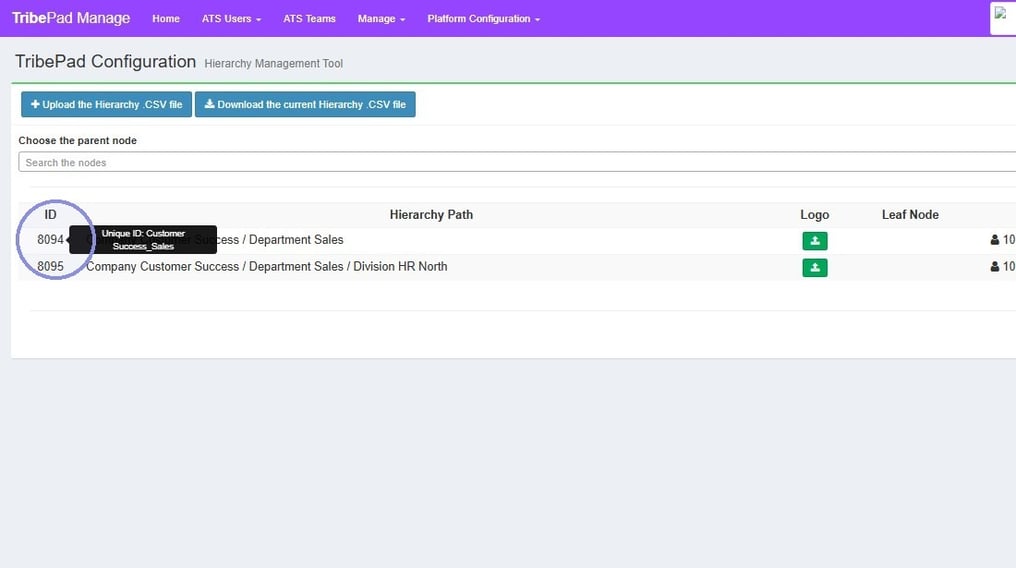
Once you have the code for your hierarchy node, you can head back to your CSV sheet and enter it there
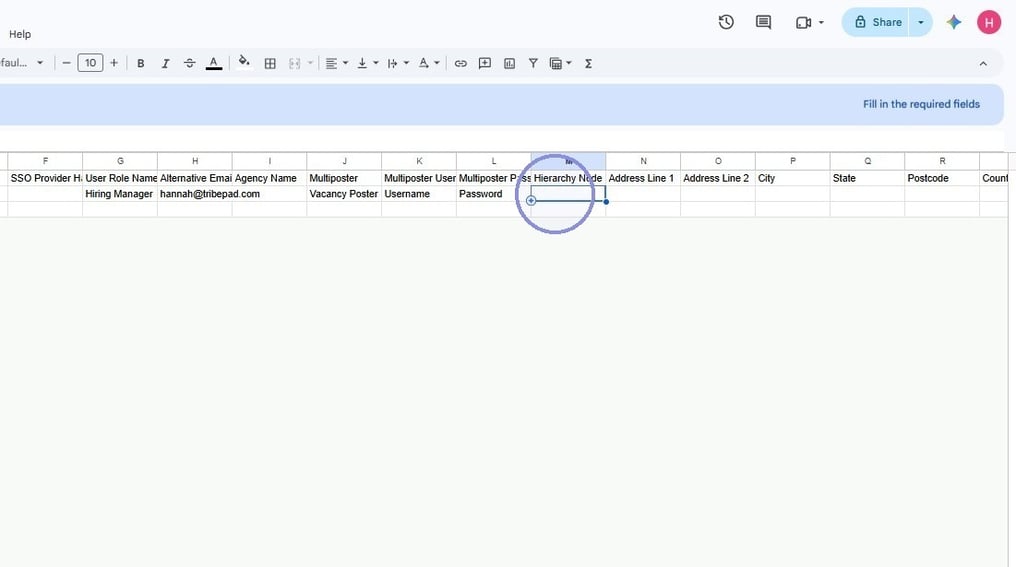
🏢 Address
Enter the address and postcode values in the address fields
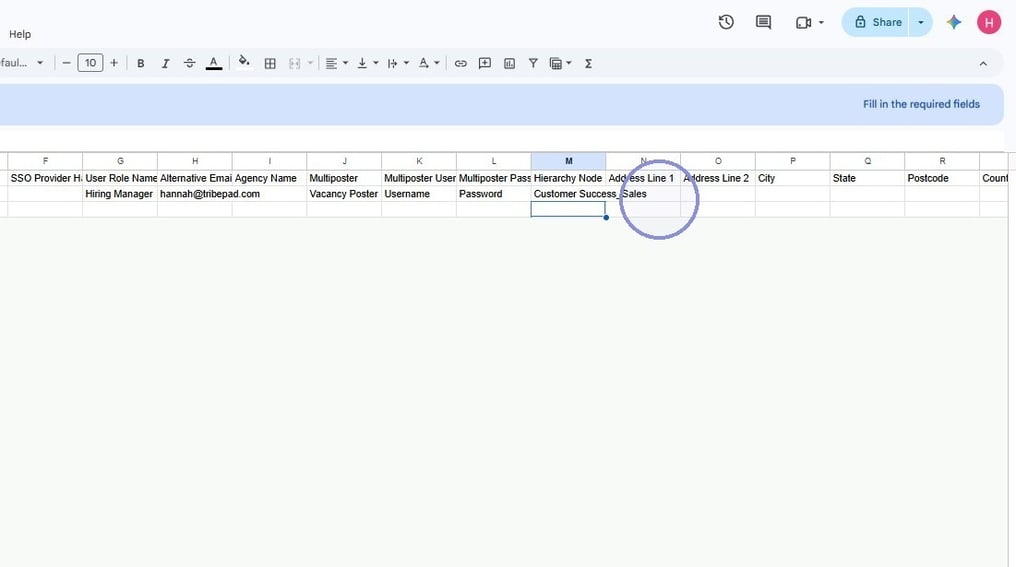
Enter your country code as seen in the Valid field options, this should be a country code rather than name
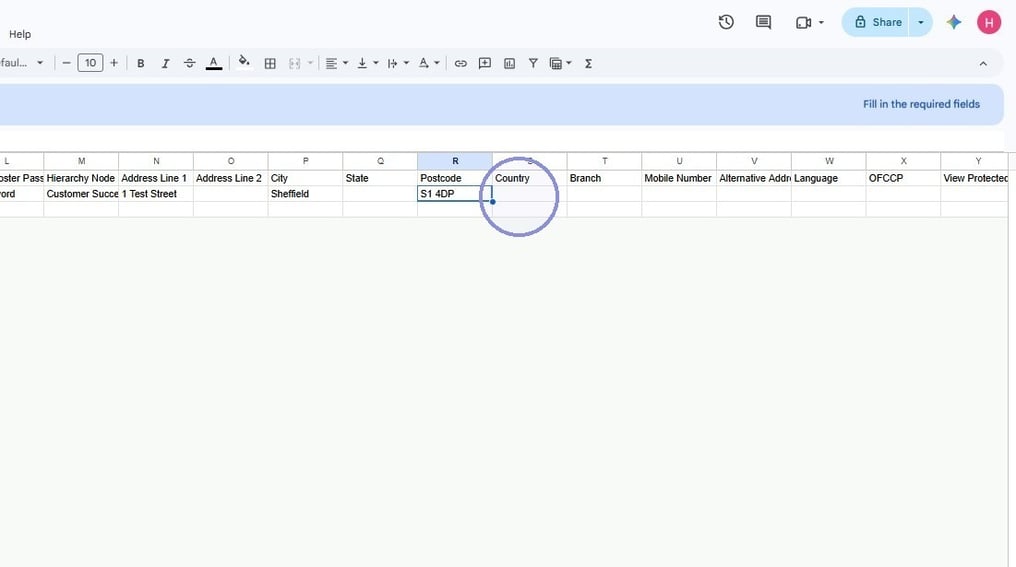
You can then fill out the further columns if you wish, but these are not mandatory
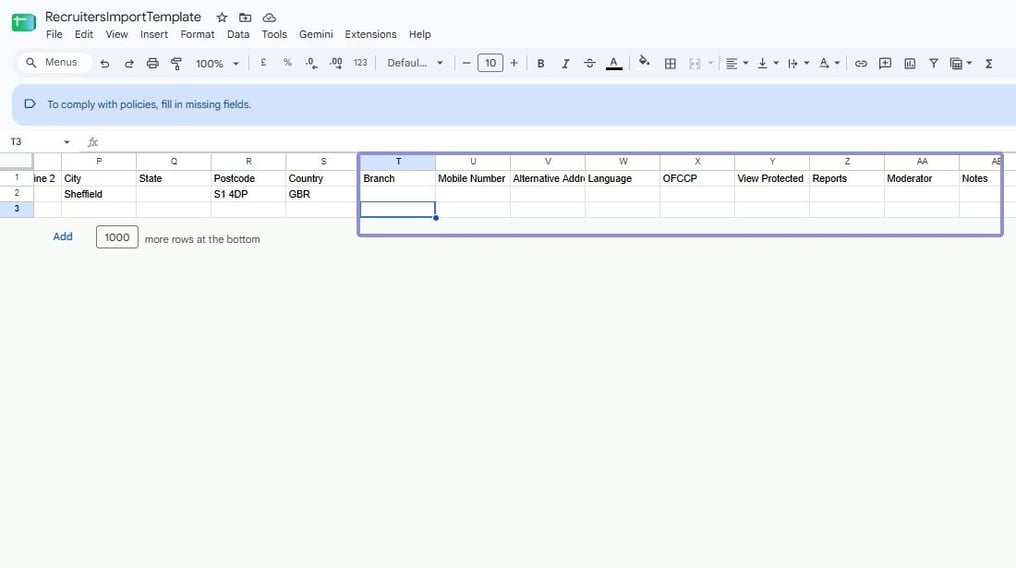
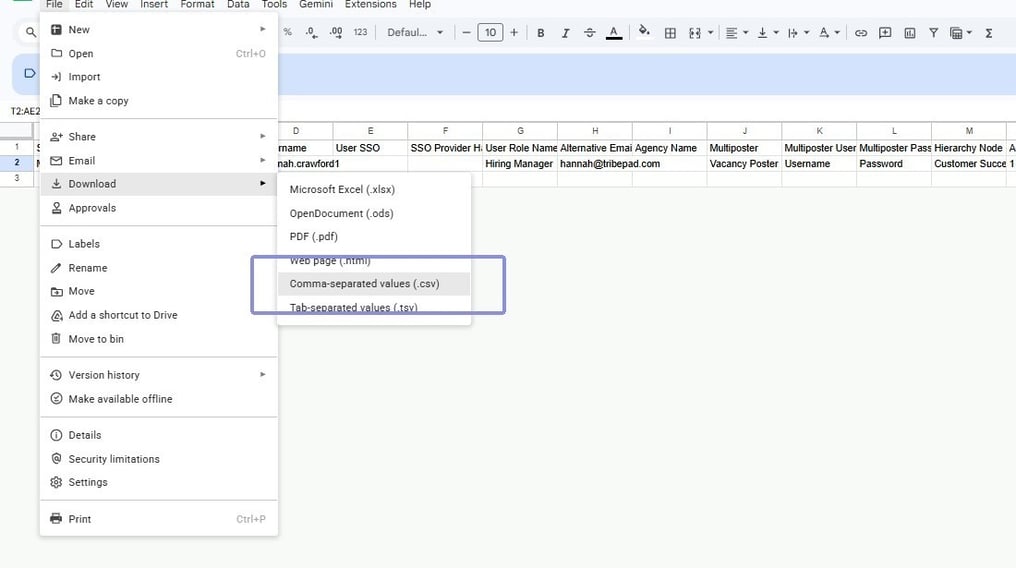
Next we'll need to export the file but doing it so that it's a "Comma-separated values (.csv)" filetype
⬆️ CSV Upload
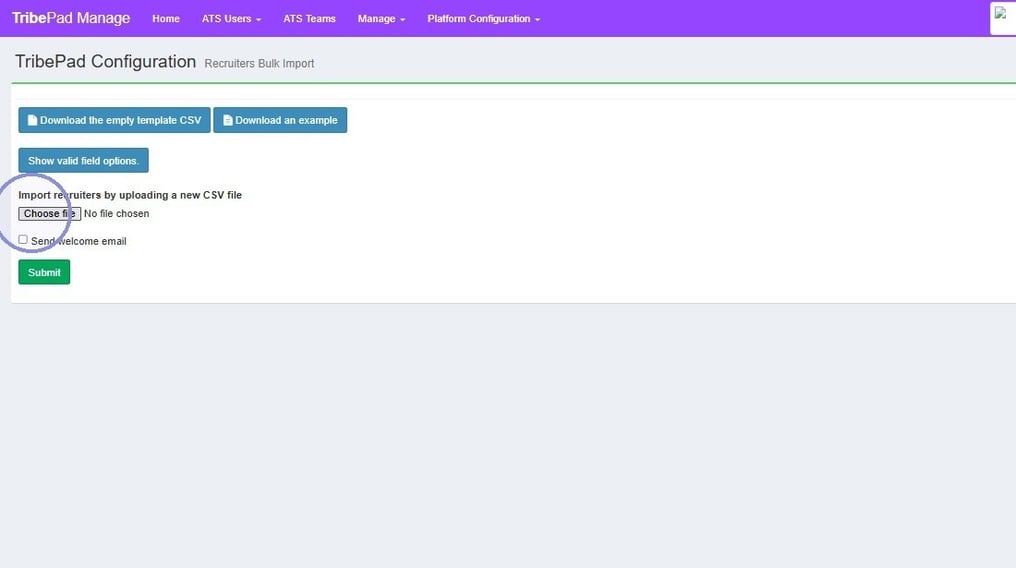
Head back to Manage and to the Recruiters Bulk import page and attach the CSV file you've just exported via the upload box
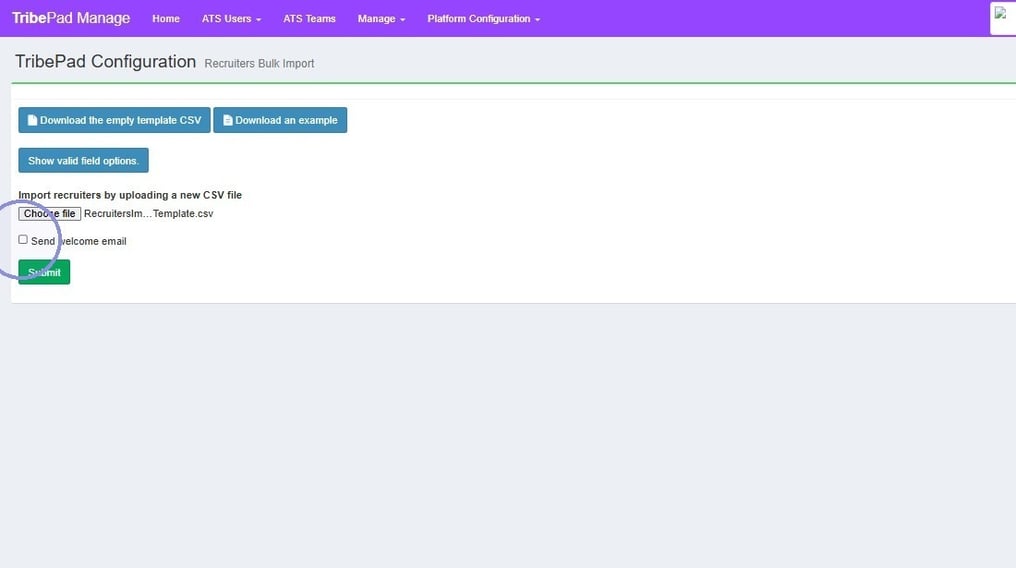
You can optionally send all users you're uploading a welcome email, much like how you would do if you're adding a singular user through the users tool.
If you would like to do this, check this box.
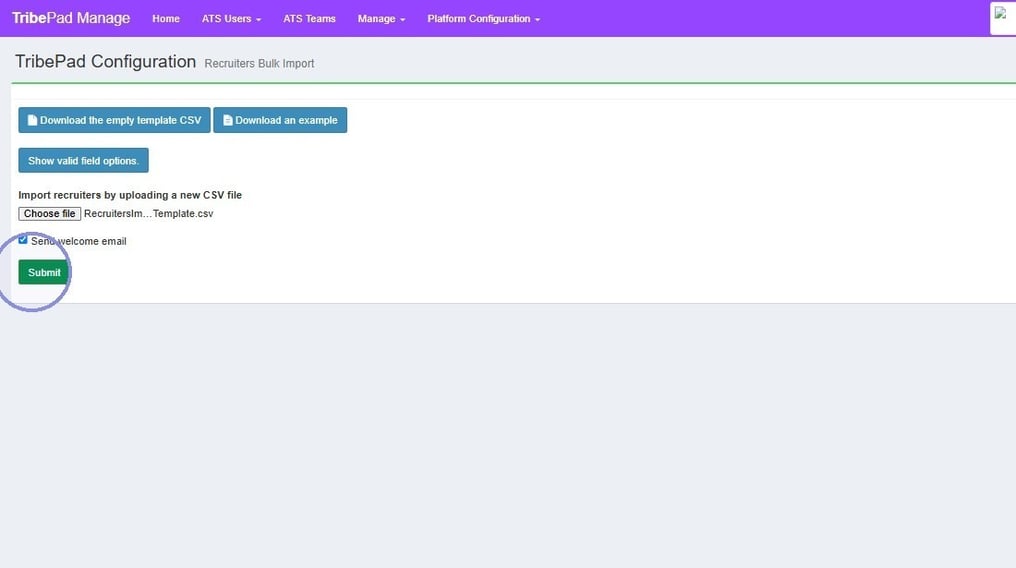
From there, Once you're happy, press submit
🔑 User Verification
If your upload was successful, you will see a green banner appear at the top, telling you so. If it isn't successful you will see an error message at the bottom detailing what on the CSV file needs to be changed
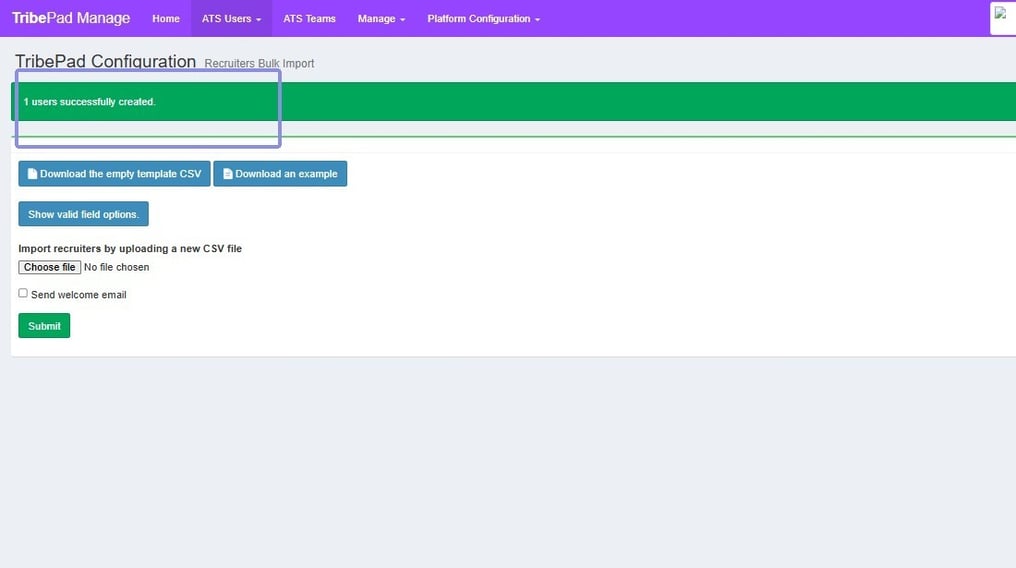
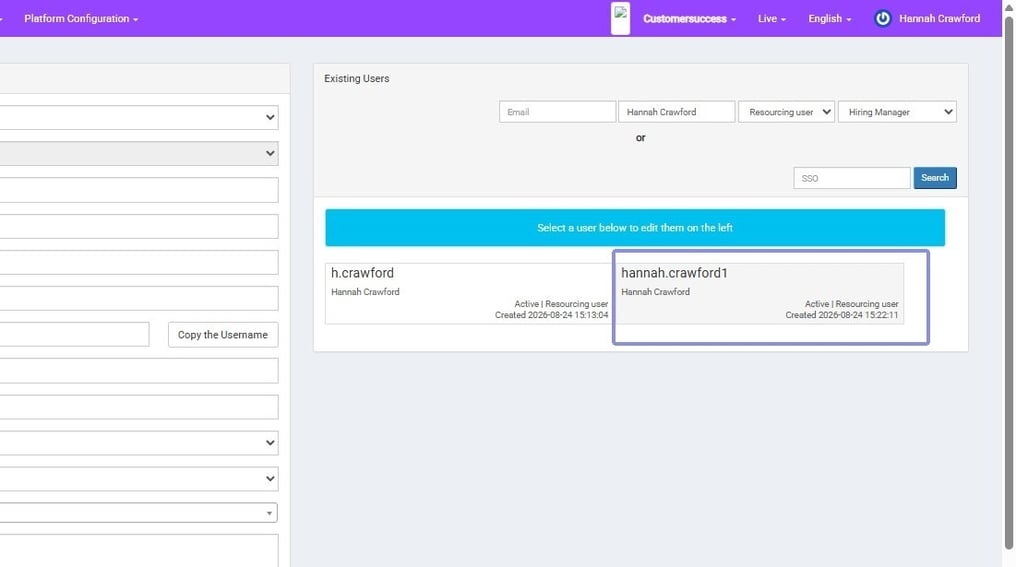
Once your users have uploaded, you can go and spot check them in the user tool if you wish to do so
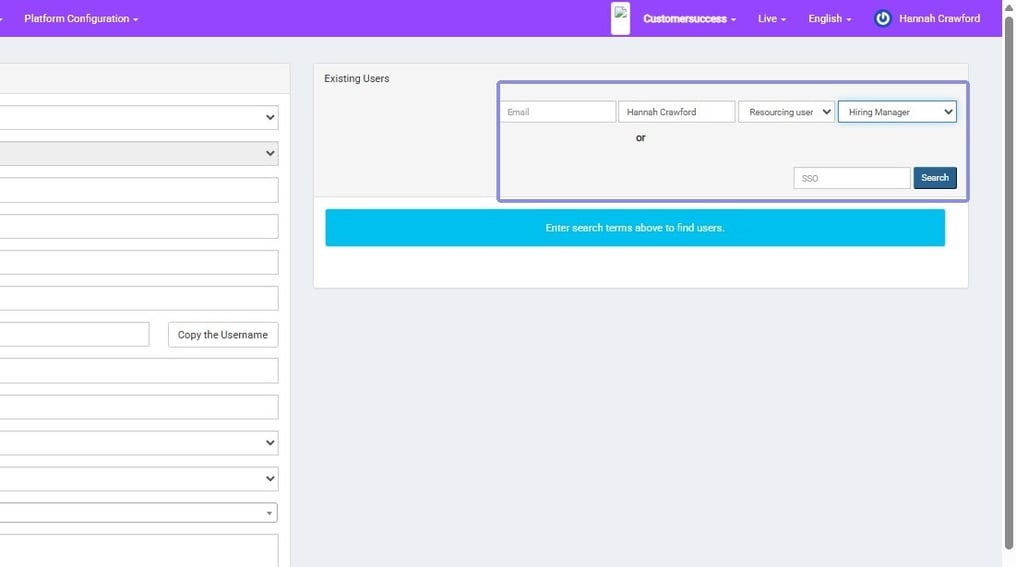
Once you have searched for them, they will then appear in your users list