👁️🗨️How To View & Manage Onboarded Users
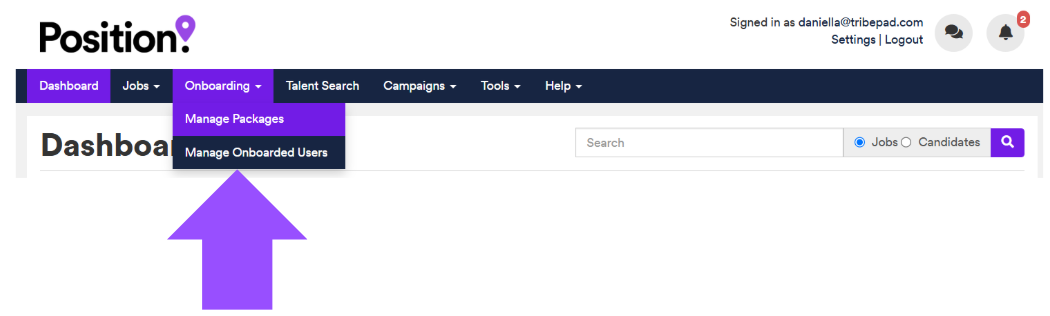
To get started, head to “Onboarding” followed by “Manage Onboarded Users”:
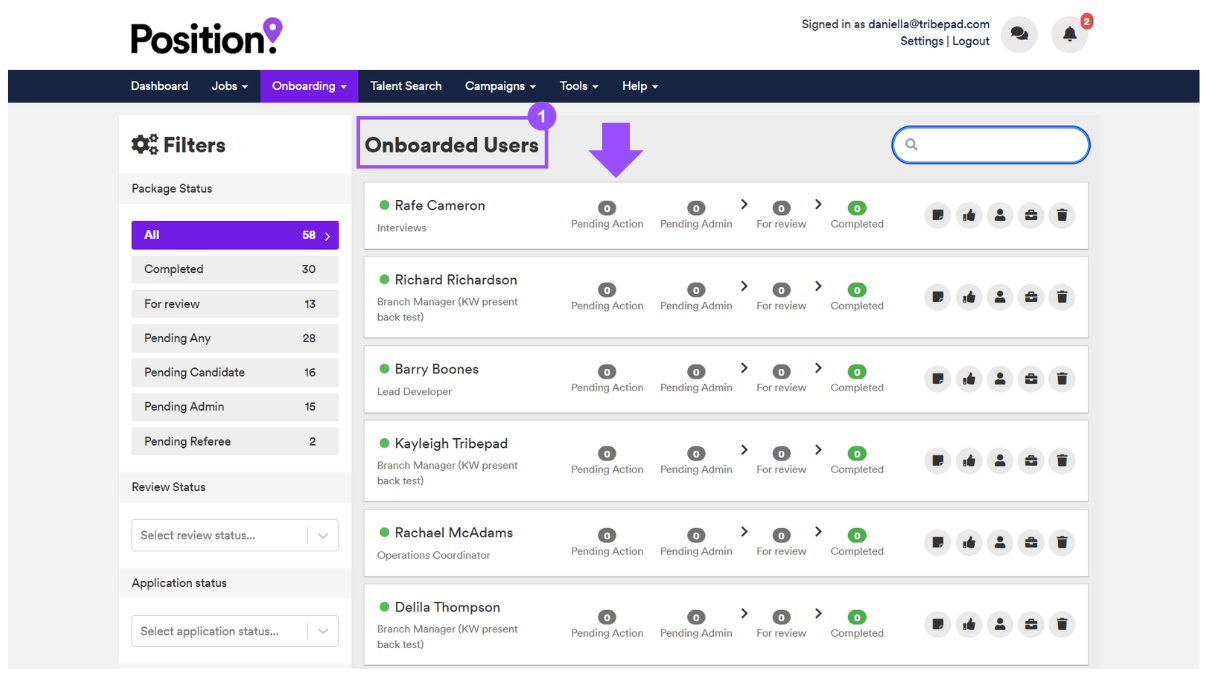
Here you will see a list of your onboarded users (1).
These candidates are associated with your active job listings. Some may still be in progress with their onboarding, while others may have completed all required steps.
📊 Filters
On the left hand side you will see a set of filters (1) here you can select to view:
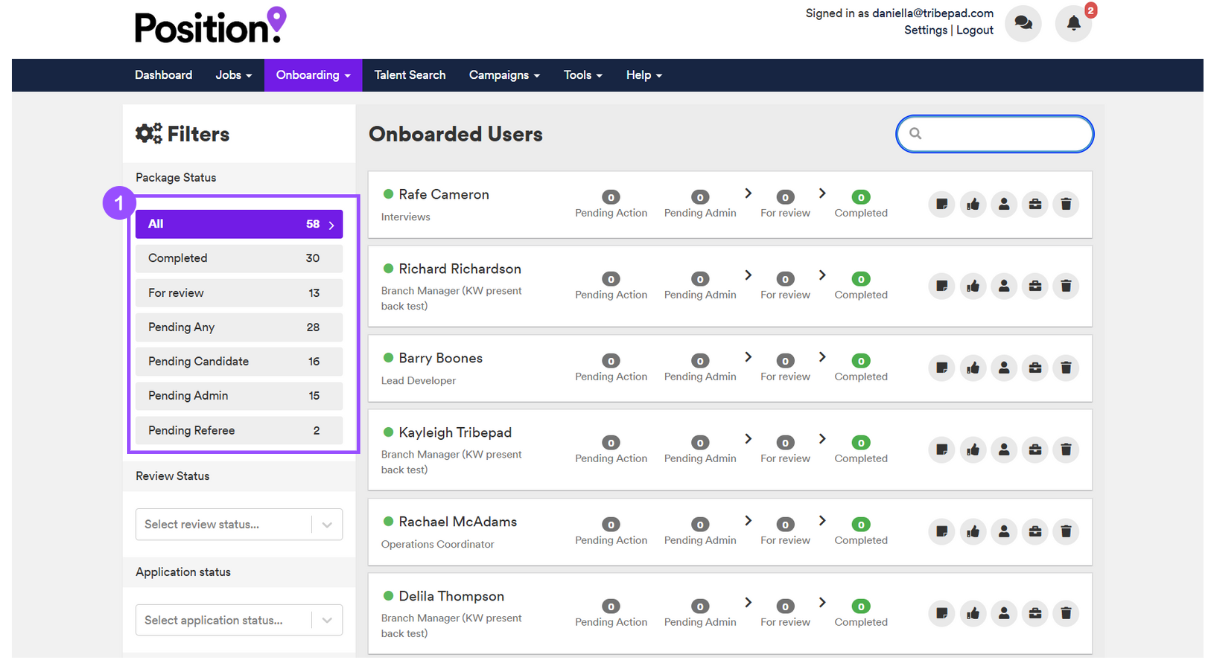
- All
- All candidates
- Completed
- Candidates that have completed their workflows
- Pending Any
- Any candidates that are pending with workflows
- Pending Candidate
- Any outstanding candidate actions
-
- Pending Admin
- Any candidates that have internal admin actions pending
-
- Pending Referee
-
-
- Any candidates that have reference requests pending
-
Further down on the left hand side are further filters that can be applied to the onboarded users:
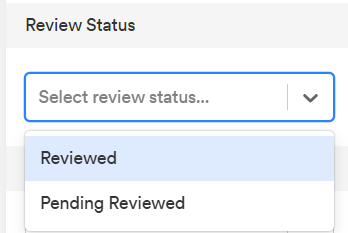
- Review Status
- This details if the candidate's workflows have been reviewed
- Select from 'Reviewed' or 'Pending Reviewed'
- This details if the candidate's workflows have been reviewed
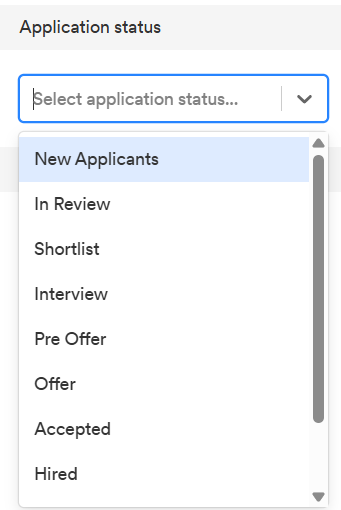
- Application Status
- This details every stage of the recruitment process
- Select any stage to see candidates completing workflows at that stage
- This details every stage of the recruitment process
- Jobs
- This refers to any active jobs
- Apply filters to search for a specific job if required
- This refers to any active jobs
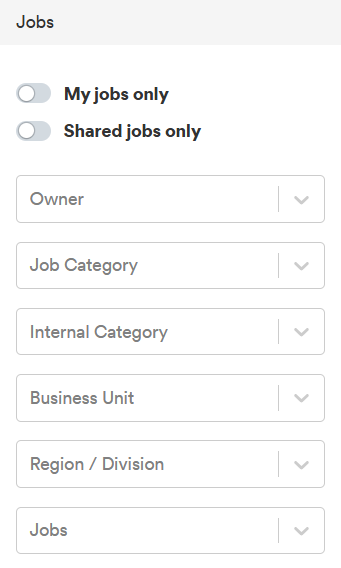
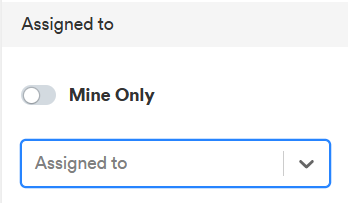
- Assigned to
- This refers to the owner of a job
- Select to view only jobs that you are the owner of, or specify jobs belonging to a different owner
- This refers to the owner of a job
🔑 Reviewing The Candidate's Workflows
When looking at your candidates, if you would like a “quick view”, you are able to hover over multiple parts of the page in order to view mini pop-ups with further information on how far through the onboarding process they are:
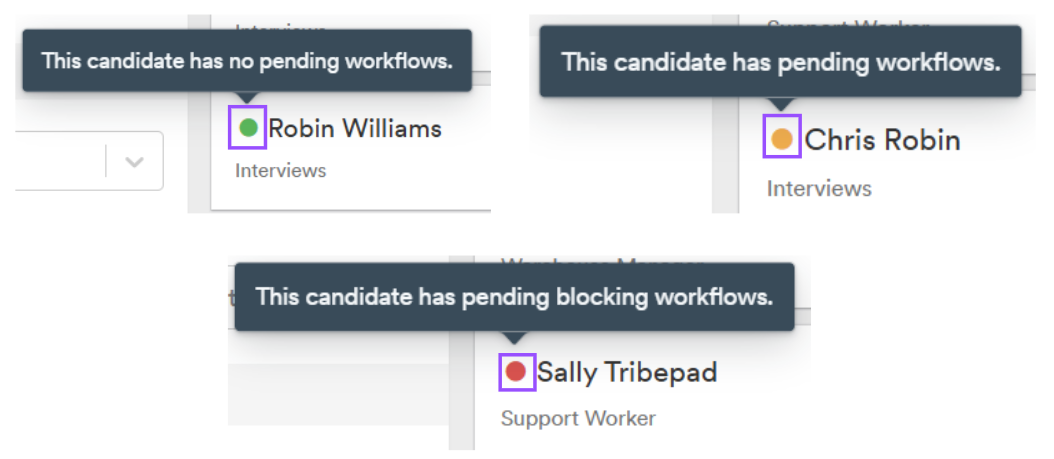
When looking at your candidates you will see either a Green, Orange or Red circle next to their name.
Each of these indicates the following:
Hovering over the “Completed”, “Pending” or “Pending Admin” icons (1) on a candidate will give you a “quick view” of what workflows they have completed or are yet to complete:
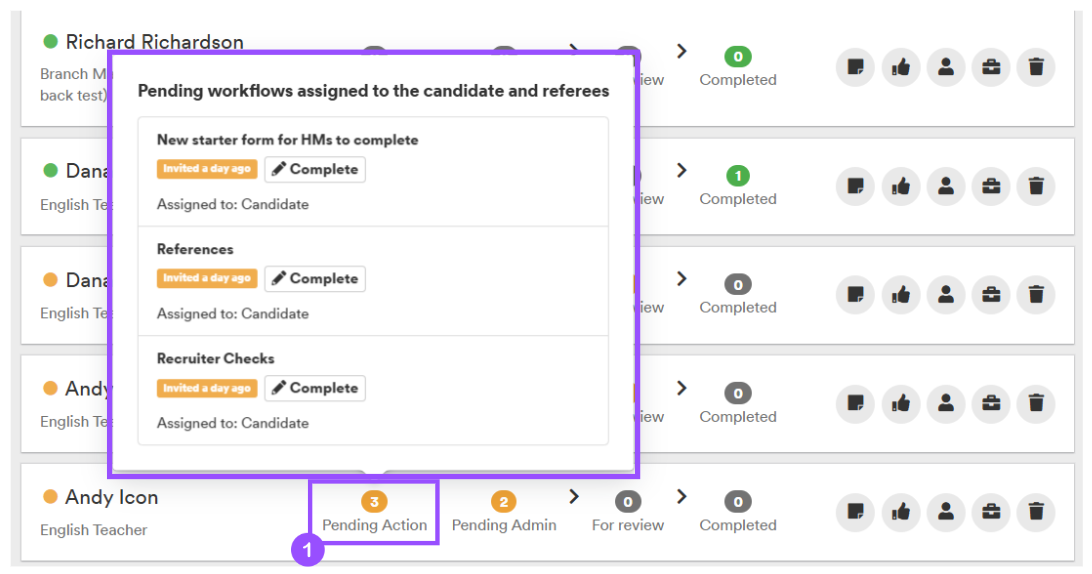
Depending on your UserType you may also have the ability to “force” complete pending workflows as so:
➡️ Onboarding Icons
On the right hand side of each candidate’s name you will see 5 icons:
- Notes
- This option allows you to view or add new onboarding notes to the candidate
- For further information about how to add & view notes ⚓ see below
- Mark As Reviewed
- Once you have reviewed all workflows and are happy with the content select this option
- You can use this option as a visual aid if you have a long list of candidates to onboard
- The thumb will turn green when the candidate’s information has been reviewed
- View Your Own Profile
- This takes you to the candidate profile
- View Application
- This takes you to the job list where you can view the candidate’s application in more detail
- Delete
-
- This option will delete the candidate from the Onboarding process
- This is useful for simply removing a candidate if they are no longer moving forward with their application, or if you need to restart any onboarding workflows due to changing the package for example
➡️ View Candidate Onboarding In More Detail
If you would like to see a candidate’s full onboarding completion simply click on the candidate's name or anywhere in the section to see further detail on the workflows:

If all workflows have been completed, there will be no further actions to take, apart from marking as “Reviewed” if you wish.
You will also see a set of icons in the top right hand side of the page:

- Notes
- You also have the ability to view and add notes to the candidate’s onboarding
- For further information about how to add & view notes ⚓ see below
- Mark As Reviewed
- You also have the ability to mark a candidate as reviewed from here
- Download
-
- You can download the full list of the candidate's workflows here
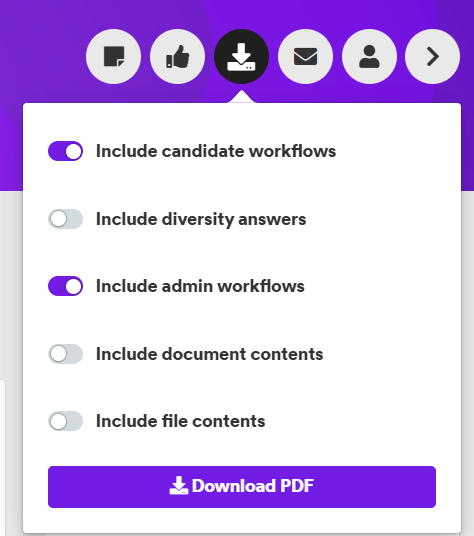
- Simply click on the button to show options of what you can download.
- You can download the full list of the candidate's workflows here
- Forward User Details
-
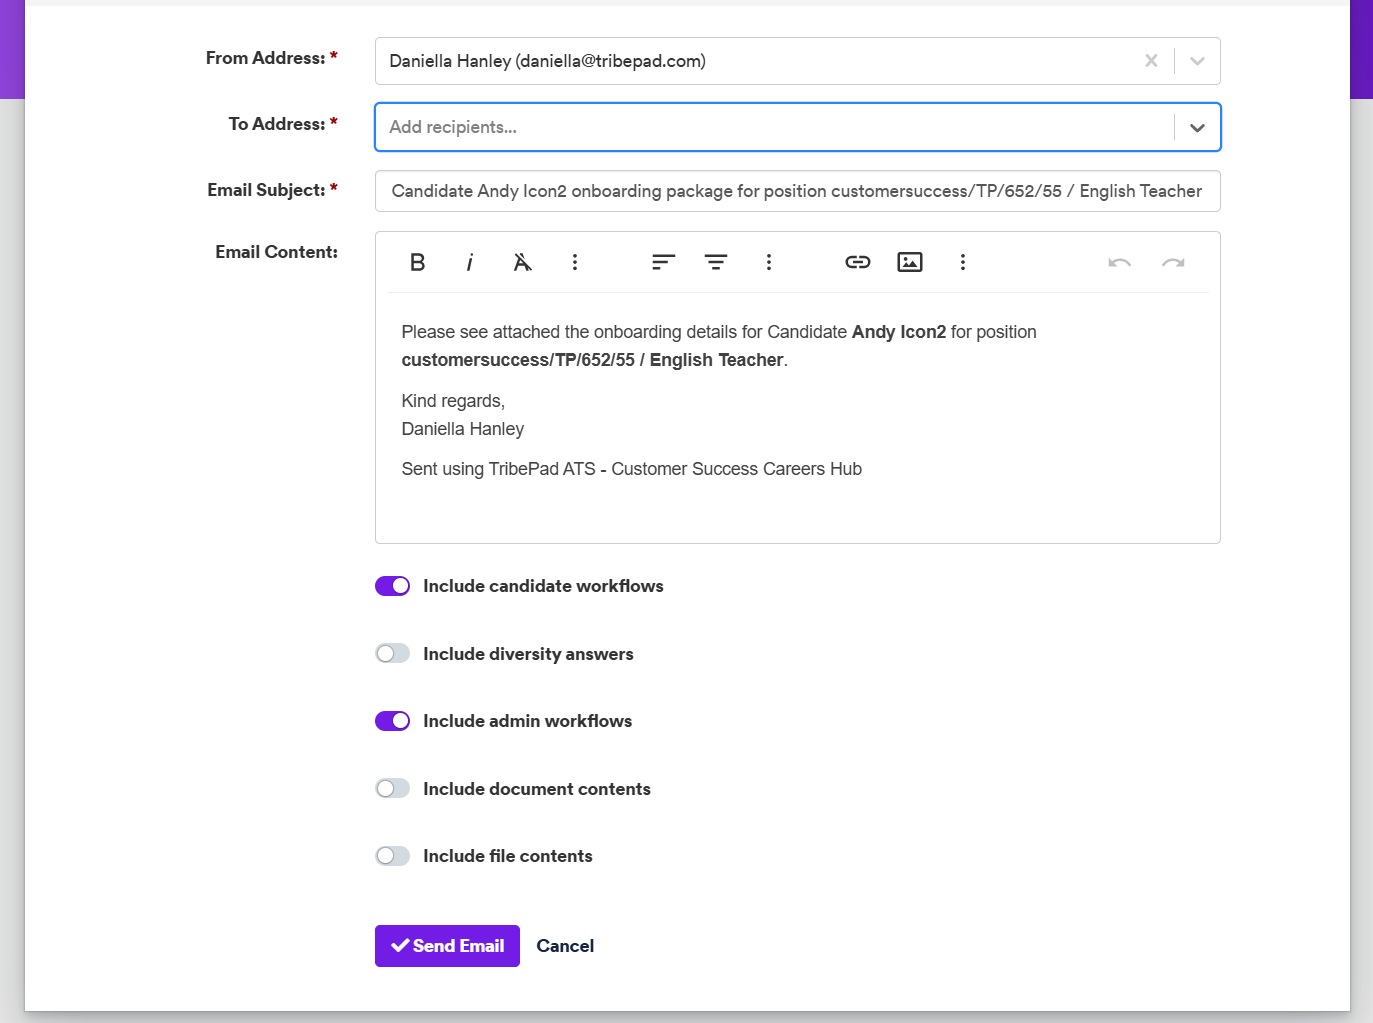
- This option allows you to send information on the candidate's workflows to internal colleagues
Once selected, you will see an email pop-up. From here you can edit the details of the email contents as required, and can choose to include:
- Candidate workflows
- Admin workflows
- Document contents
- File contents
- View Your Own Profile
- You can also view the candidate’s full profile from here
- View Application
-
- You can also view the candidate’s application from here
➡️ Completing A Workflow For A Candidate
Whilst on the main onboarding page for your candidate (depending on your user permissions) you may see if there are workflows to complete, a “Complete” or “Force Complete” button on the right hand side of each workflow:
Upon selecting “complete”, the workflow is reassigned to you and you will need to complete the workflow on the candidate's behalf.
➡️ Blocking
On other workflows, you may also see “Blocking” on the right hand side:
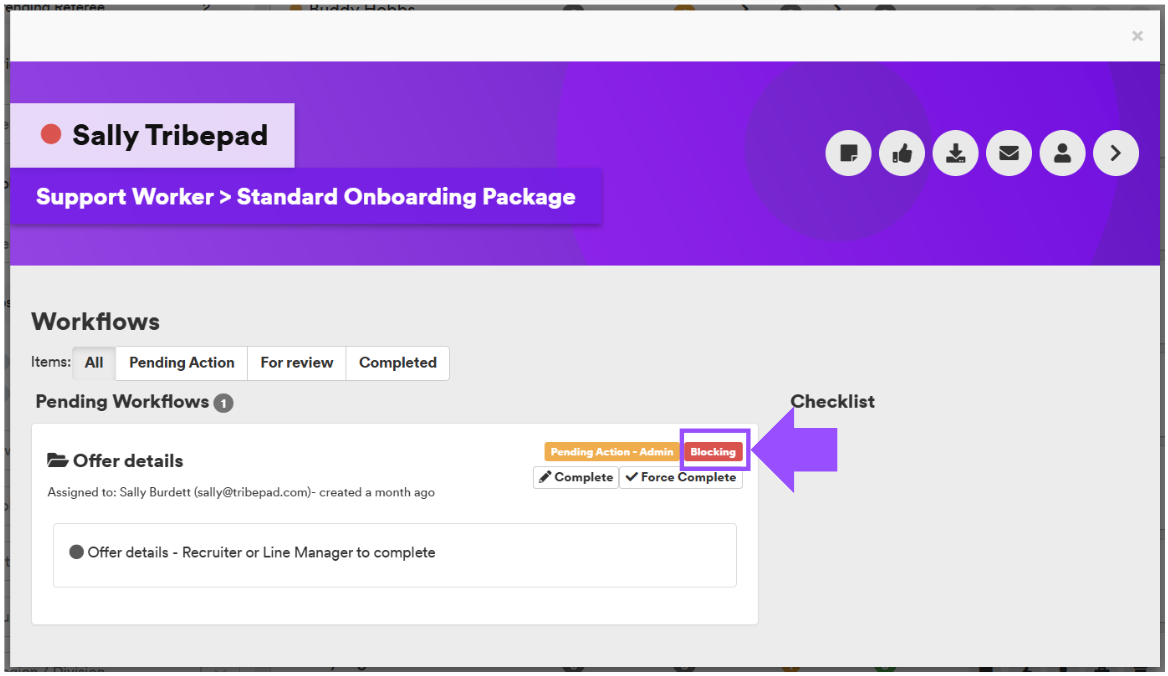
-This means the workflow was marked as “Blocking” when it was created and must be completed before the candidate can move forward in the recruitment process.
➡️ Force Complete
Depending on your configuration and user permissions, you may also see “Force Complete” on a workflow:

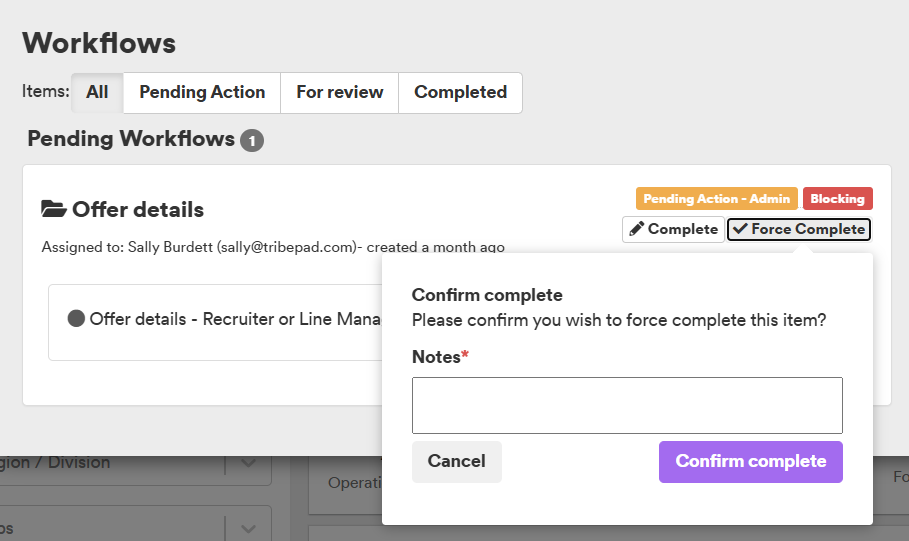
- This option should only be used in exceptional cases, as it marks all of the candidate's workflows as complete - not just a single one.
🗒️ Onboarding Candidate Notes
You can record notes against a candidate and choose to make them visible to everyone or keep them private for your own view.
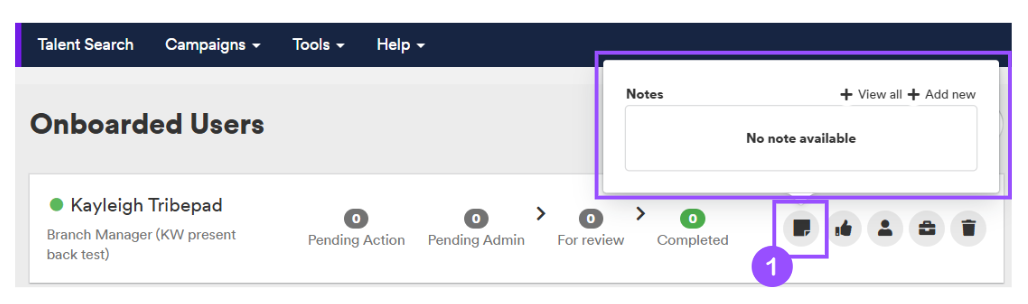
You can add an onboarding note to a candidate either via the “Onboarded Users” list by clicking on the post-it note icon (1):
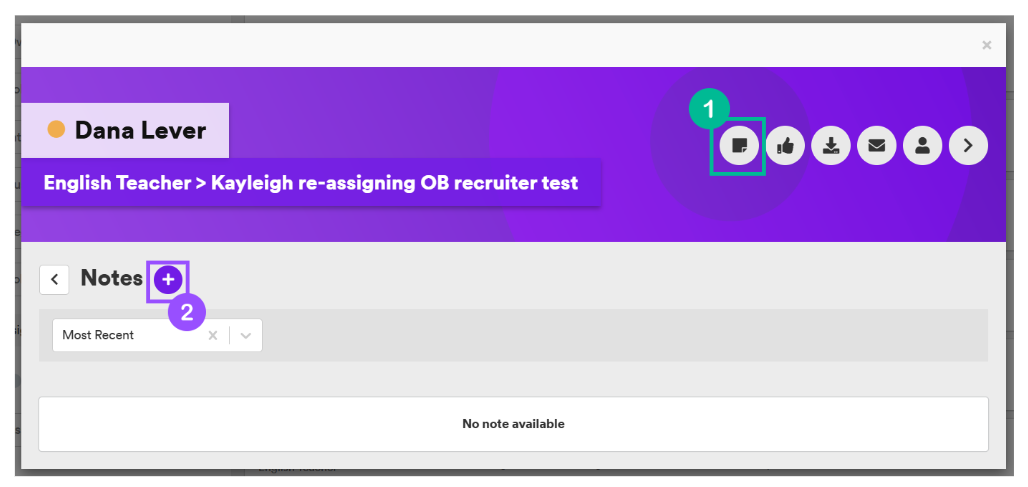
Or by clicking on the Candidate’s name from Onboarded Users, then selecting the post it note from the pop-up (1) and clicking on the + icon (2):
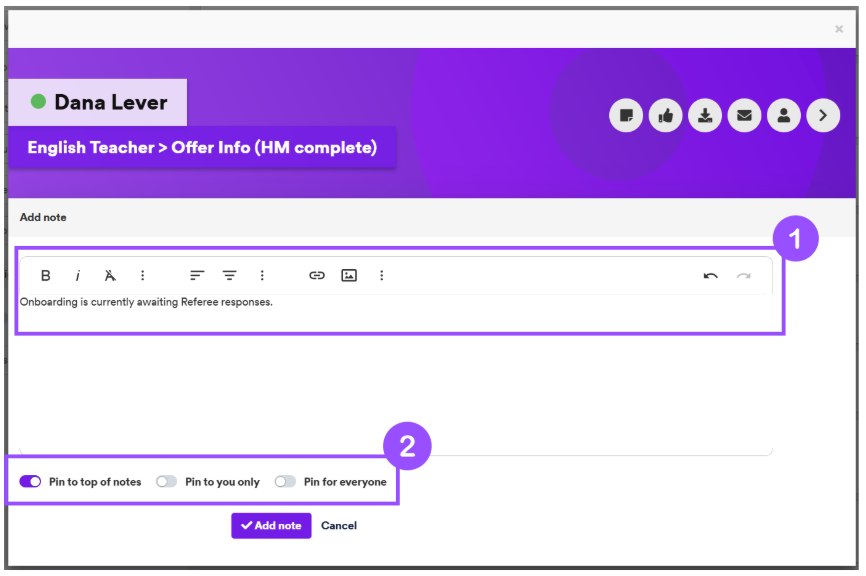
When adding a note you will see that you have multiple editing options to make your text bold for example, or add a link or image if needed (1).
You also have the option to “pin” your note to the top, you might do this if your note is particularly important (2).
Once you have saved your note, your screen will refresh and you will see the following:
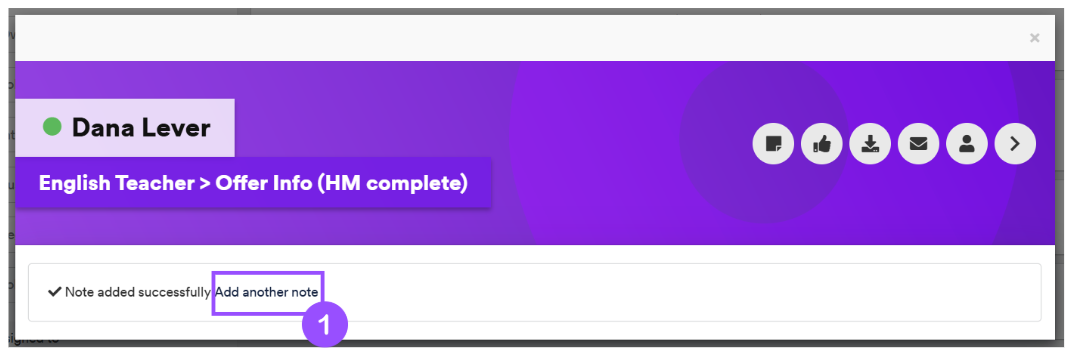
To add another note from this screen, simply click on the text “Add another note” as this is a hyperlink (1).
➡️ Reviewing Notes
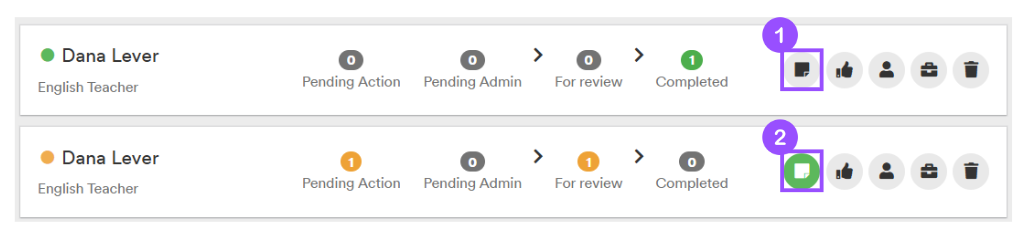
To see what (if any notes) have been added against a candidate you simply need to look at the post-it note icon.
The post-it note icon will either show as grey (1), if no notes have been added against a candidate or green (2) if a note has been added.
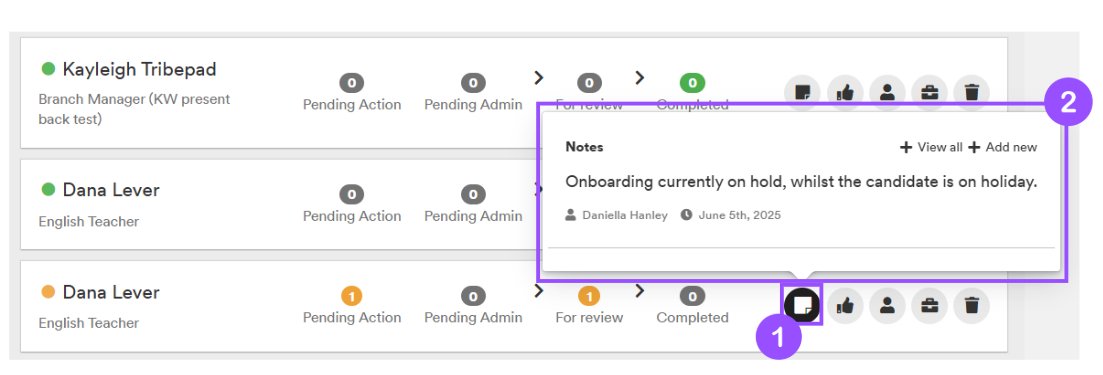
If you would like a quick view of any notes, simply hover over the post-it note icon (1) a pop-up will appear for you to view or add new (2):
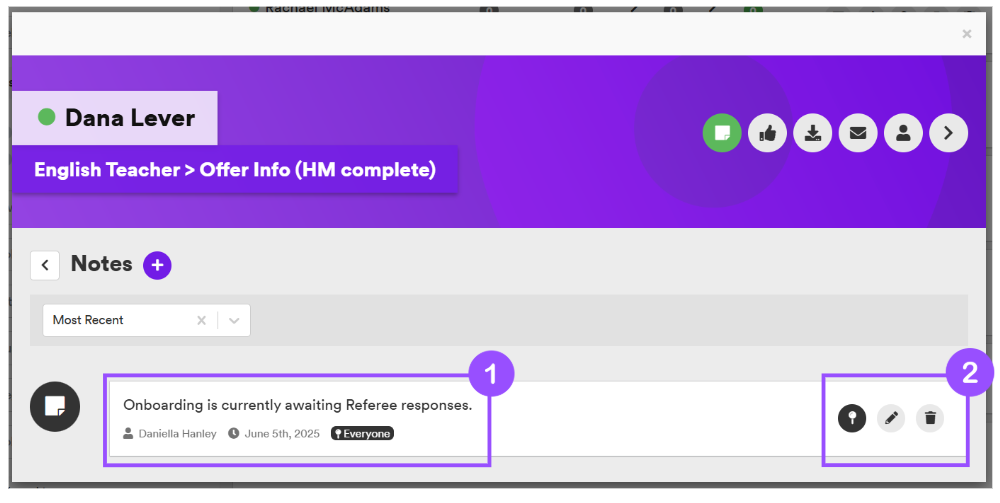
To view the note in full, simply click on the post-it note icon, this will take you to the following page, where you will be able to:
- View the note in full (1)
- Pin the note, edit the note and/or delete the note (2)