❌ Rejecting Candidates
Rejecting candidates is a normal part of the recruitment process.
You can reject candidates in a number of different ways:
- On a per candidate basis
- In bulk
- By using the Delayed Rejection feature
- By using the Pending Rejections feature
To begin, simply select the check box for the relevant candidate or candidates if you would like to reject multiple at the same time or click on the “Select” box (1).

You will then need to head to the “options menu” (cog icon) (1), where you will see the option to “reject” (2):


Once you have clicked on “reject” a pop-up will appear giving you the option to either reject and send the candidate an email, or to simply reject with no further communication to the candidate:
As part of this pop-up you are required to select a “reason” for rejection.

Once you have selected one of the options, you will see the following pop-up to confirm that the candidate has now been rejected.

Any rejected candidates will show up under the rejected candidates section that you can access via the person with a line through them icon at the top of the page (1):


⏰ Delayed Rejections
Once you reject a candidate, an email is automatically generated in order to notify the selected candidate that they haven't been successful in their application for the current role. If you do not use the Delayed Rejection feature, the email will be generated as soon as you carry out the action.
The Delayed Rejection feature, however, allows you to postpone generating the rejection email by a minimum of 24 hours.

➡️ How do Delayed Rejections work?
The minimum time frame for delaying the email is 24 hours, with no upper limit. In order to set this feature up, you will need to advise Tribepad of the delay period that you require.
Once the process has been completed, Tribepad will send through confirmation and there is no further action required other than to continue with your recruitment process as normal.
When a candidate has been rejected any email communications that are due to be sent will show in the candidate's profile as “Queueing” until the email has been processed.

⌛ Pending Rejections
Pending Rejections or two-step rejection, is a feature that allows you to reject a candidate without anything being displayed to the candidate until the rejection is confirmed.
This is a great feature that allows you to inform all unsuccessful candidates that they will not be continuing with their application at the same time.
➡️ How do Pending Rejections work?
With this feature, you reject candidates in the same way as you would normally, whether this is manually or automatically using auto-processing.
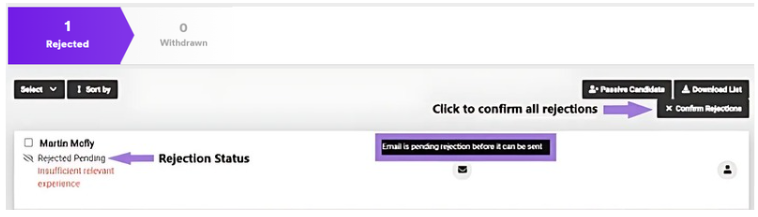
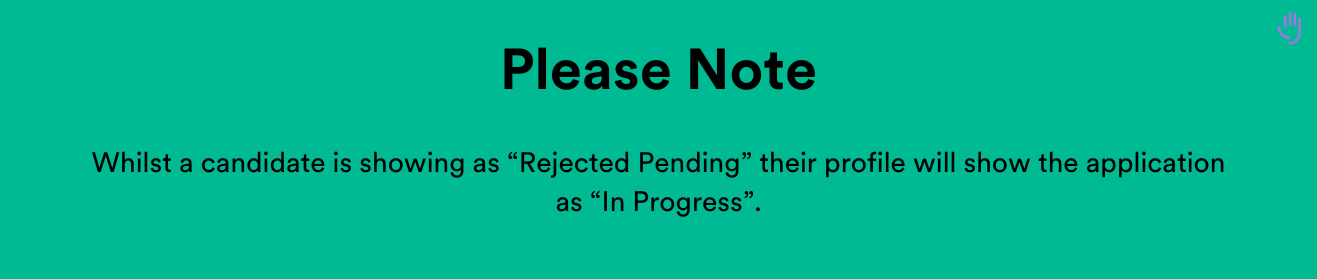
The candidate(s) will then appear in the rejected bucket with the sub status “Rejected Pending” this purely means the rejection is not yet complete and any email communication will be queued until the rejection has been confirmed.
To confirm all the rejections within the rejections bucket, simply click the button titled “Confirm Rejections” this will confirm the rejection for all the candidates who are pending rejections and trigger any queued rejection emails.