✏️ Introduction
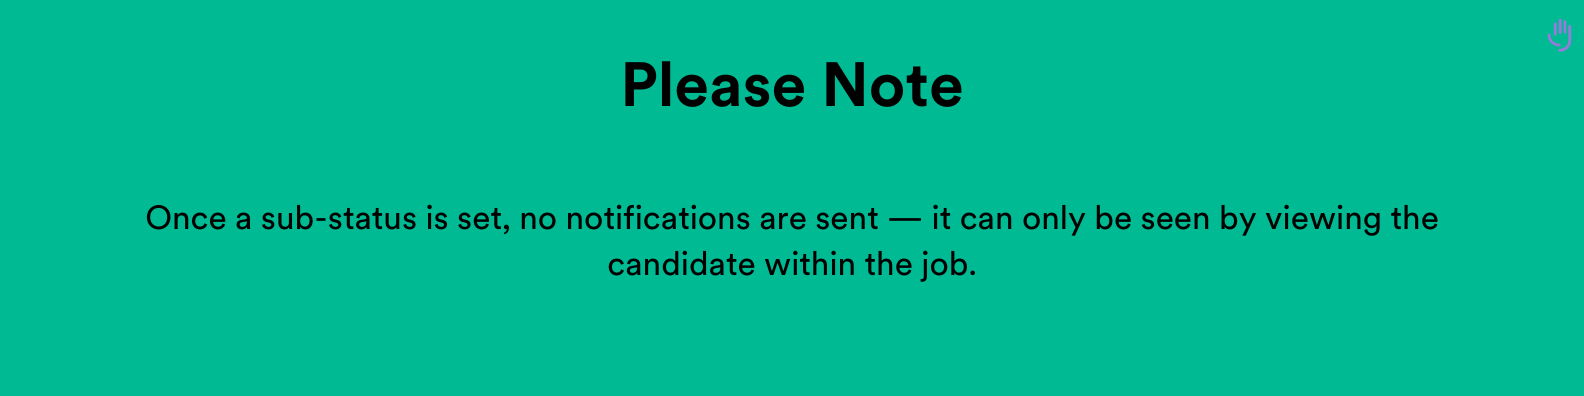
Sub Statuses are internal notes/prompts that can be applied to candidates within a bucket. They act as a useful communication tool between different users in the hiring process. Sub Statuses help indicate intent or suggest actions without making final decisions — for example, using a Sub Status like “In Review (Recommend To Shortlist)” allows another user to see that a candidate is being recommended for the next stage, without the first user having to take that action themselves.
Sub Statuses help streamline collaboration and keep candidate evaluations clear and consistent across your recruitment team.
💻 How To Apply A Sub Status
To get started, head to the candidate bucket and tick the checkbox next to the candidate(s) you want to update.
Next, click on the Options button (1), then choose Change Status (2):
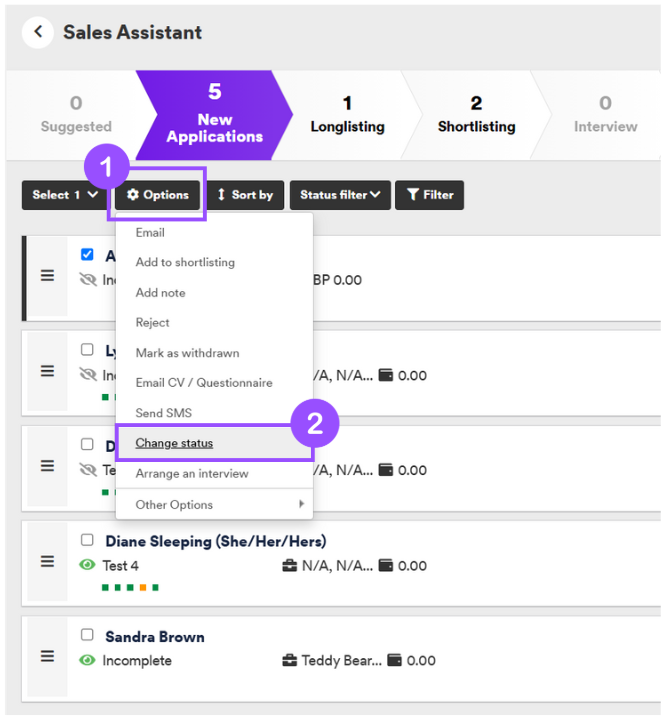
A dropdown list will appear with a range of pre-set Sub Statuses, click on the arrow to open this (1).

And select the option most appropriate for the candidate’s current situation (e.g., “In Review (Recommend To Shortlist)”) (2).


Once you are happy with your selections, click Change Status to apply your selected Sub Status.

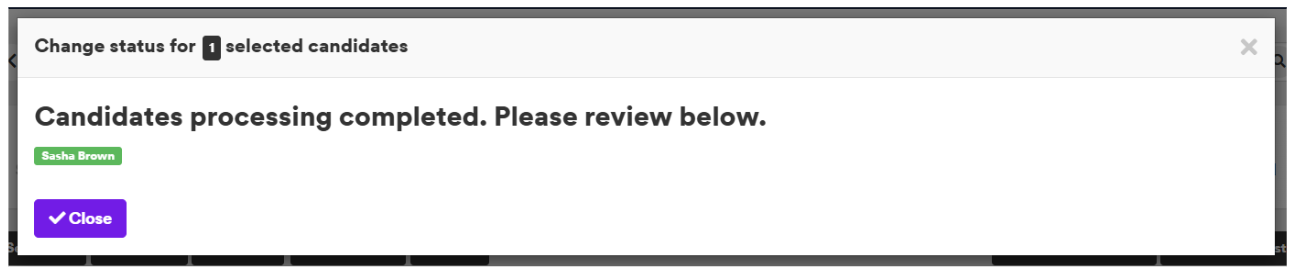
A pop-up will appear confirming the Sub Status change. Press Close to continue.
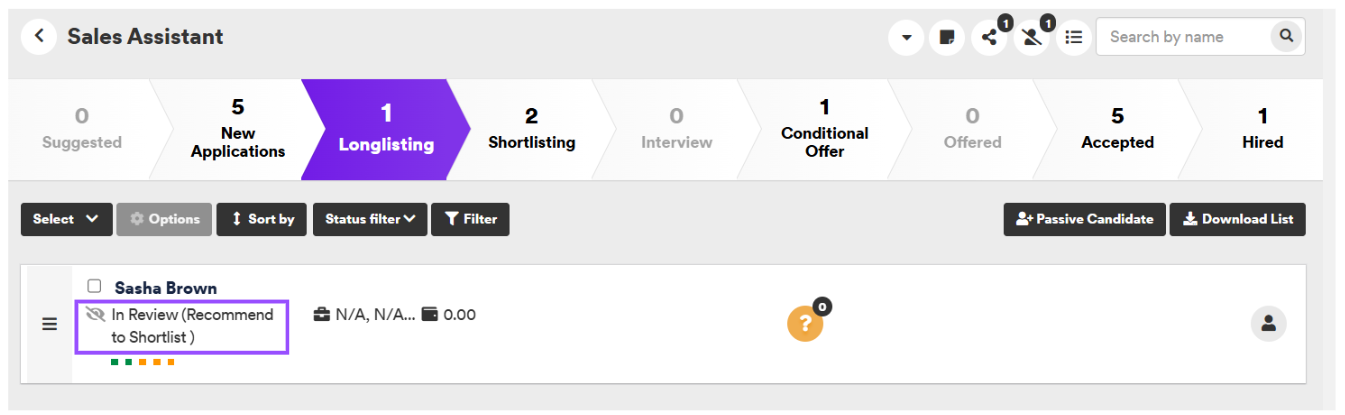
The selected Sub Status will now appear underneath the candidate’s name in the bucket.