


✏️Introduction
Tribepad’s E-sign feature allows candidates to electronically sign contracts directly within the platform. They can create a digital signature and add stylised initials to documents, giving the experience of physically signing paperwork, without needing to leave the system or use any external tools.
This provides a smooth, fully integrated signing process for both candidates and hiring teams.

‼️This feature will require a contract amendment.
This amendment includes wording that only indemnifies the signature as legally binding in the UK. This is not to say the signature/contract is not legal outside of the UK, just that we have not had this checked legally in every country.
✒️Creating A Contract With E-Sign
To use E-sign, you simply need to add the relevant variables into your contract. These can be added to a new or existing contract.
Whilst on your contract, to add a variable simply highlight the text that you would like to replace with the variable, and then select the relevant one from the tool bar, or drag and drop the variable into the correct place:

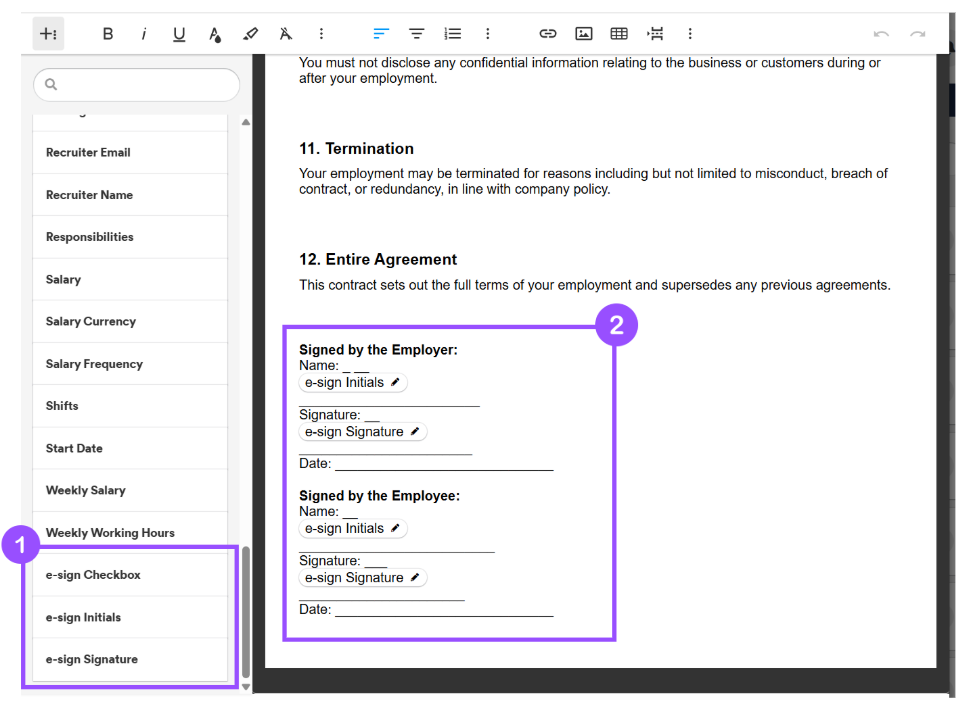
Whilst on the list of variables, you will see that you have multiple options for e-sign that you can add to your contract (1).
- The E-sign Checkbox adds a tickbox to the contract.
- This can be used for checklists or to confirm agreement with specific statements.
- The Initials option lets candidates place stylised initials next to specific sections of the contract, such as disclaimers or declarations.
- The Signature option allows candidates to type their name and choose a font style to use as their electronic signature.
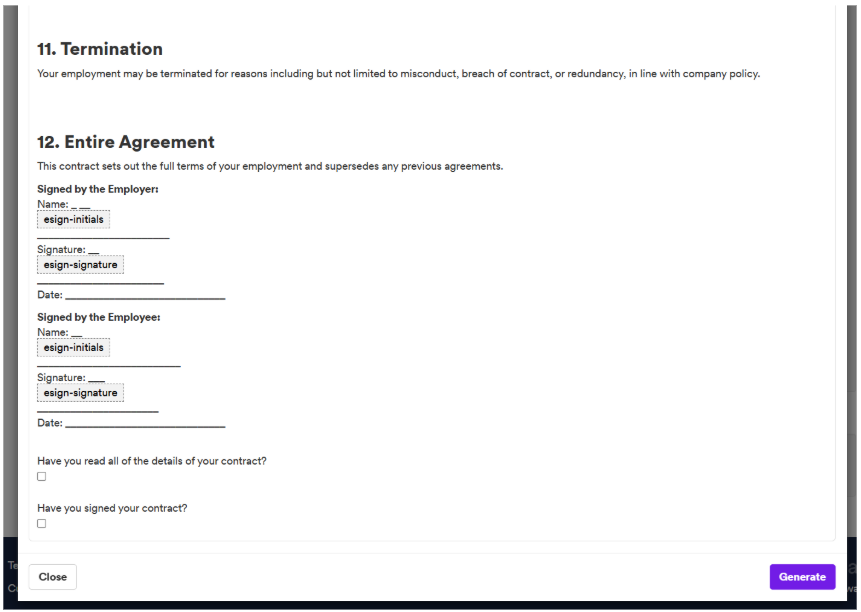
Once added, you will see them as shown in the image above (2).
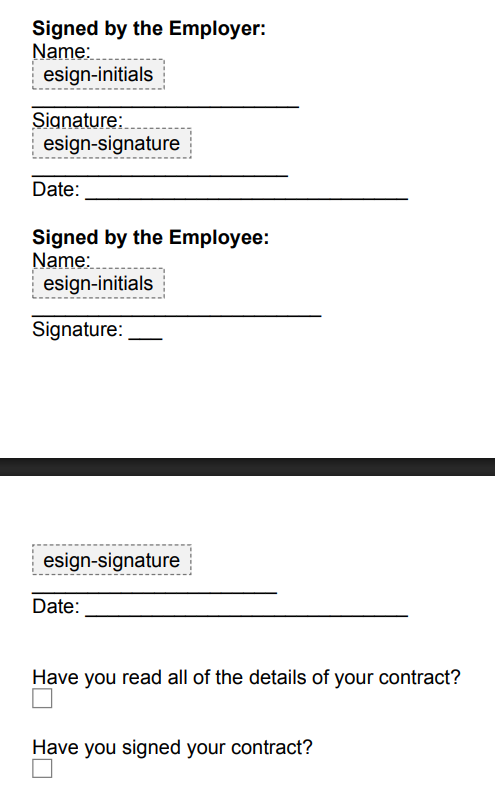
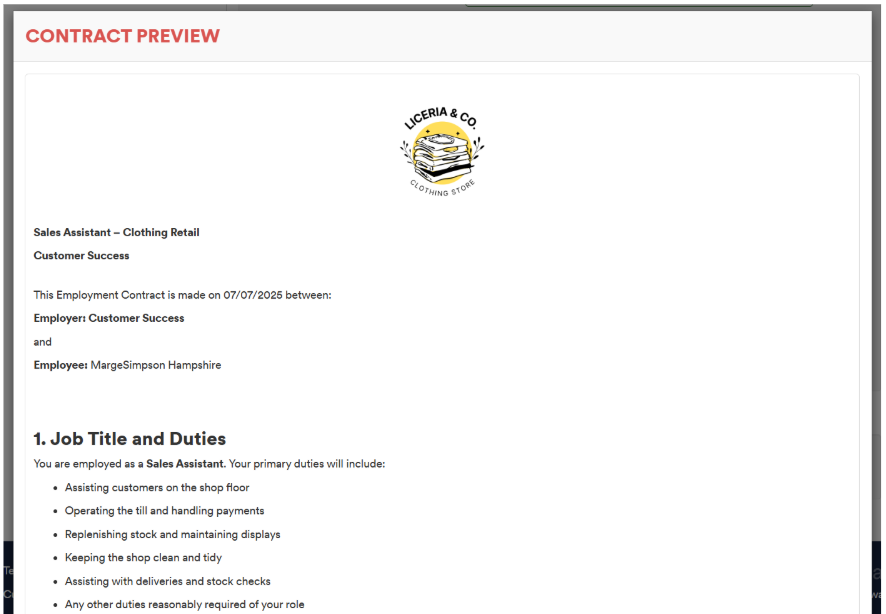
If you “Preview” your contract, you will be able to see what the candidate will see:
Once you are happy with your contract, you have the option to either “Save Details” or “Save and preview”:

📜 Generating A Contract With E-Sign
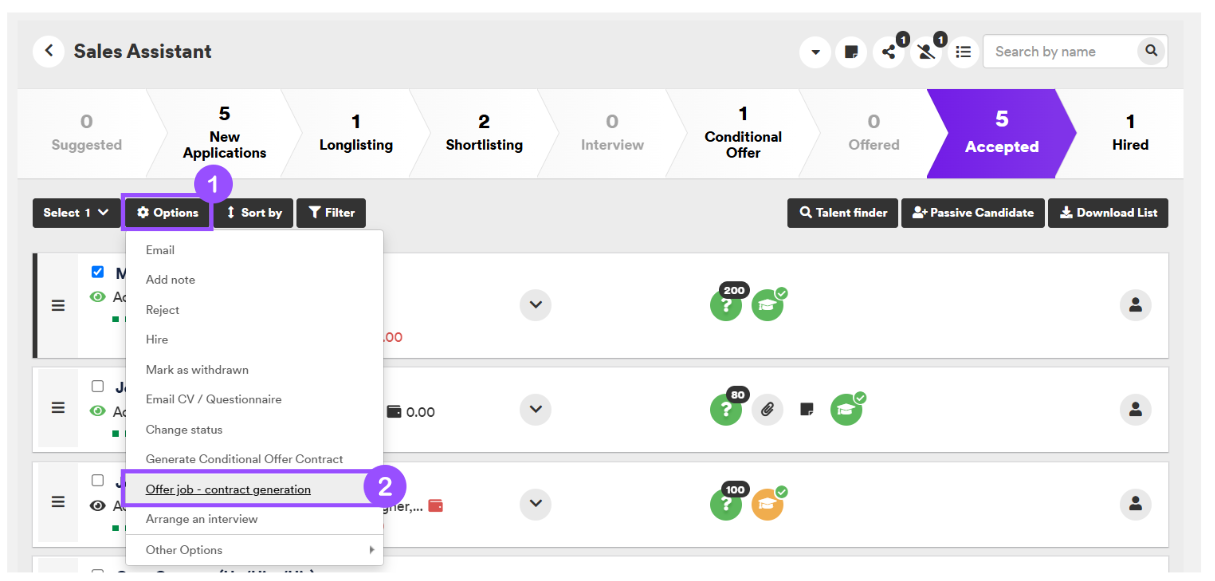
When generating a contract for a candidate with E-sign, start by clicking on Options (1) followed by “Offer job - contract generation” (2).

For more information about how to generate contracts 🖱️ see our further guidance here.
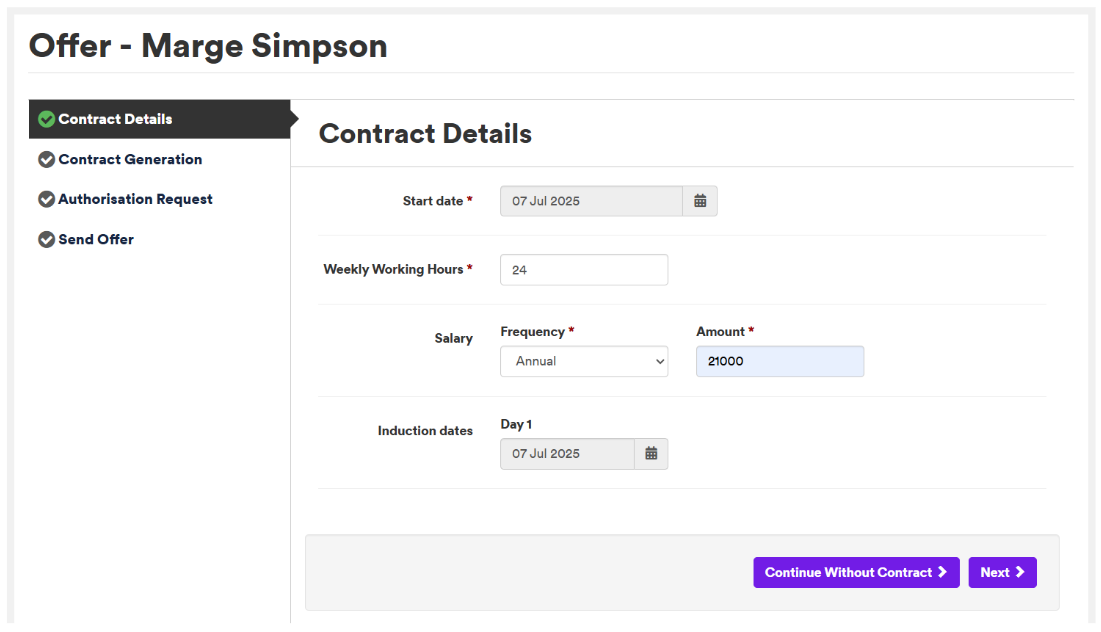
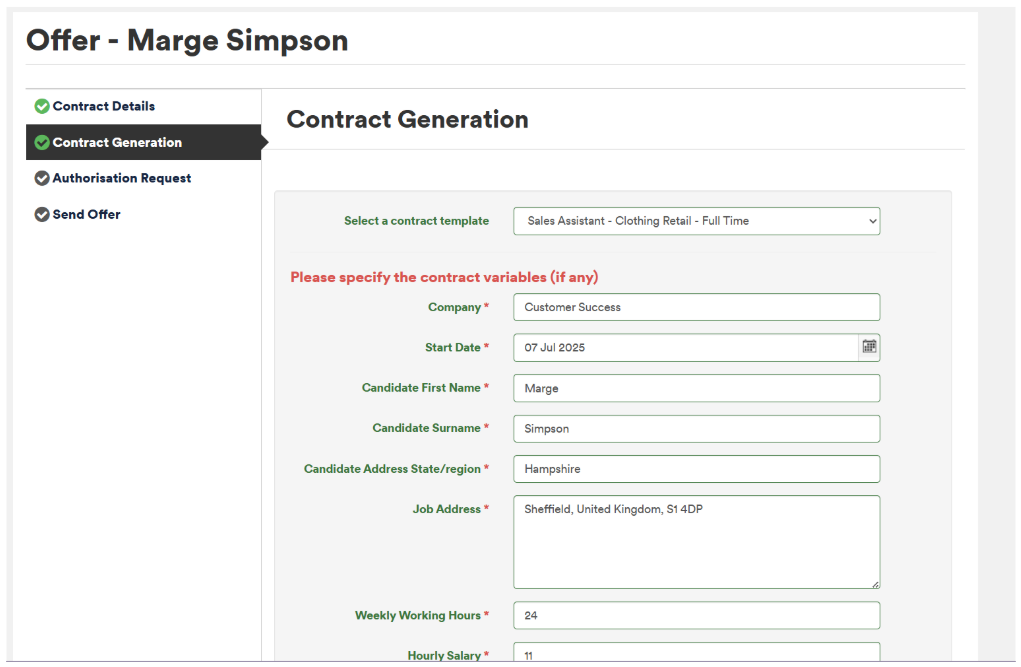
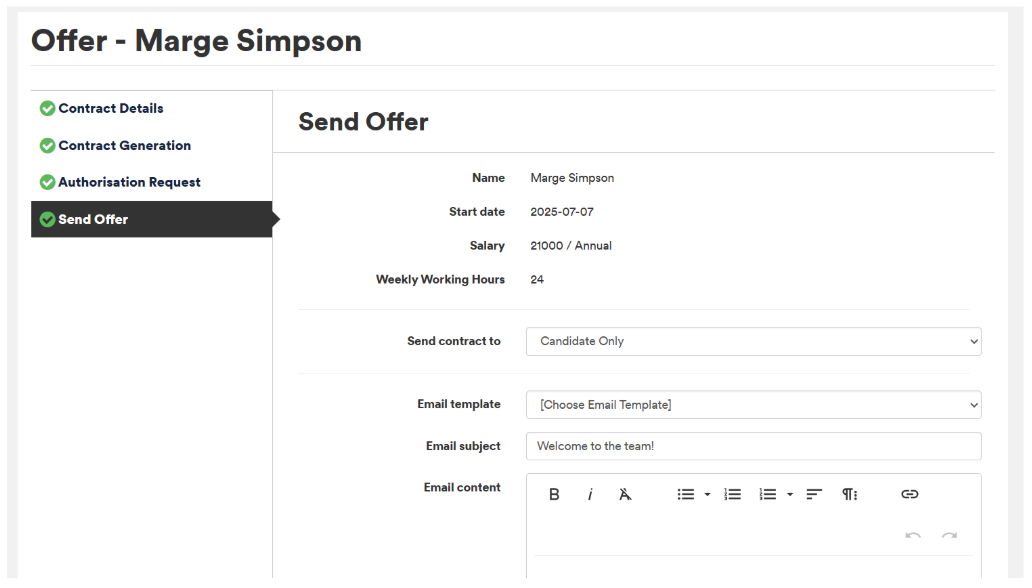
Fill in all relevant fields on the Contract Details and Contract Generation page:
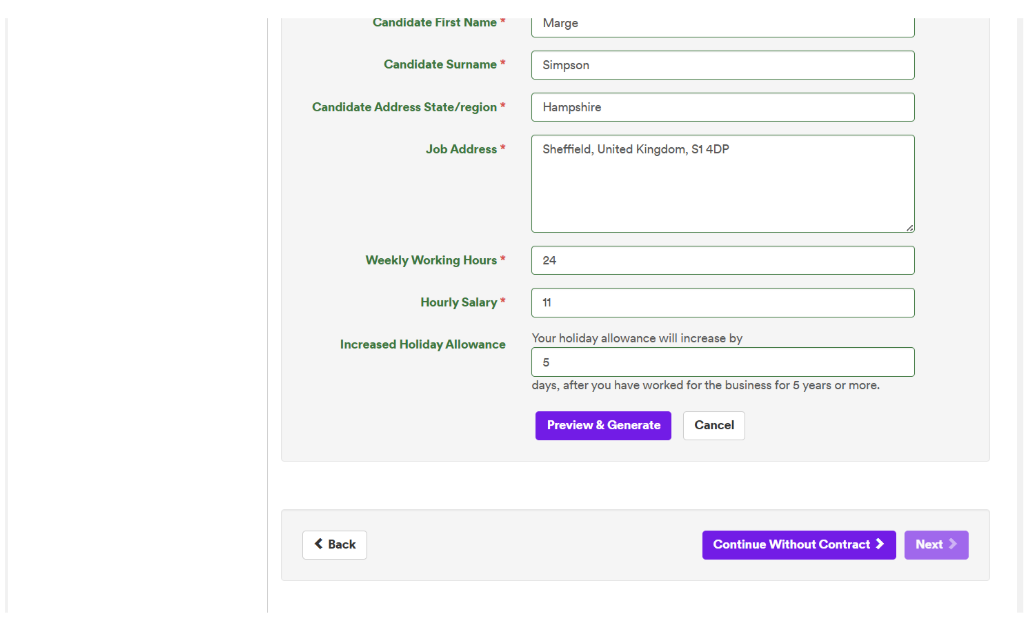
Next, Preview and Generate:
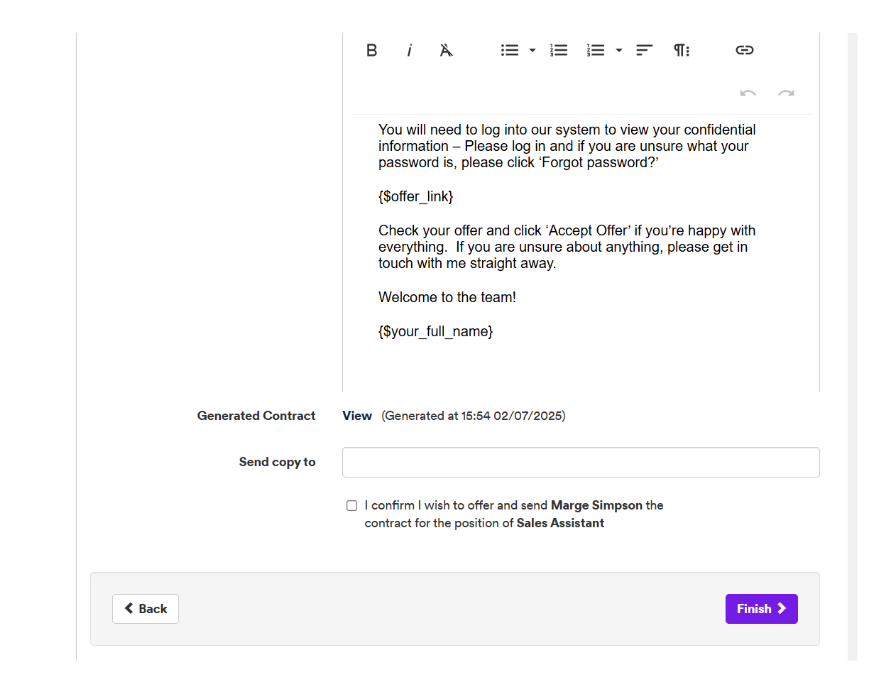
You may also need to send your contract for authorisation. Once you have had your offer authorised, you can “send offer”:
👥 Candidate View Of Contract With E-Sign
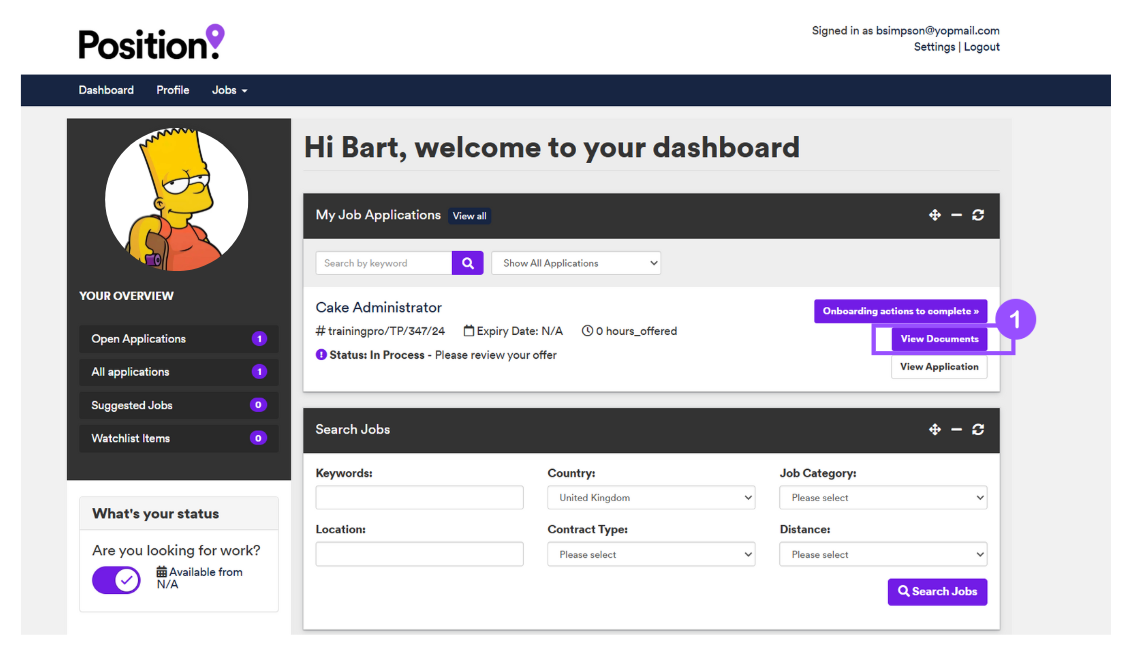
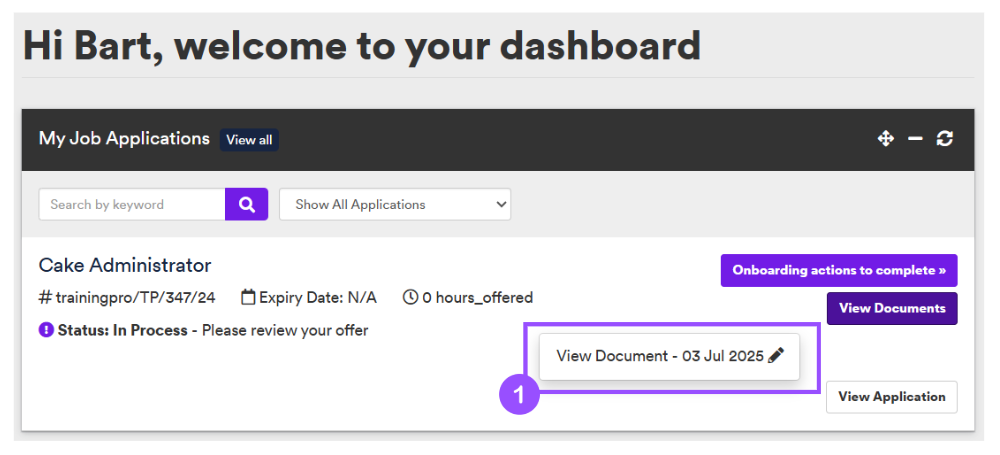
Once a candidate has been moved to the “Offered” stage in the ATS, they will see the usual call-to-action on their Dashboard and a button to “View Documents” (1):
After clicking on “View Documents” the candidate will see a small pop-out, where they will need to click the pencil to be taken to their contract (1):
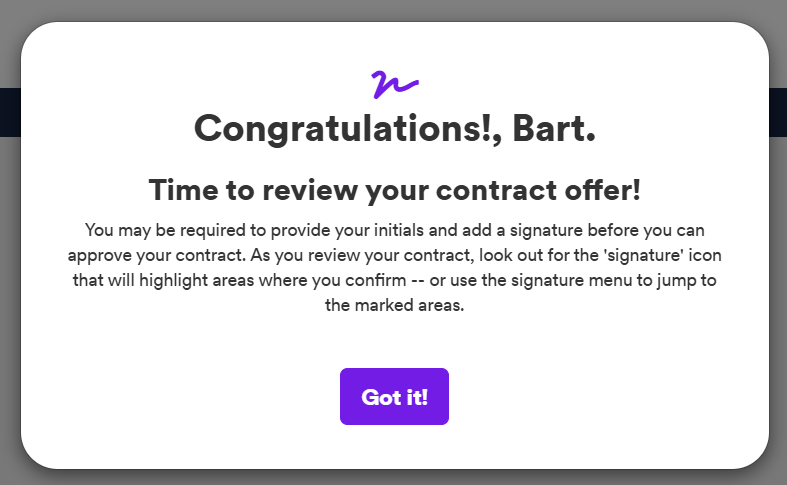
The candidate will now see the following pop-up, click on “Got It!” to close this:
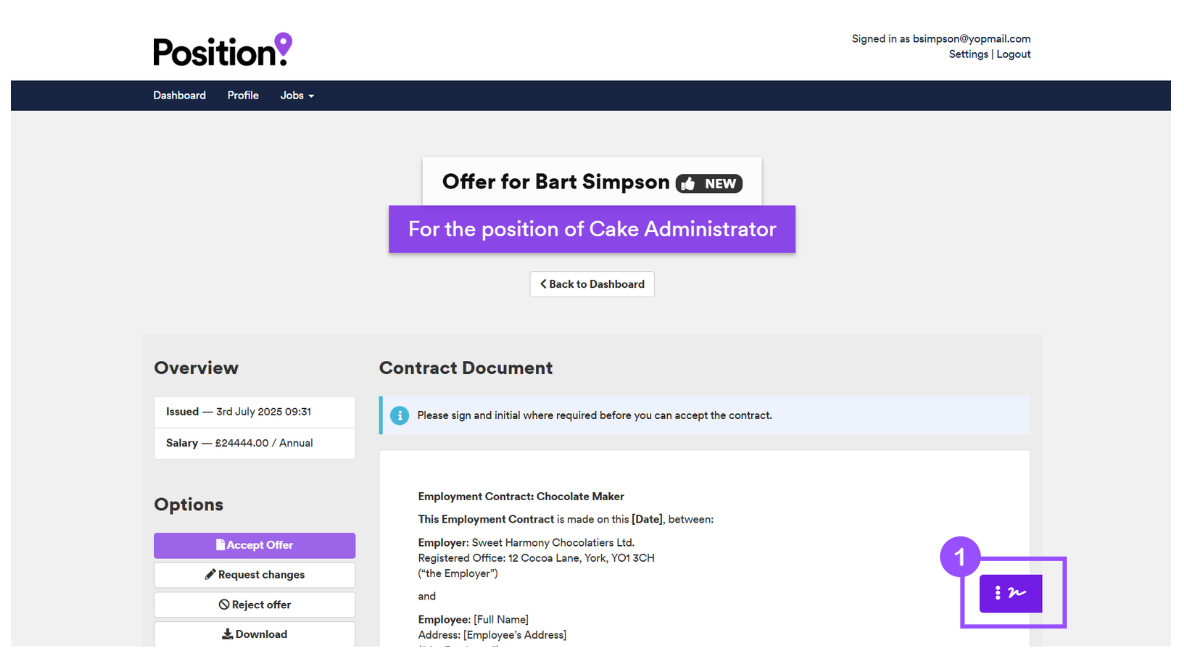
Once on their contract, they can click on the purple e-sign icon in the bottom right corner (1) at any point, to add their initials or signature (as specified when the contract was created):
Clicking on the purple e-sign icon opens up the options banner to the candidate (1):
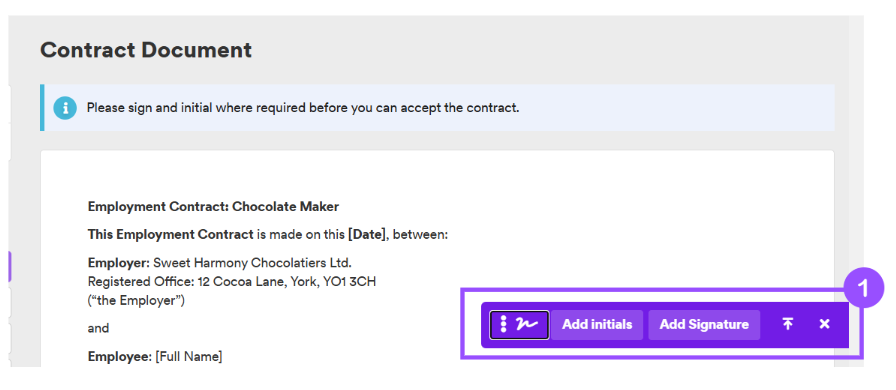
- They can hide the expanded purple banner by clicking on the three vertical dots on the left-hand side
- They can also return to the top of the page by clicking on the arrow icon on the right-hand side.
Clicking on either the “Initials” option or “Signature” option takes the candidate to the section in the contract where the e-sign variables were added (1):
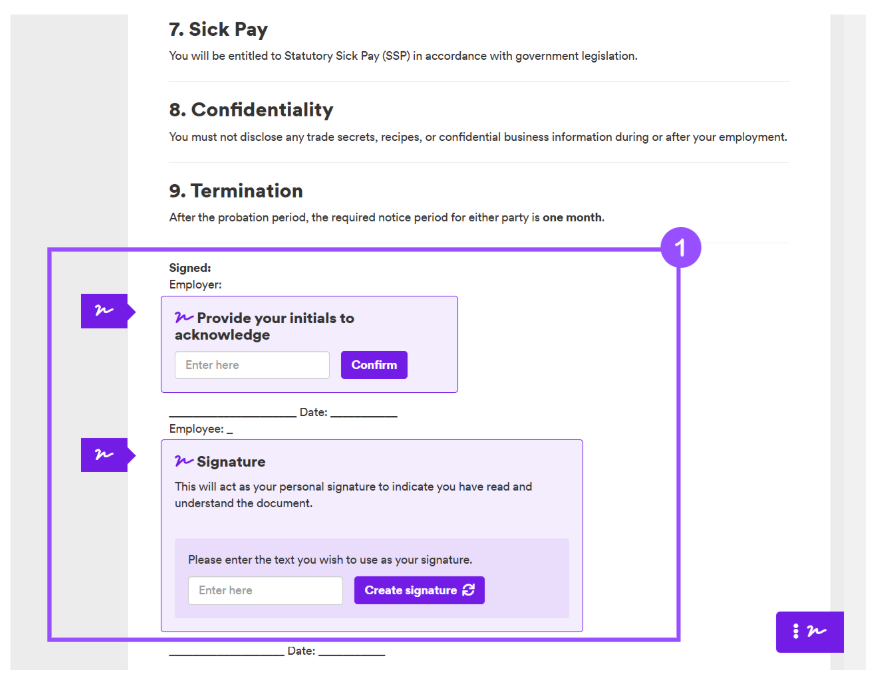
In order to add your initials simply type into the “Enter Here” text box and click on “Confirm”.
To create an e-signature, again fill in the “Enter Here” text box and select the style of font that you would like to use as your signature followed by clicking on “Create Signature”:
- If the candidate wishes to change the style of their e-signature or text, they can simply click “Edit” and select another option

If the “E-sign Checkbox” variable has been used in the contract, the candidate will see something like this in their contract:
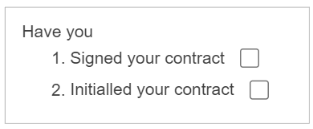
The relevant options in the list should be selected and then the once all e-sign elements have been completed, the candidate can confirm that they have read and understood their contract, with the toggle option at the bottom of the screen:
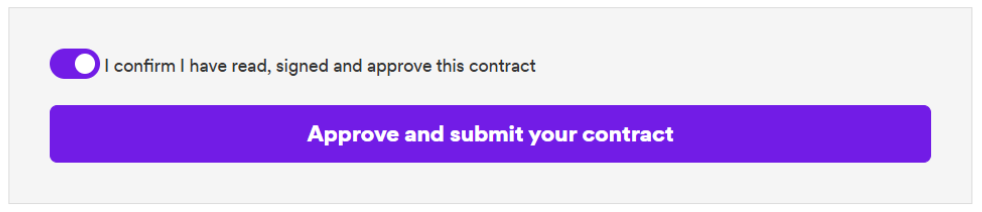
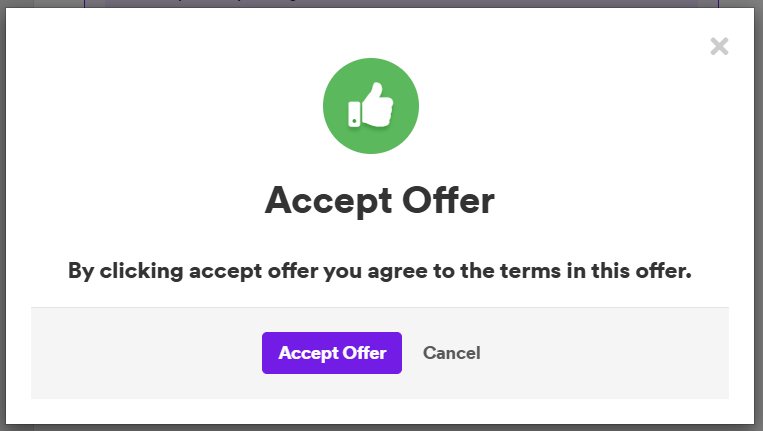
When the “Approve and submit your contract” option is selected, the screen will refresh and the candidate will be presented with the following option:
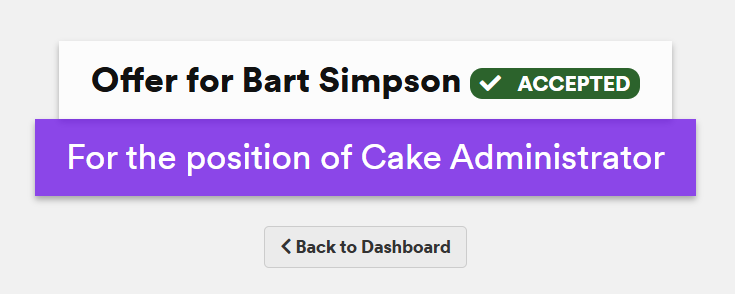
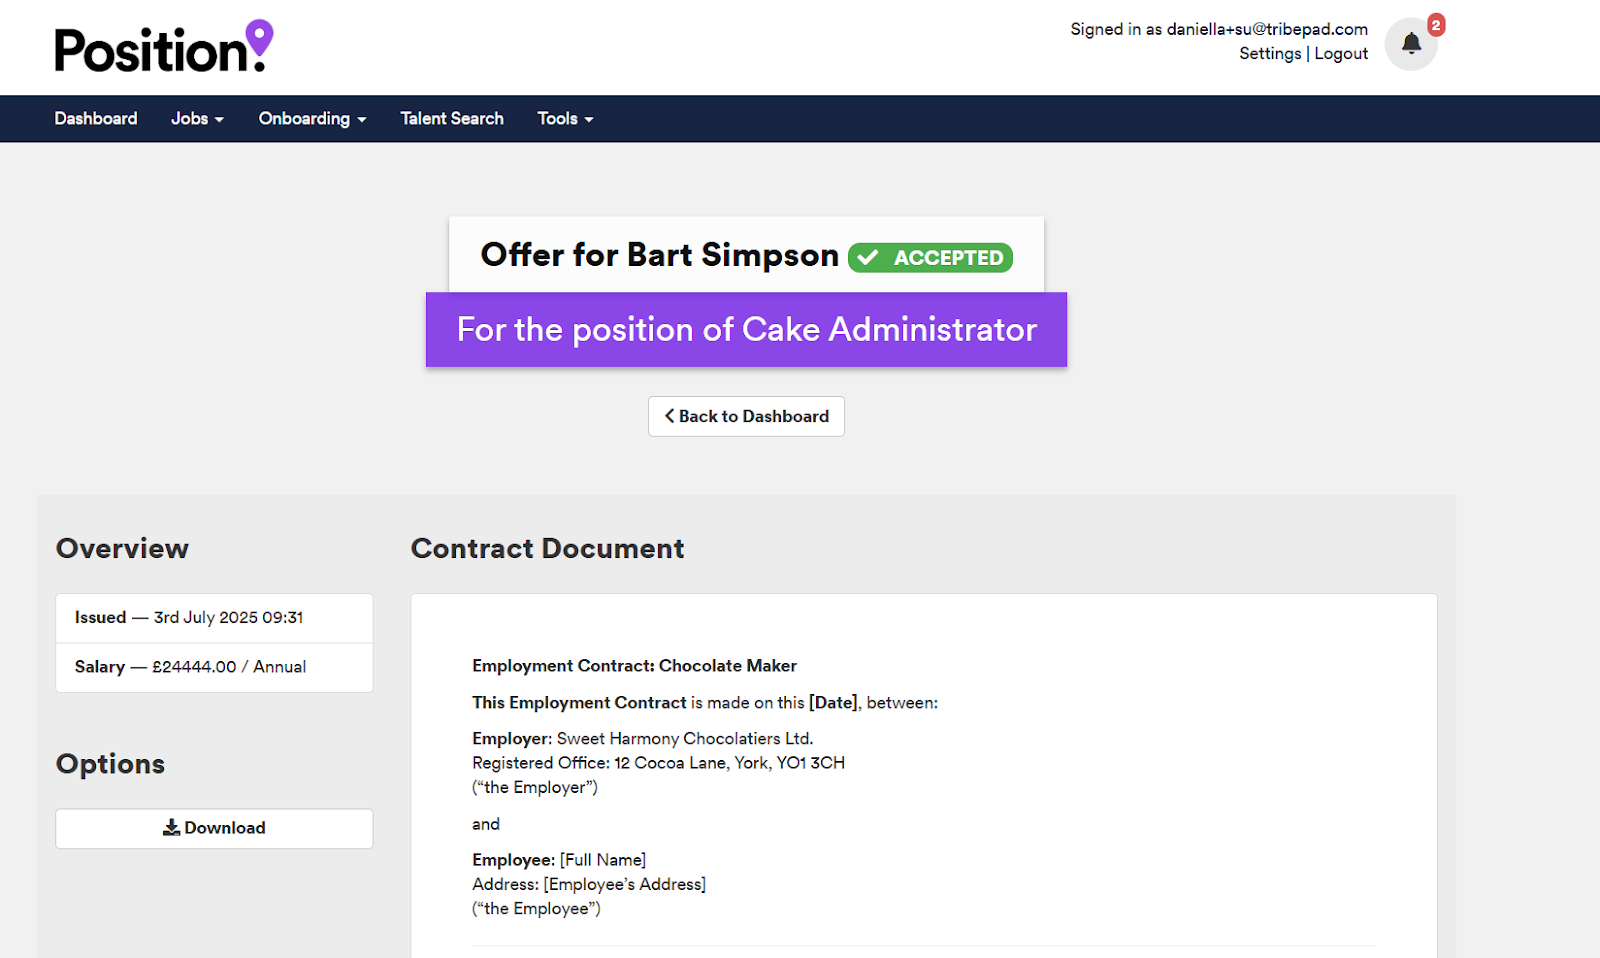
Once the candidate has accepted the offer, their screen will refresh and they will see that the acceptance has been registered:
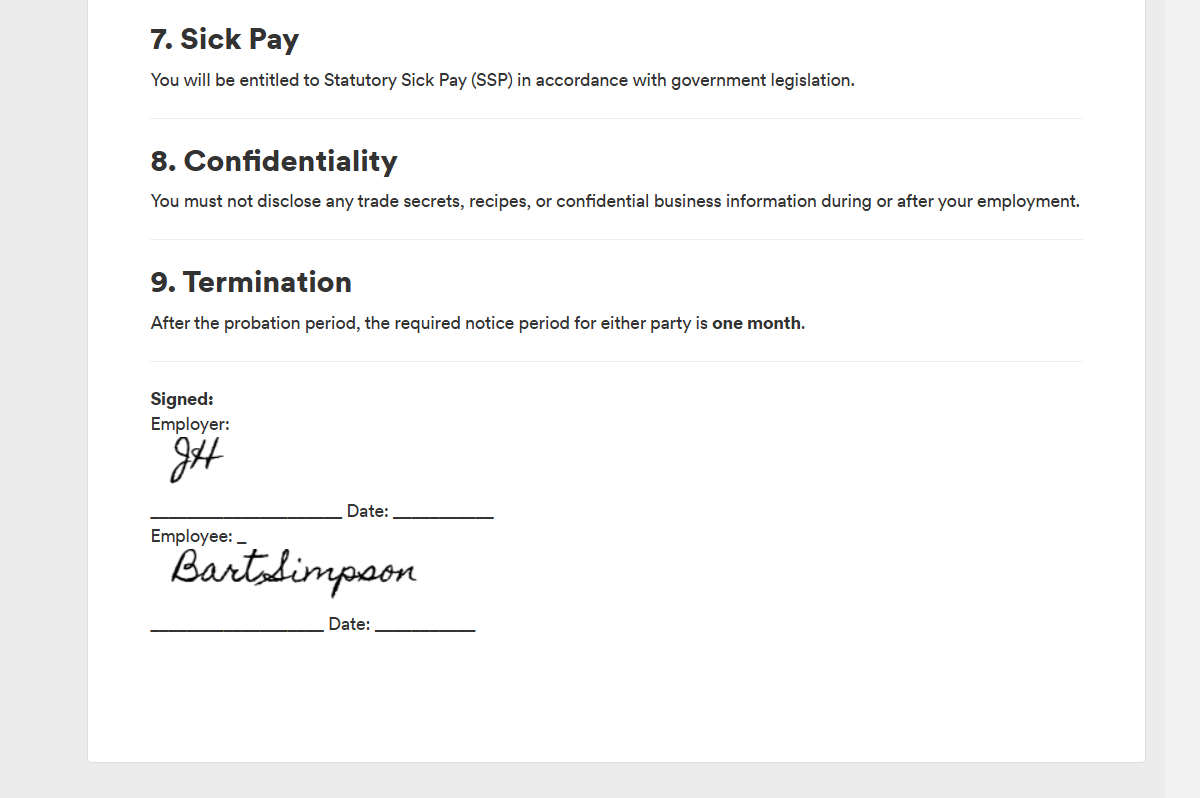
The candidate will also be able to view their accepted contract and see where they have added their signature and initials (if applicable):
🔎 To View The Completed Contract With E-Sign
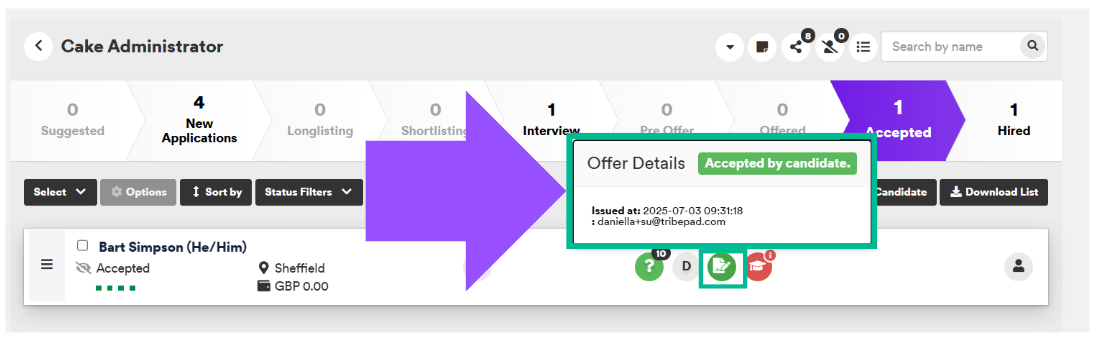
Head to the “Accepted” bucket to find your candidate. Next click on the “Contract” icon on the candidates profile:
This will open a copy of the completed contract for you to view:
To see the e-signature, simply scroll down the contract to where the e-sign variables were added in the contract (1):
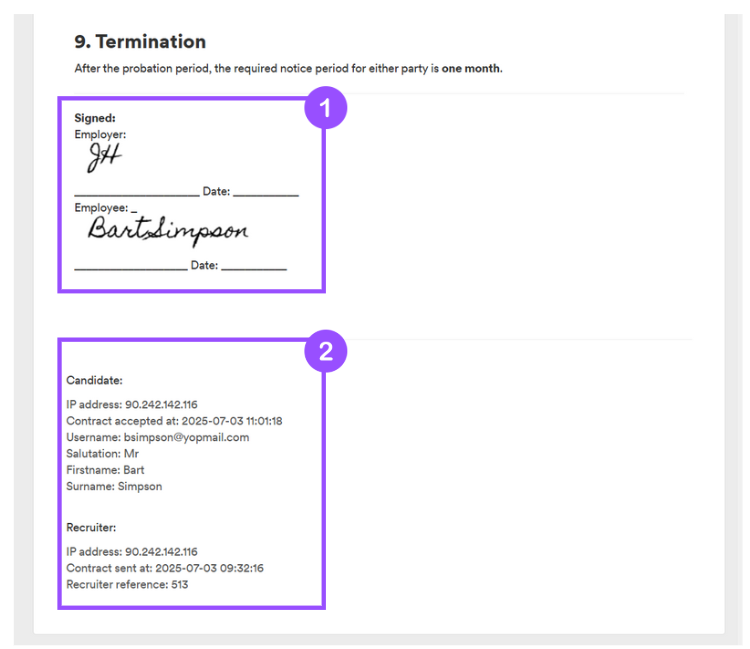
The contract will also display a stamp showing the candidate’s IP address, along with the date and time it was signed (2).