📜 Standard Contract Generation
This basic method allows you to manually create and send contracts but does not support:
- Automatic stage movement (e.g. to “Offered”).
- DocuSign integration.
- Onboarding workflow attachment.
If you need these features, please see the ⚓ Extended Process section below.
🔹 Generating a Contract (Standard Method)
Under the “Options” (1) & “Other Options” (2) menu within a job, you’ll see two options:
- Generate Contract (not linked to a job – Contract Authorisation does not apply)
- Offer job – Contract generation (linked to a job and uses Contract Authorisation)

To use Contract Authorisation Policies, select Offer Job – Contract Generation.
After selecting “Offer job - contract generation” you will be taken to the following page where you will need to check the pre-populated salary or enter a new one:
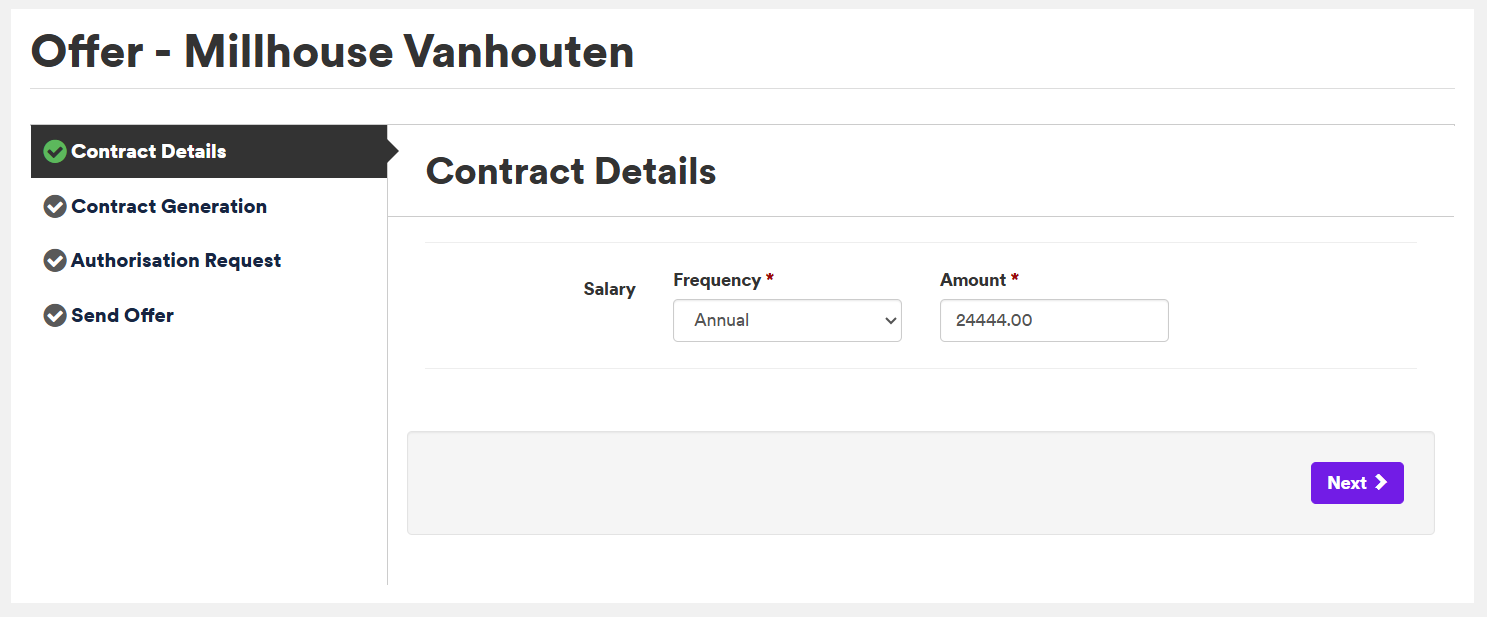
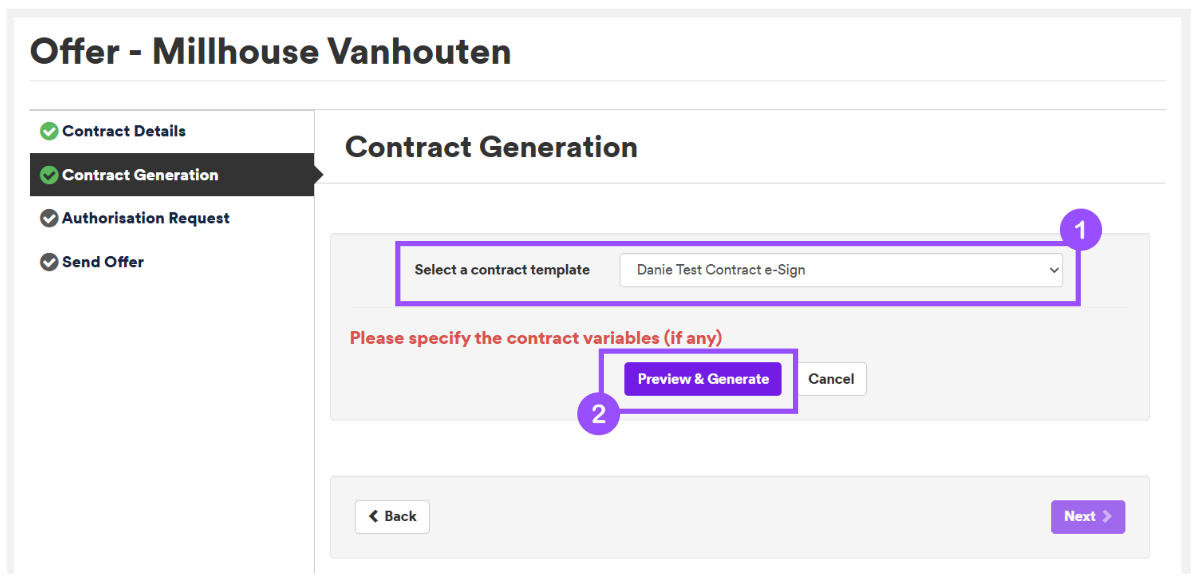
Click Next. You will now be taken to the next step, where you need to check or select the relevant contract from the drop-down list (1).
Once you have selected the right template, click Preview & Generate (2) so that you can review any contract variables (e.g. start date, address).

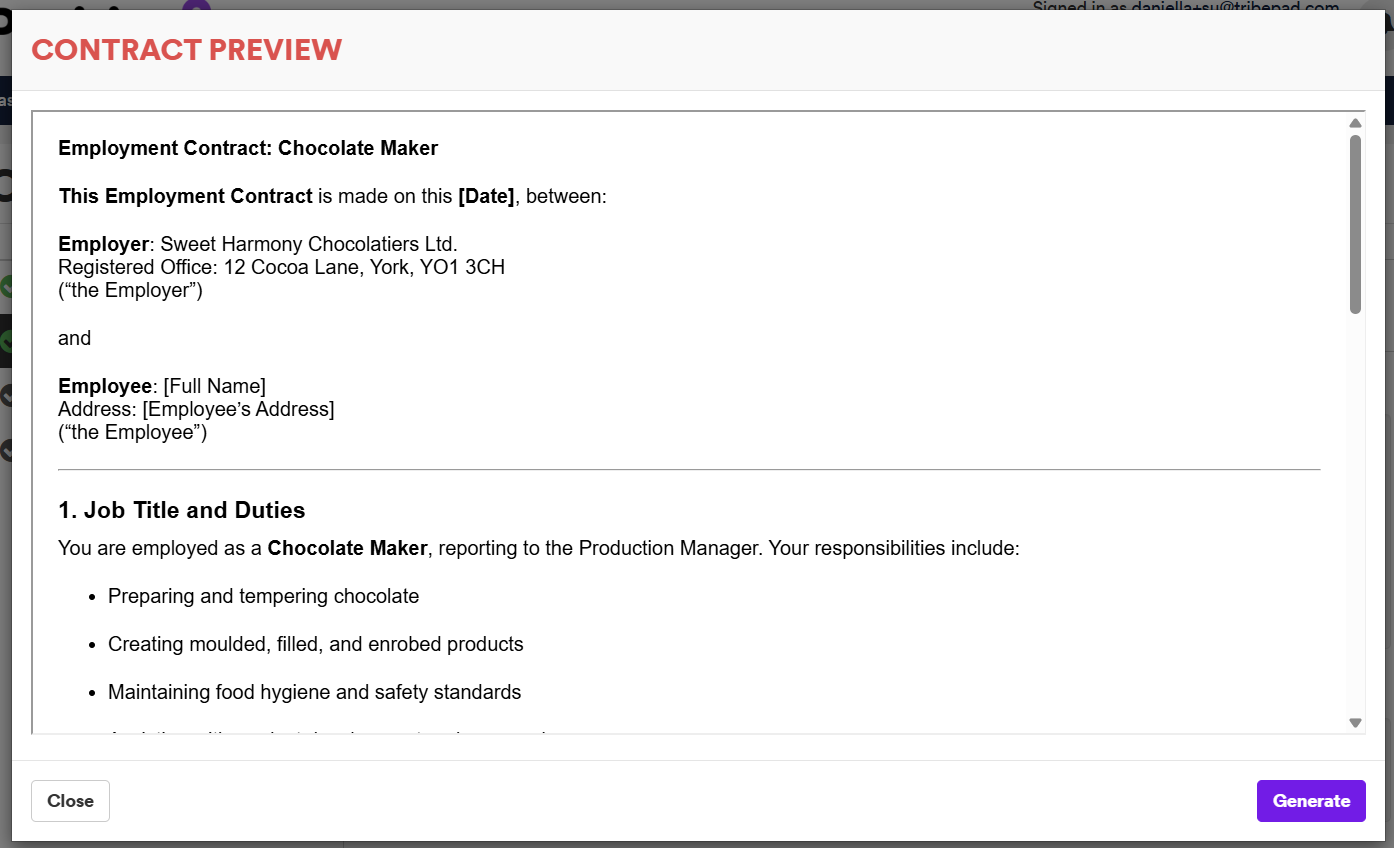
If you are happy with the Contract Preview, when ready, click Generate.
You’ll then see a confirmation screen. If needed you have the option to “Create new contract” (1):
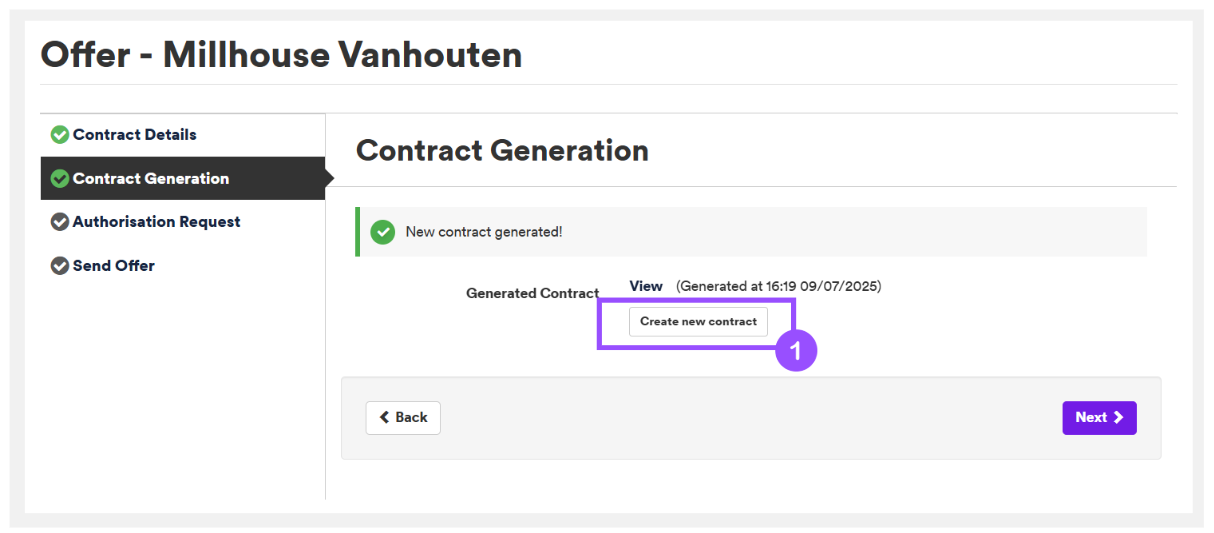
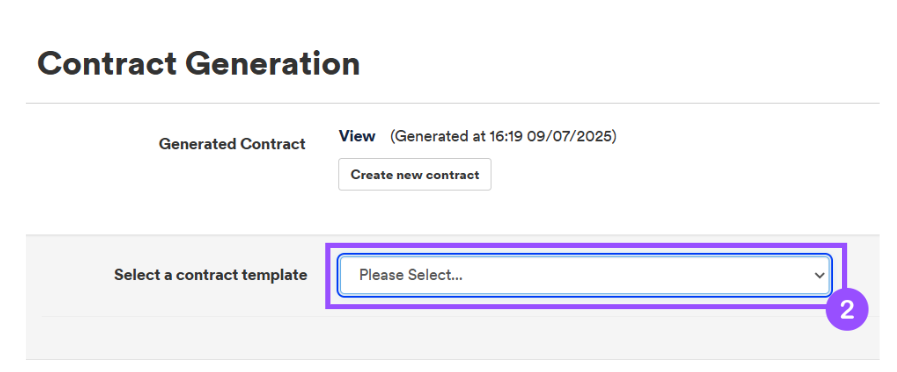
If you click on the "Create new contract” button you will see the option to select another contract from the drop-down menu again (2):
Once you are happy with your contract generation, click Next.
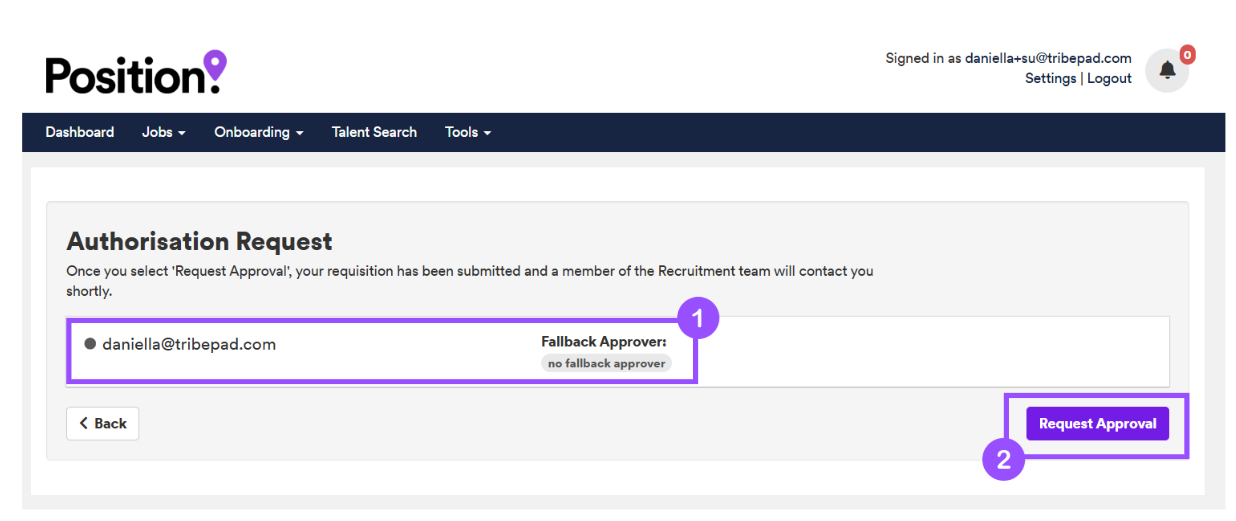
If the job has a Contract Authorisation Policy attached, you will be prompted to send the contract for approval:
- You will see who is the required approver, and if any fallback approvers have been attached to this contract policy (1)
- Once ready, click Request approval to notify the approver(s) (2)
- You cannot continue until approval is granted
Once authorisation has been requested you will see “pending” next to this request until it has been authorised:
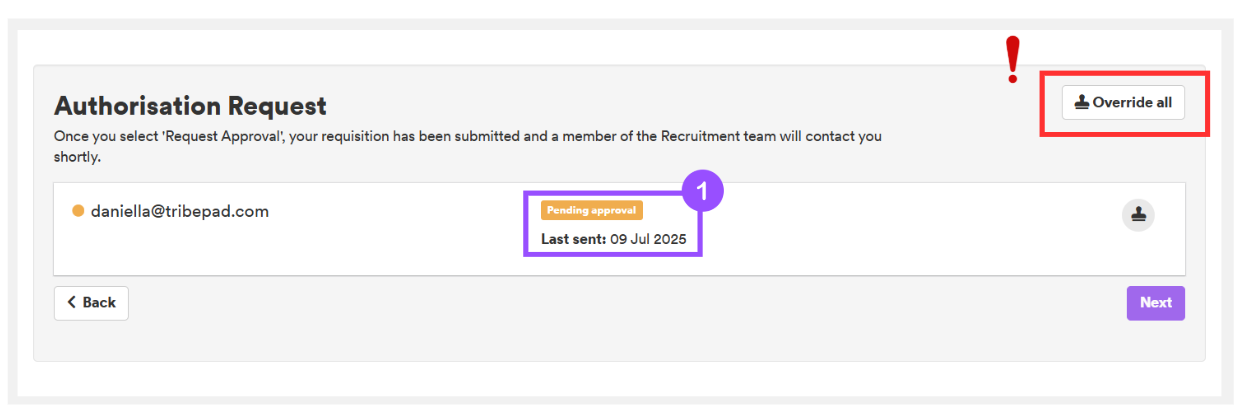
Be aware, depending on your user-type you may see the ability to “Override all” - this option usually only shows for “Super-Users”.
To learn more about the Contract Authorisation process 🖱️ see our further guidance here.
Once the request has been authorised (or overridden) you will see the following:
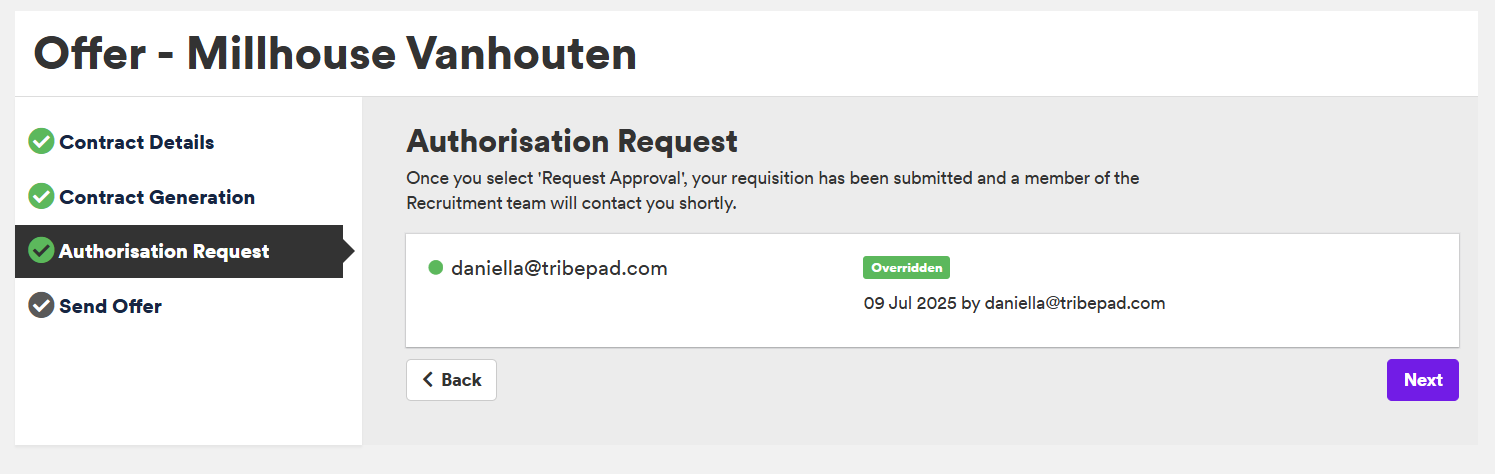
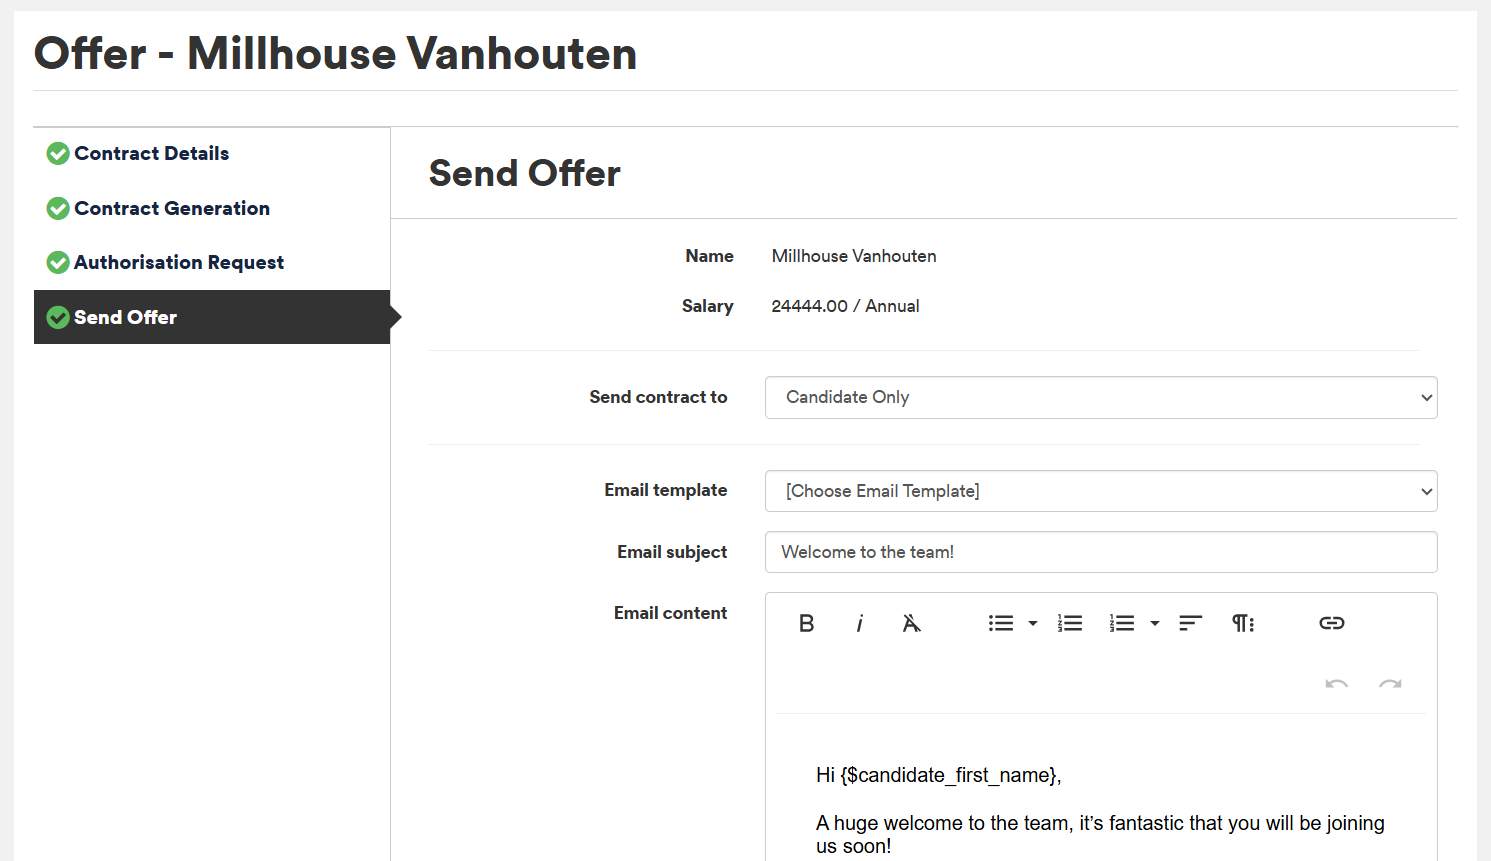
You’re now able to send your offer to the candidate:
🔹 Reviewing from the Candidate's Perspective
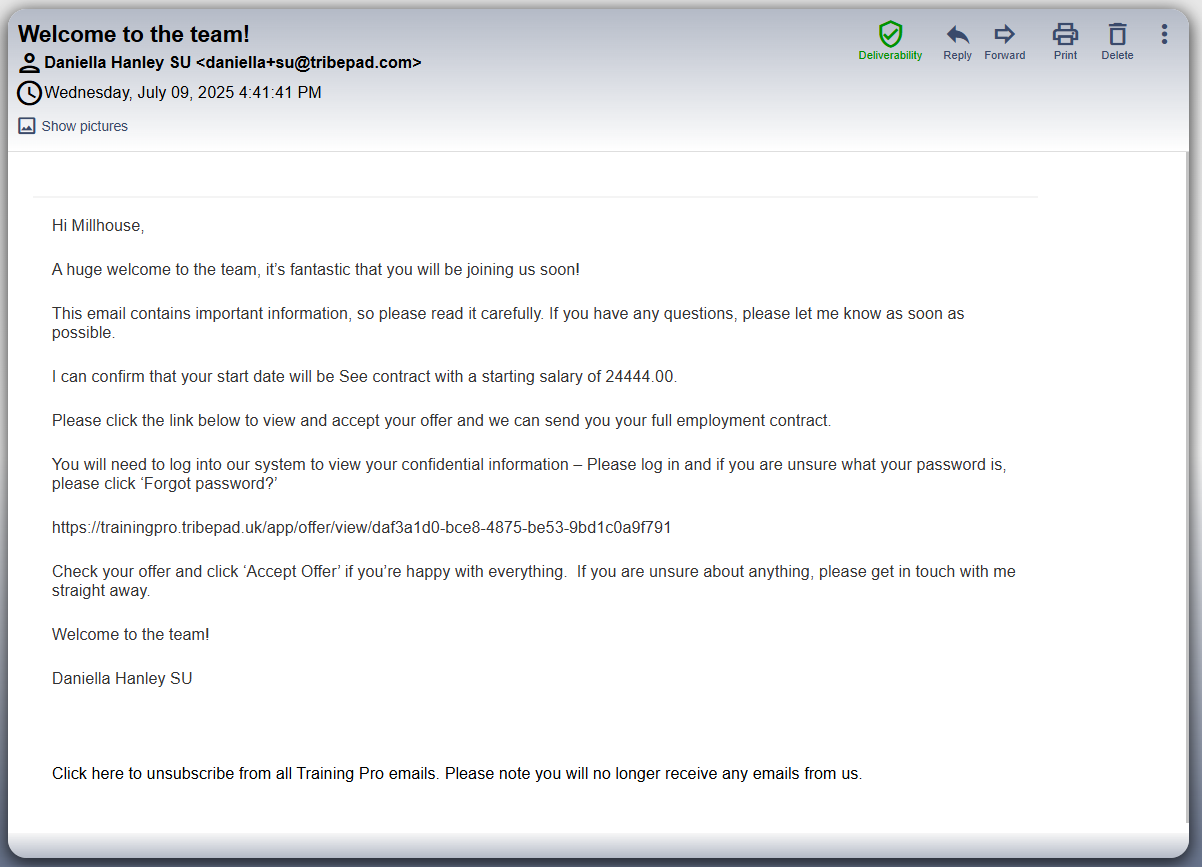
Once the contract is sent, the candidate will receive an email with a link to review and sign the contract (if applicable).
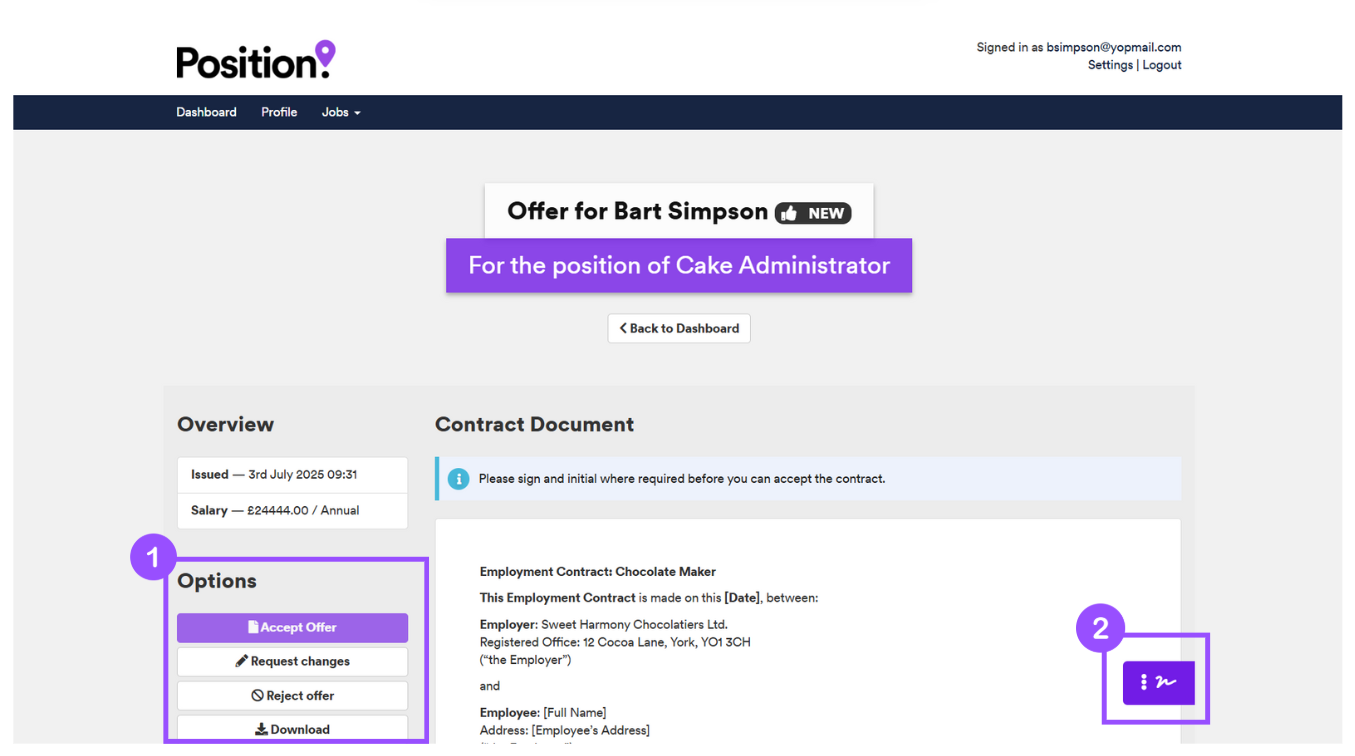
Once the candidate has clicked the link on the email, they will be taken to their dashboard, and simply need to click on “View Document”
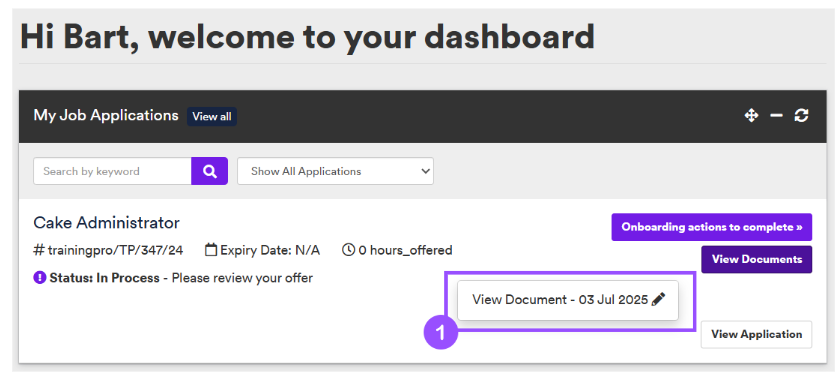
From here the candidate has the option to either (1):
- Accept Offer
- Request Changes
- This will only show if you allow changes to be requested
- If a change is requested you will need to review this on the ATS and either accept or reject the revised terms from the candidate
- Reject Offer
- Download
If you have Tribepad E-Sign enabled the candidate will also have the option to click the button found in the bottom right corner (2) and follow that process to sign and accept their contract.
For more information about Tribepad E-Sign 🖱️ see our other guidance here.
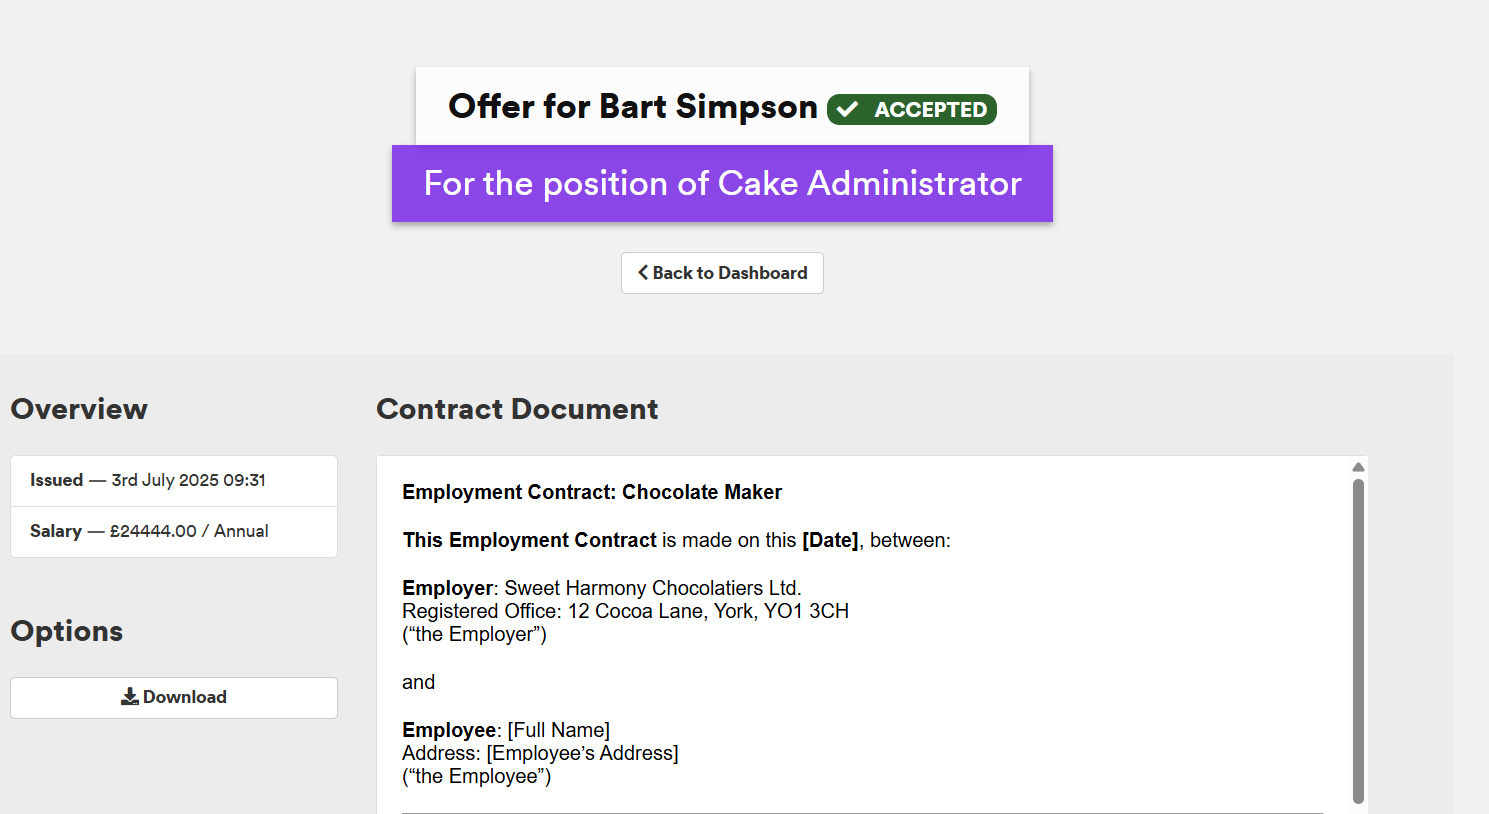
Once the contract has been accepted it will show like this to the candidate:
🔹 Tracking Contract Status
The contract’s progress can be tracked via the job and each candidate's name, where you’ll see indicators such as:
- Contract Offered (Not Reviewed Yet)
- Offer Details (Pending Review By Candidate)
- Offer Details (Accepted By Candidate)

🚀 Extended Contract Generation Process
The extended process adds automation and integrations to streamline your workflow.
Use this method if you want to:
✅ Automatically move a candidate to the Offered stage after contract generation
✅ Automatically move a candidate to the Accepted stage upon acceptance
✅ Integrate with DocuSign for electronic signing
✅ Attach Onboarding Workflows
🔹 About DocuSign Integration
DocuSign is a third-party integration that enables candidates to electronically sign their contracts. It also ensures compliance by providing a detailed audit trail.
If your organisation is interested in enabling DocuSign, please contact your Tribepad Account Manager.

For more information about Tribepad E-Sign 🖱️ see our other guidance here.
🔹 Generating a Contract (Extended Process)
Follow the⚓ same initial process as the standard method:
Select the tick box next to the relevant candidate, followed by Options (1), Other Options (2) and Offer Job – Contract Generation (3).

You will now be taken through the contract process (as shown further up in this guide) where you will need to:
>Enter salary and contract variables.
>Preview the contract.
>Click Generate.
>Request approval if a Contract Authorisation Policy is in place.
🔹 Sending the Contract
Once approved:
- You’ll receive an email or see a notification via the ‘Auth Requests’ widget (if you're a Super User).
- Re-enter the contract process and continue to the final steps.
- Tick the box to confirm you’re offering the role and sending the contract.
- Toggle on any onboarding workflows (if applicable).
- Click Finish to send the contract to the candidate.
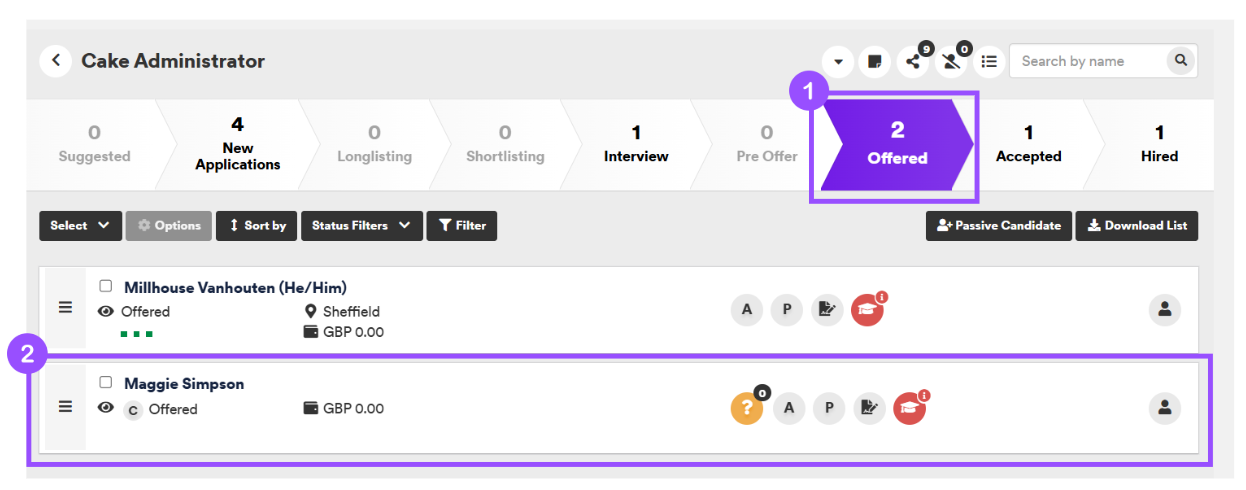
The candidate will now appear in the ‘Offered’ bucket (1) with a contract icon on their profile (2). Hovering over this icon shows details of the contract and offer.