Creating Groups and Communities
Creating groups and communities within the ATS is a great way to reach out to external job seekers or candidates to register with your company. Communities can be created for job seekers with similar skills, interests or backgrounds. For example, a community might be created for job seekers who want to work in a specific industry sector. You are able to link similar users and create talent pools, you can automatically tag users as their job communities to be able to create and track groups. Each community will have a landing page that can be customised and will allow job seekers to login or register to your recruitment site. You can also control who can join the community and automatically assign them tags and membership to discussion groups when they join.
A community can be created and used as a multi purpose function here are some examples of who you may create a community for;
- new starters
- redeployment pools
- alumni
- graduates
- different recruitment divisions, branches, areas you recruit for
- internal engagement hub
You can also invite candidates to engage with each other to share useful tips and information, you are able to use this function to advertise specific jobs to similar users that will be helpful in targeting the right applicant for the job. You can also add in apply links, job details and documents.
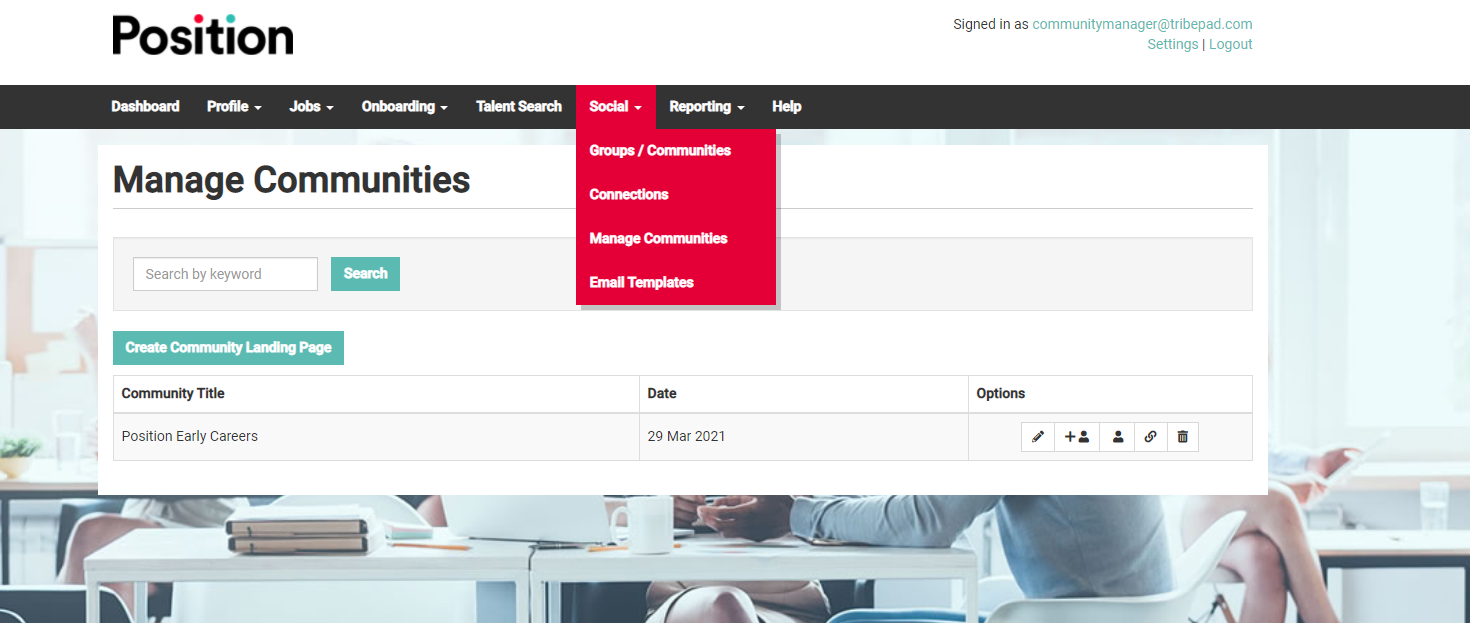
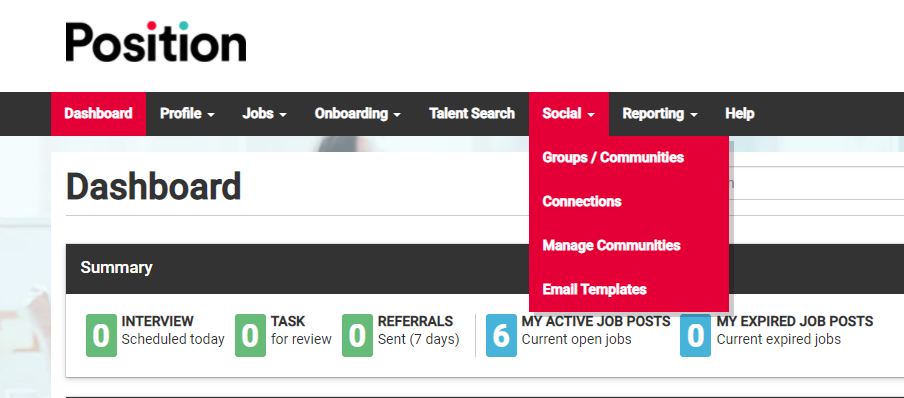
To create a community landing page you will need to click on the Social tab in the navigation menu, scroll down and select the manage communities option. This will display the manage communities screen listing all your communities in date descending order. From here you can also create a new community landing page.
Click on the Create Community Landing Page button to open the Create Community Landing Page.
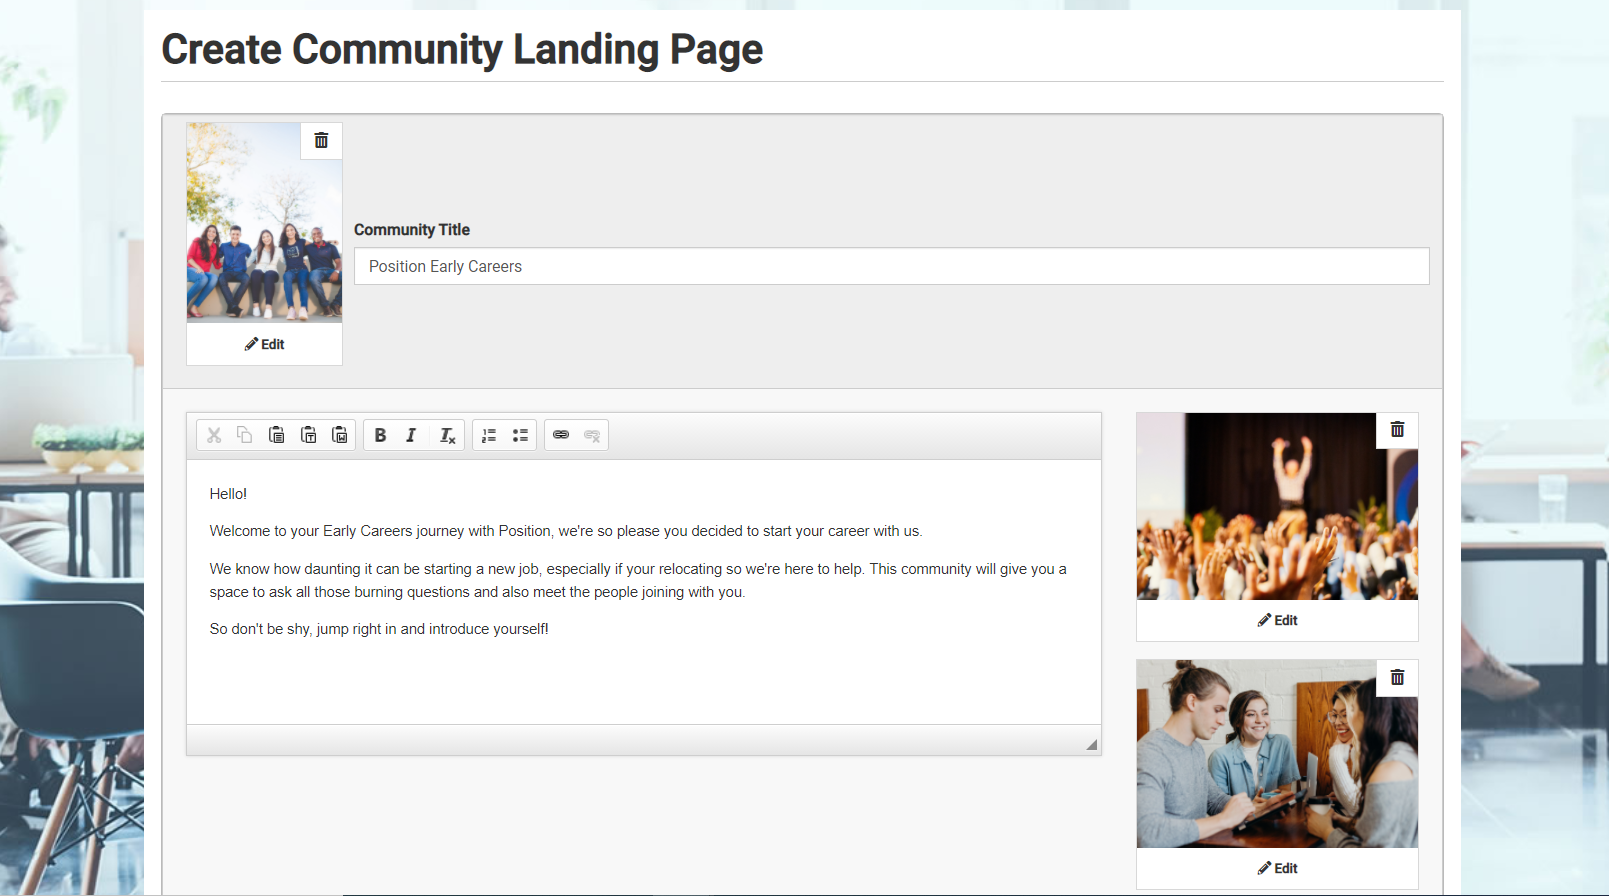
When you have selected the create community landing page tab it will take you to the page below, from here you can upload a logo by click on the ‘Upload logo’ to upload an image (max 150px x 90px). If you want to remove the logo, click on the x button. To change the logo, click Edit.
You can also add images by click on the ‘Upload landscape image’ to upload an image (max 205px x 110px). If you want to remove the image, click on the x button. To change the image, click Edit
You have the option to add a your community title and wording which can be as detailed as you need it to be by typing into the text box provided to add a title. You can also use this page to invite everyone who joins your community to answer a questionnaire that you build here. The Questionnaire can have questions for anything you need like Recruitment satisfaction surveys, A community for each site, division, or branch that you run. A new starter Questionnaire, Alumni or a hub for redeployment employees.
There are formatting options if you wish to edit/format the text. You are also able to add in job links websites or other landing pages to your community landing page.
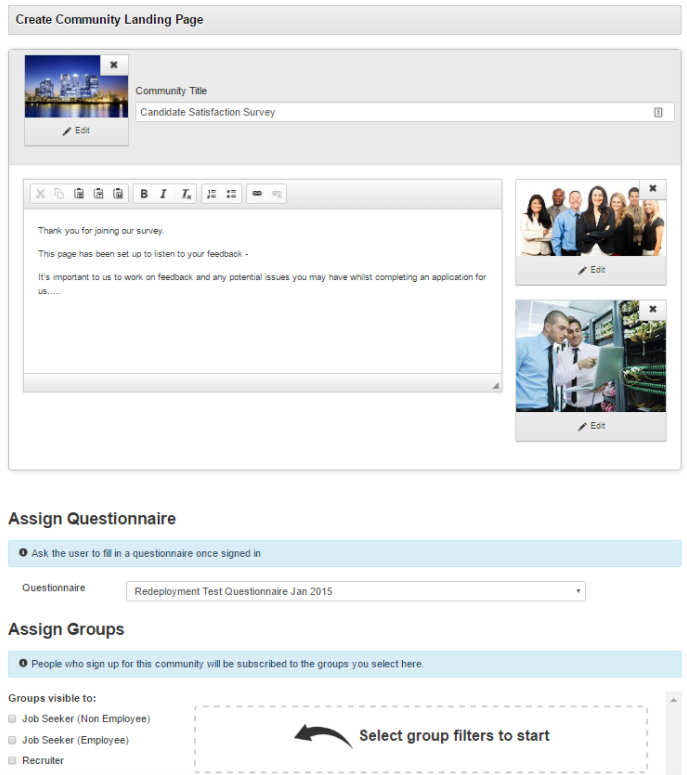
If you scroll down to Assign groups from here you are able to assign groups to certain users so make the group visible to job seekers, Hiring managers, recruiters or any other user you have available within the system. You are also able to assign any number of groups to communities and all joining user will be automatically subscribed however this will depend upon the settings that are selected such as Job seeker (Non Employee), Hiring manager, Agency etc. To automatically subscribe users to groups when they join the community, select the user-types (Job seekers, recruiters, etc.) then select the groups by ticking the checkboxes. You can remove groups and users by un-ticking the checkboxes.
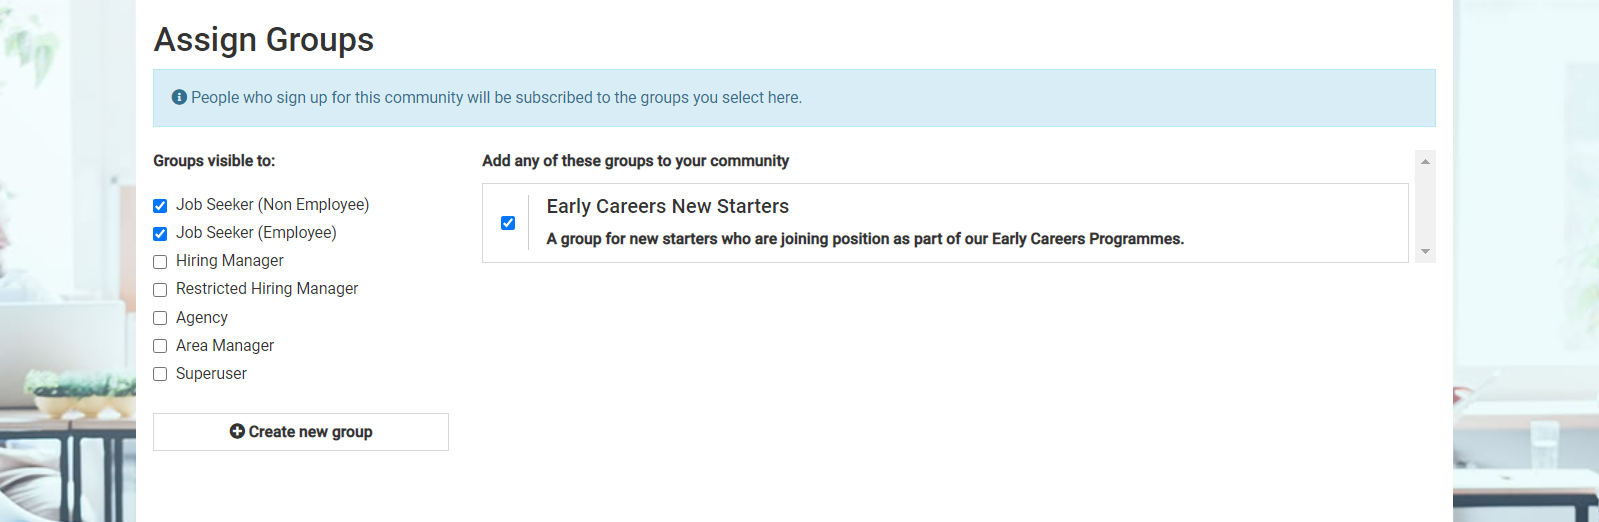
You can create a new group by clicking the + Create new group button and entering the following information:
- Group Name: Type to enter text (required)
- Group Visibility: Select the appropriate radio button (required)
- Description: Type to enter text (up to 500 characters) (required)
- Groups available to the following users: Select the appropriate checkboxes (required)
- Allow Comments: Select the appropriate radio button
- Allow Jobseekers to create threads: Select the appropriate checkboxes (required)
- Allow File uploads: Select the appropriate radio button
- Group Photo: Click the Browse… button to upload an image(up to 2mb)
Click the Create group button to save your changes.
Groups can be created with any user level of visibility ranging from Private or Public or Invite only. A group or groups must be selected for a community to be created. A brand new group can be created by selecting "Create new group" which will give you the following pop up box and options:
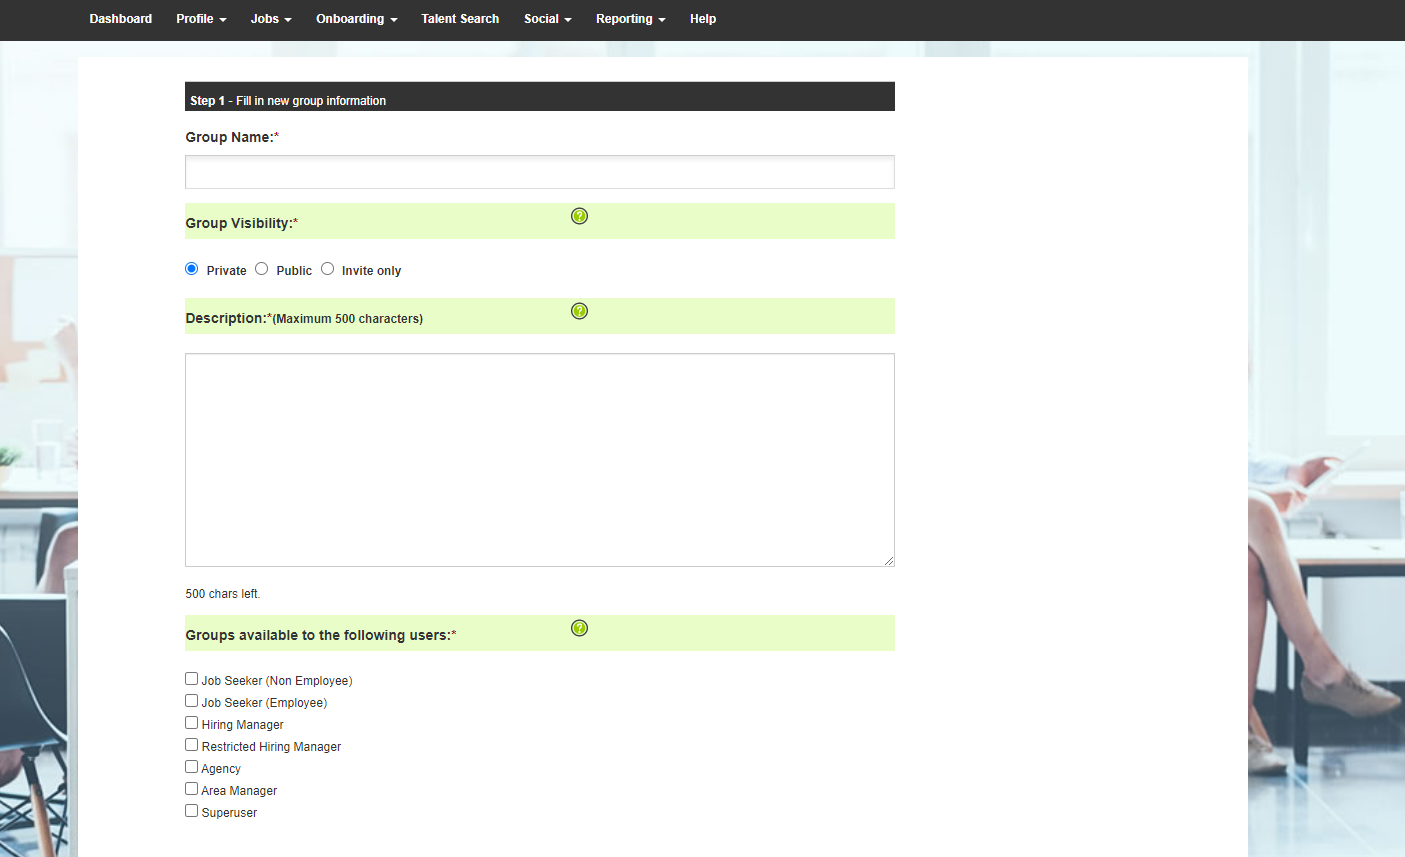

You will need to give the group a name, assign who you want to make the new group visible to meaning you can select to invite users to the group or make the group public. The next step is to give the group a description and select which users the group should be available to. You can also select if you want to allow comments and threads added to the group. You also have the option to upload files and images as well.
Once you have filled out the sections you can then add that group to your community.
The tag section allows you to either create or select a tag that will be applied to all users that join the community you have created, its an easy way to identify users that are part of that community group. To create a new tag simply write the name of the tag you want in the create tag box and then click on the add button below which will create the new tag and add it to your existing tag list
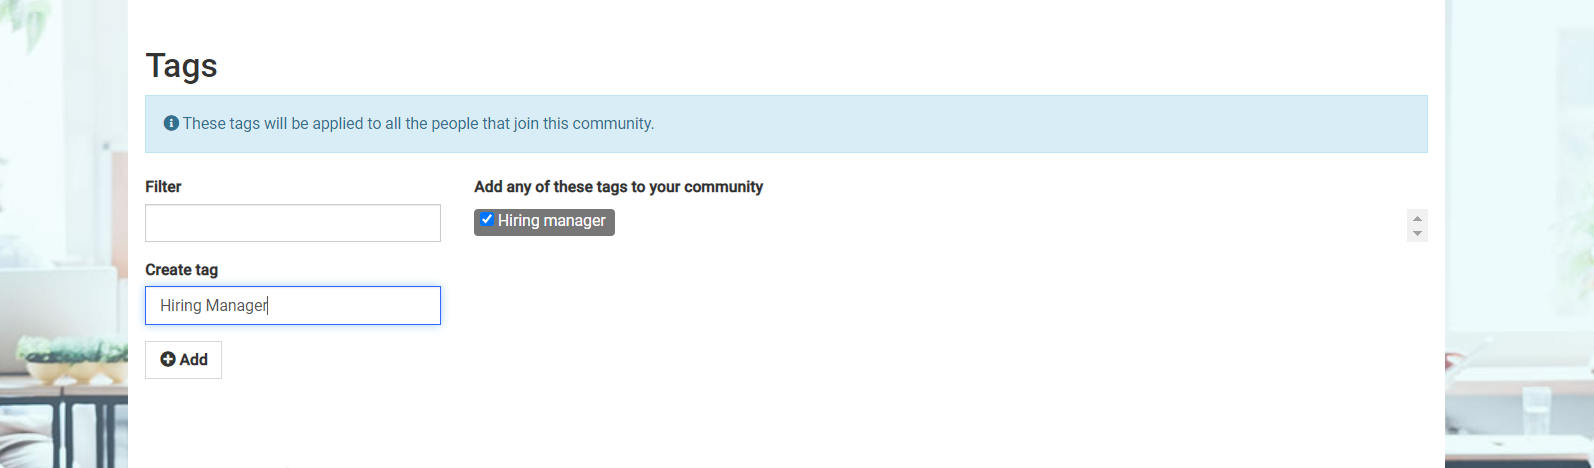
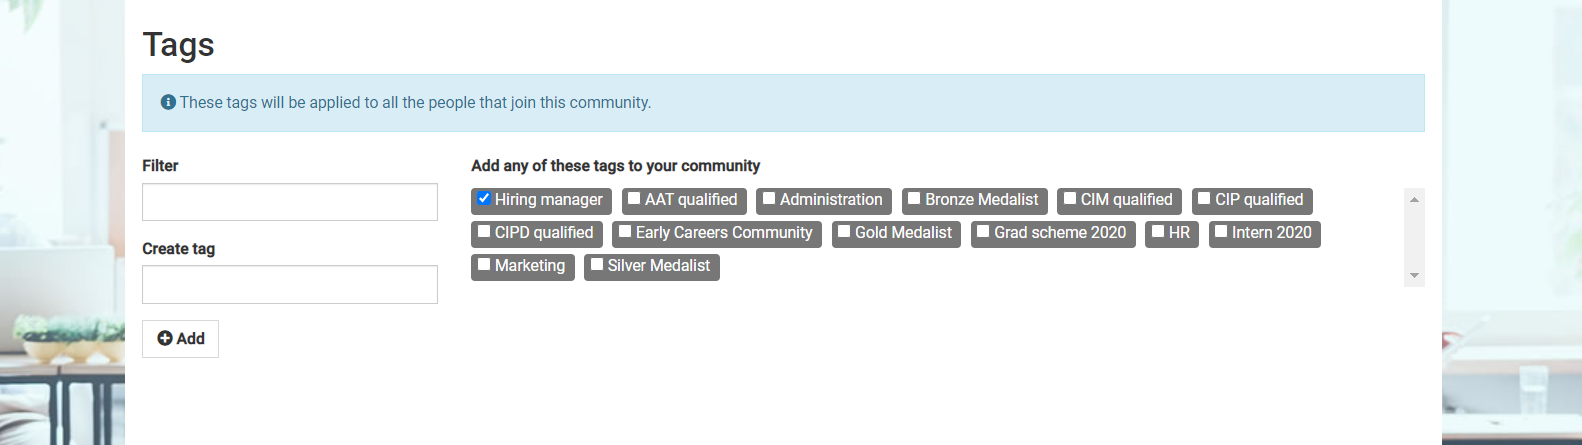
You can create a tag by adding your tag name in the create tag option and selecting add, that will signify a user that has joined the community that you have set up. To search and track these users you will need to go to the talent search/CV search module and any user that has signed up will appear.
As user participation increases you can add in a pin number for users to gain access to the community which is completely optional, this can help manage the flow of users and also you are able to lock the community to only allow invited users if necessary. If you create a pin then you would have to provide that pin to the users so they are able to access the group.
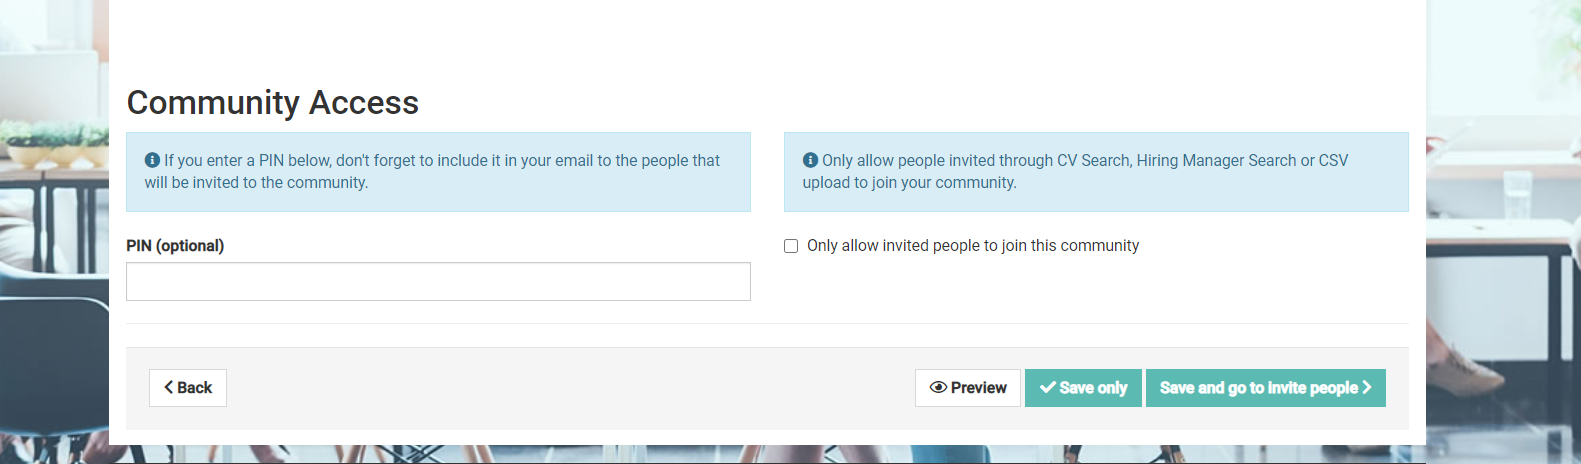
Once you have added all of your details to create your community you can either preview the page you have just created, save it or you have the option to save and invite users.
If you choose to preview your page you will be able to see what your page will look like to the users that select the link to the lading page, you will also see the login / sign up option. Both options are there for already registered users who will be automatically logged in when clicking the login option or new users who will have to sign up to your career site and fill out their profile.
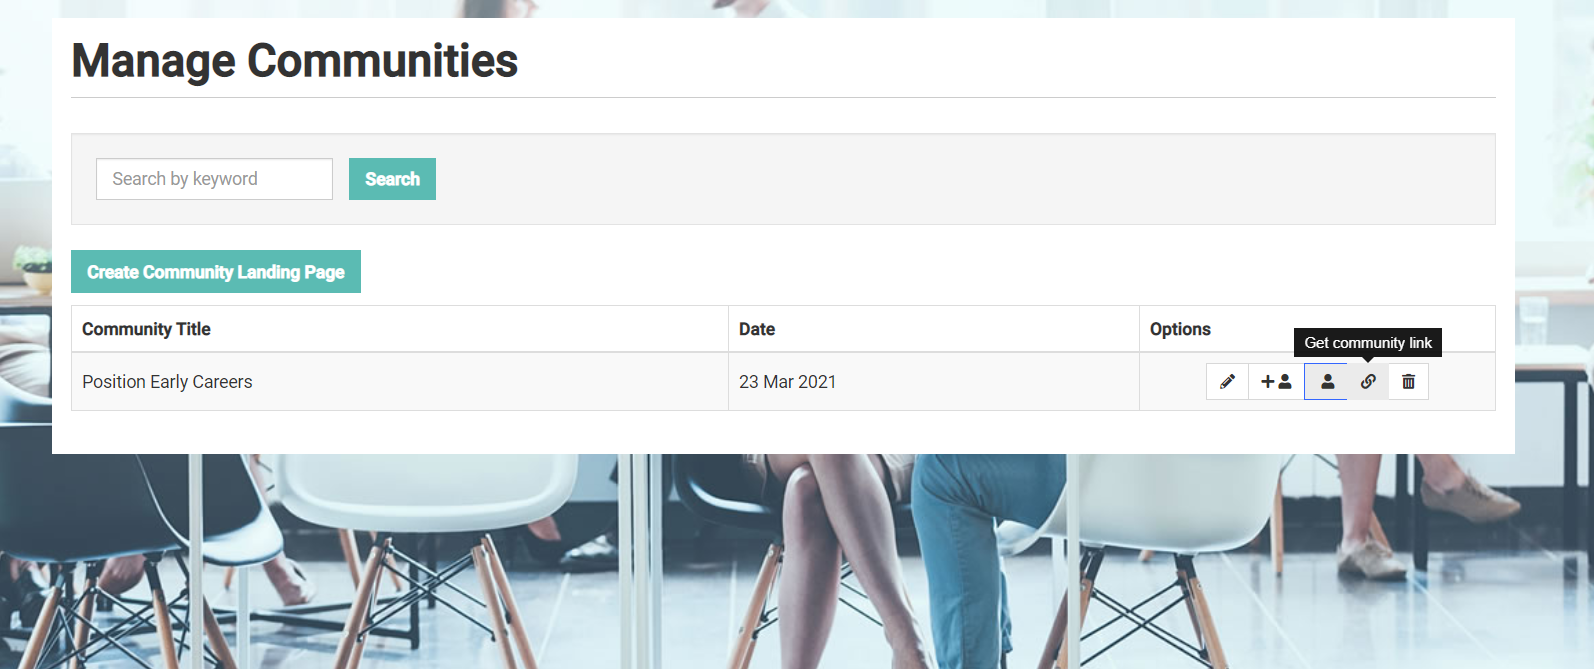
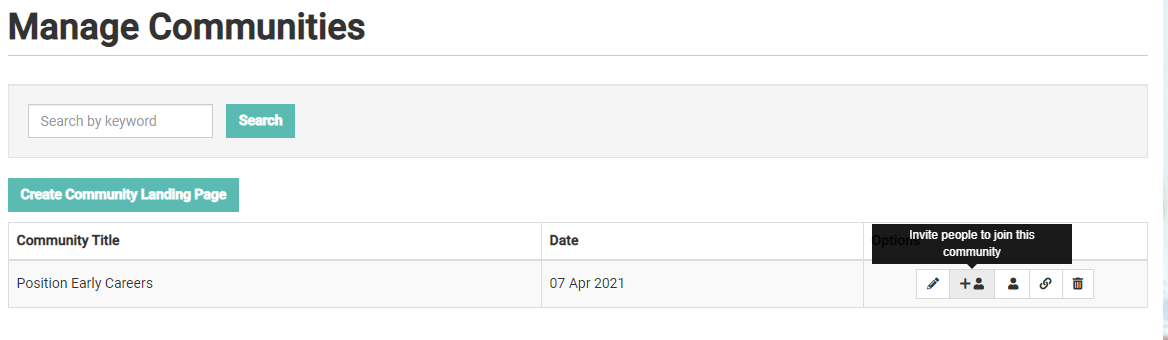
Once you have created your community you can view it by selecting Social from the top navigation menu and Manage Communities.
This will display the Manage Communities screen, from here you will be able to see all the Communities that have already been created by you or your colleagues;
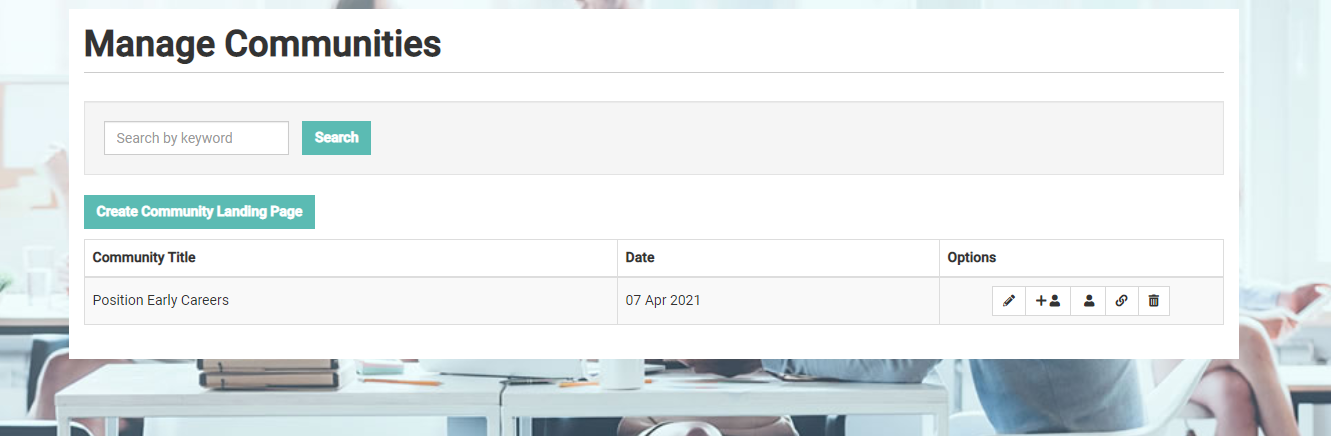
By selecting the name of the Community, you will be able to review the landing page in full.
If you would like the link for the community landing page, click the ‘link’ icon located to the right of the community name:
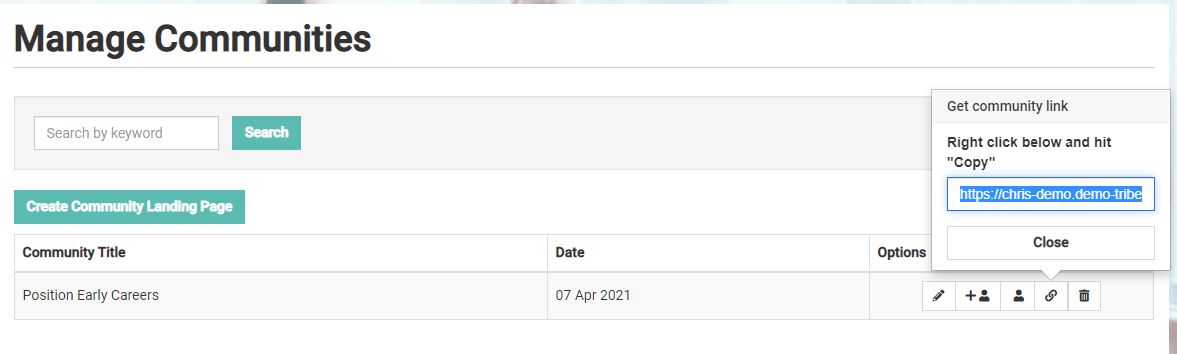
Copy the link by right clicking the mouse. Click the Close button to close the pop-up.
You can also search, edit, invite people to join, view invited people, delete or create a new community, by selecting the icons available.
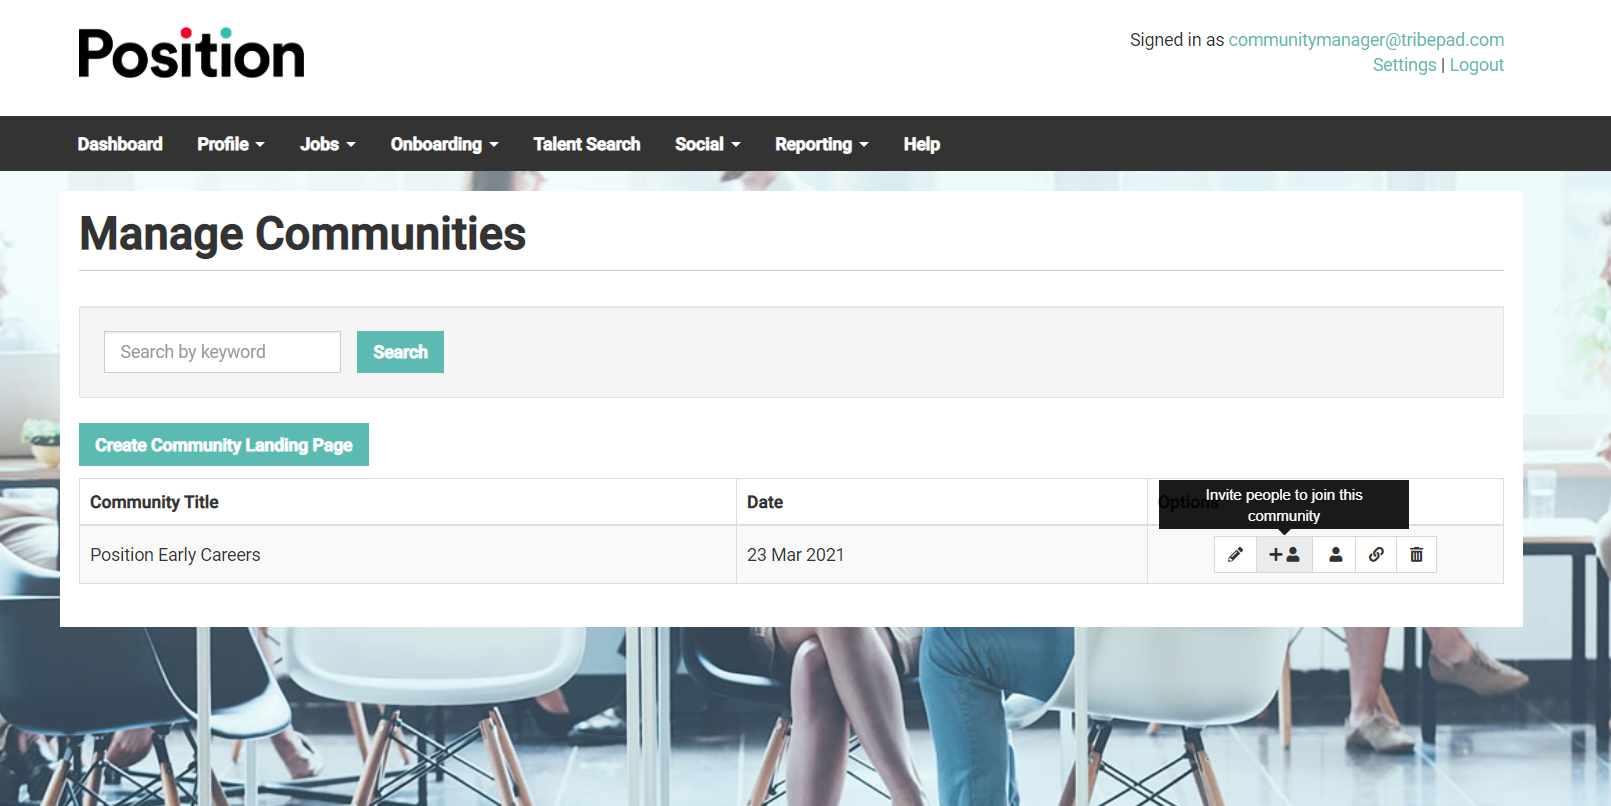
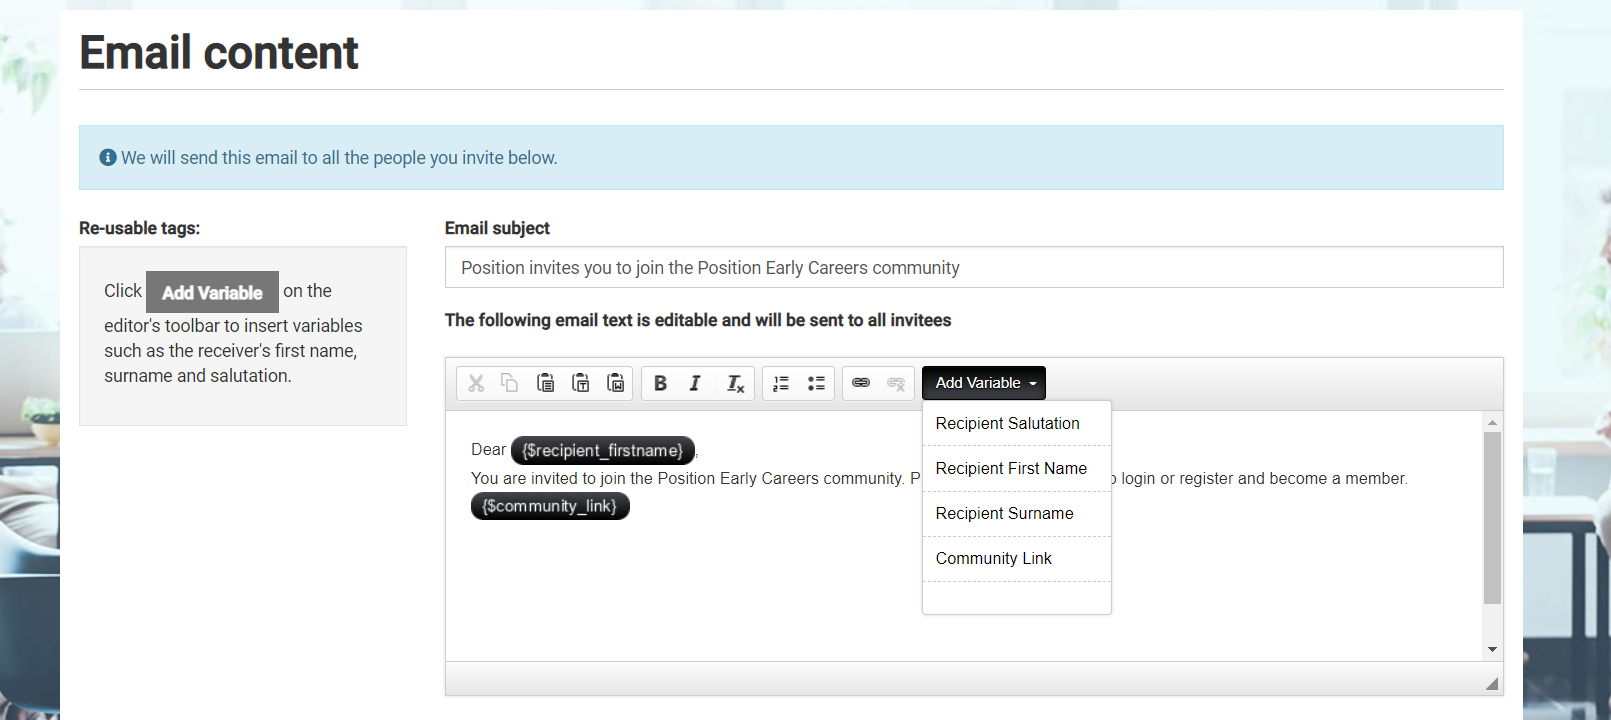
To invite users you will need to click on the "invite people to join this community" tab shown above, this will allow you to create content in an email which is pre-populated with default content and can be edited to suit. There are system driven variables (Highlighted black) that help you to create a welcoming template to send out to your target group.

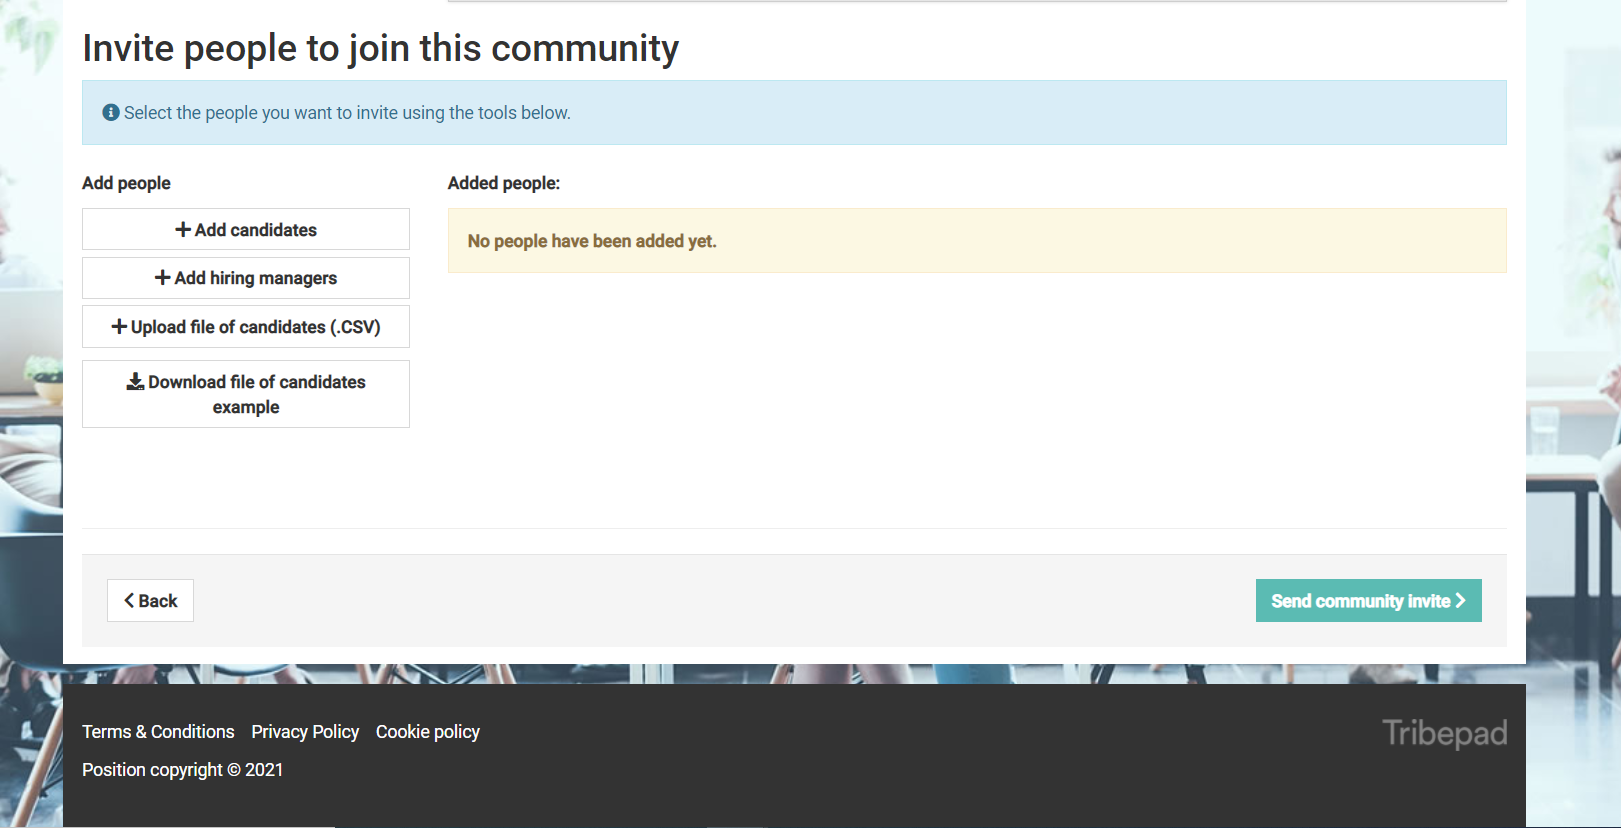
Once you have created your email content you need to make sure that the community link variable is selected because this will provide the link to your landing page. As you scroll down the page you can then invite candidates which will take you to your talent search page and you can select from users that have already signed up to your career site, you can also invite users to join your community landing page. Members of your recruitment team to a community. You can also upload a csv file of usernames and email addresses if you have been out at a careers fair and want to transfer users details you have collected. There is an example file of candidates that can be downloaded to show you what format is needed.
On the left you will see the options to add/invite candidates or members of your recruitment team. Click the user group you wish to add, Candidates or Hiring Managers, this will open a pop-up enabling you to search and select users from the user group.
Clicking on the add candidate tab will take you to your CV/Talent search page where you can make use of your saved searches, tagged candidates and all of the other existing filters.
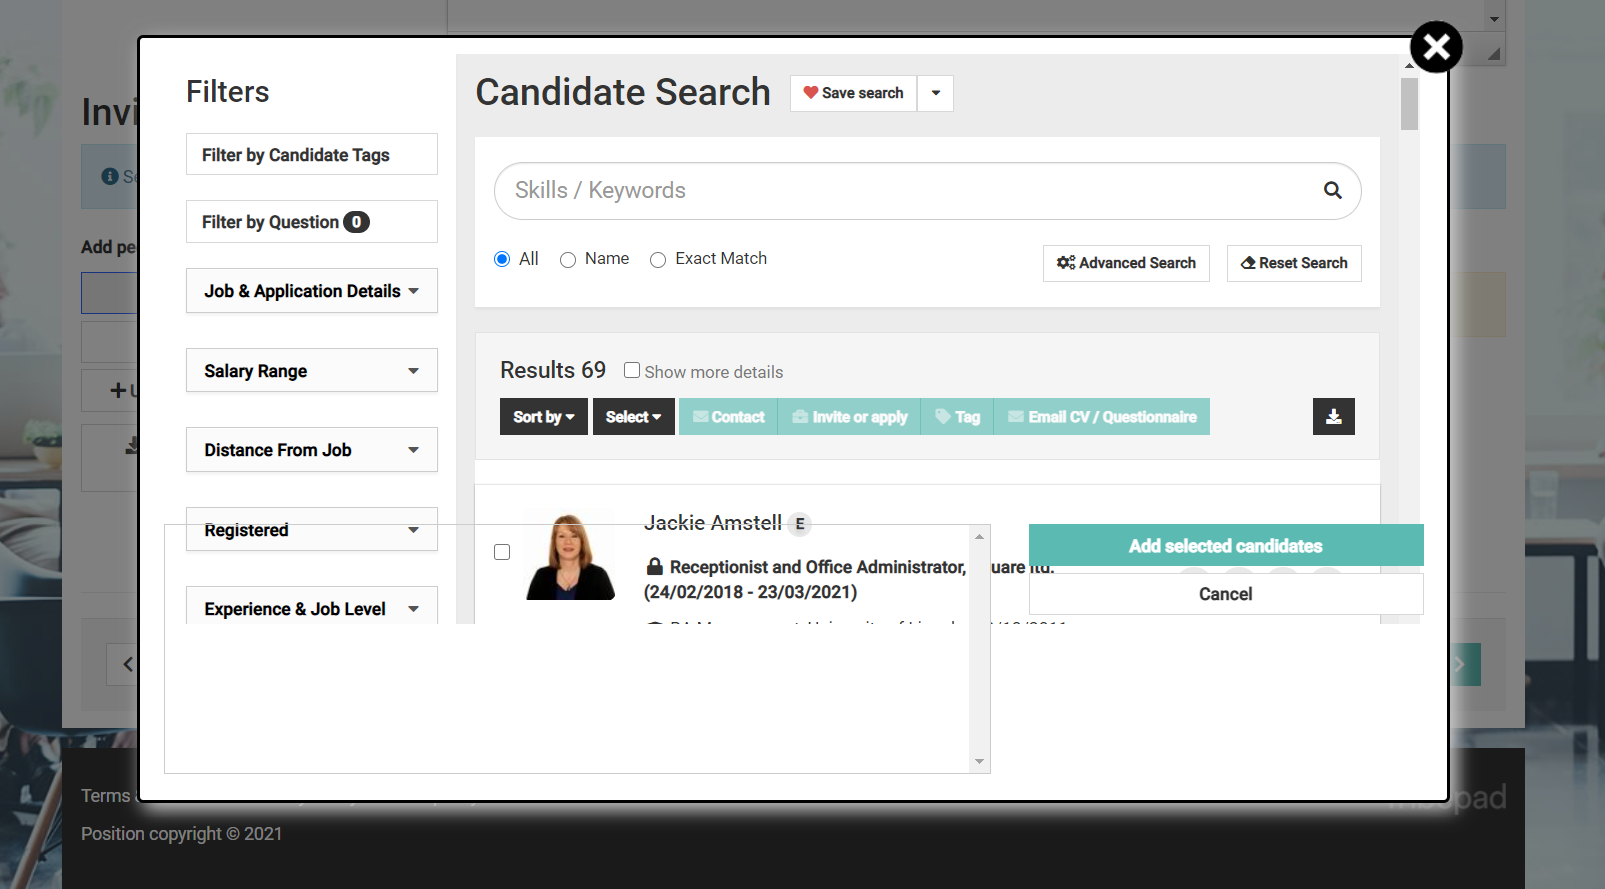
If you select the hiring managers option a similar screen will be displayed but without candidate specific options.
When you are happy with the selected users, click the Add selected candidates button or Add selected hiring managers.
If you have decided that you don't want to select any users you can exit without saving your selections by clicking x Cancel or the X located at the top right of the pop-up.
When users are selected the pop-up will close and the users will be listed under the Added people heading. If any users cannot be added to the list, a notification will be displayed.
If you want to remove users, simply click the bin icon located on each user name.
Any users that you invite will be sent the email that was created earlier and will get a link to the community. You can get links to the community to use in other documentation such as emails, online posts job vacancies by clicking on the link icon in the manage communities tab.
Simply click on the link icon and then right click on the link URL and copy, you can then add/publish this link anywhere you wish and all joiners will be tagged and onboarded.
You also have the option to upload a .csv file containing a list of recipients for the email. This method can be used to invite people not registered on your ATS database. For example, you could add a list of prospective candidates gathered from a recruitment fair.
Click on the Download file of candidates example button to open an example file that can be amended with the list of your recipients:
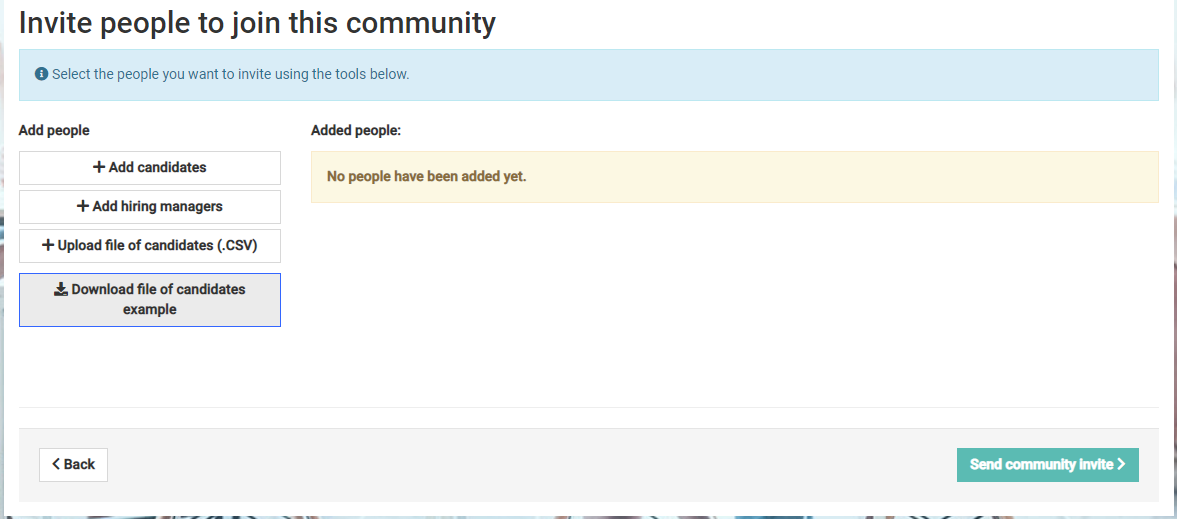
Save the file, then upload by clicking on the Upload file of candidates (.CSV) button.
When you are happy with the list of email recipients, simply click the Send community invite button. Click the back button if you wish to return to the Manage Communities screen without sending the invite.
Here is an example of the summary of invited users looks like:
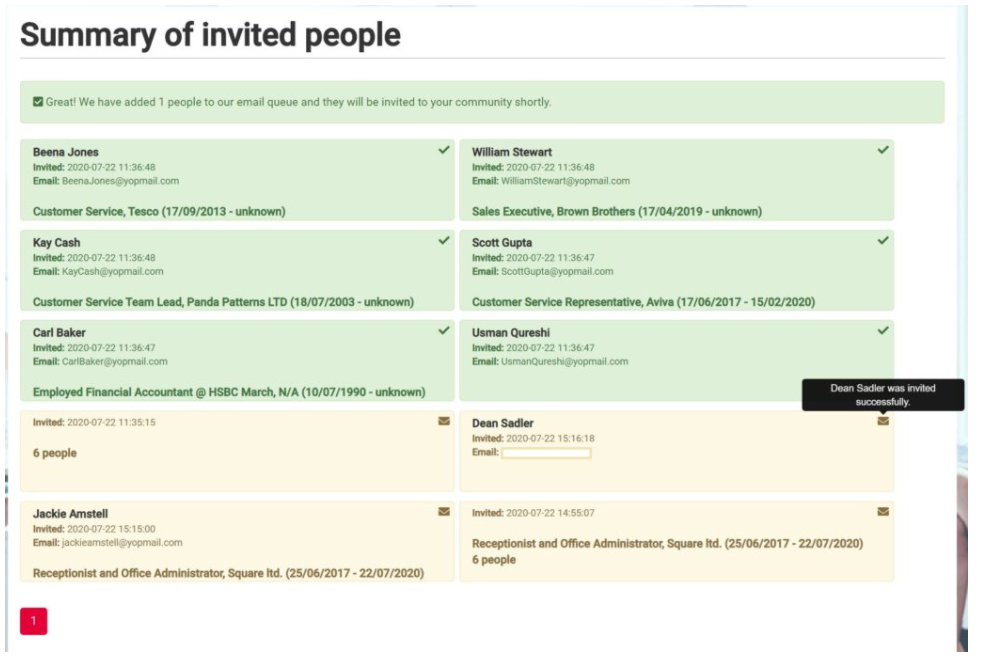
To view invited people, click the ‘view’ icon located to the right of the community name shown below.
This will display the Summary of invited people screen shown above. Click on a username if you wish to view their Candidate Overview. You can hover the mouse over the icons at the top right of each user name to display more details about that user.