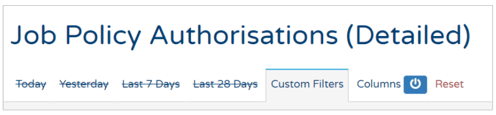
What can this report do for you?
This report focuses on the Job Authorisation Policies you have enabled in your ATS, and shows you data regarding what jobs they have been used with and any approval or rejection decisions.
It gives a more detailed view than the 'Job Auth (Summary)' report, but reports on the same data.
Authorisation Policies are an additional feature that we can enable for you on your ATS. If you would like more information on these or you would like them enabling, please speak to your ATS lead within your organisation or your Account Manager.
Unlike the majority of our reports in Insights, you are not given the option of using the 'quick-date ranges' situated at the top of the page. Instead, you must use the Custom Filters section:
Here you are presented with several different options:
These are the same filters as are available on the 'Auth Policies (Summary)' report.
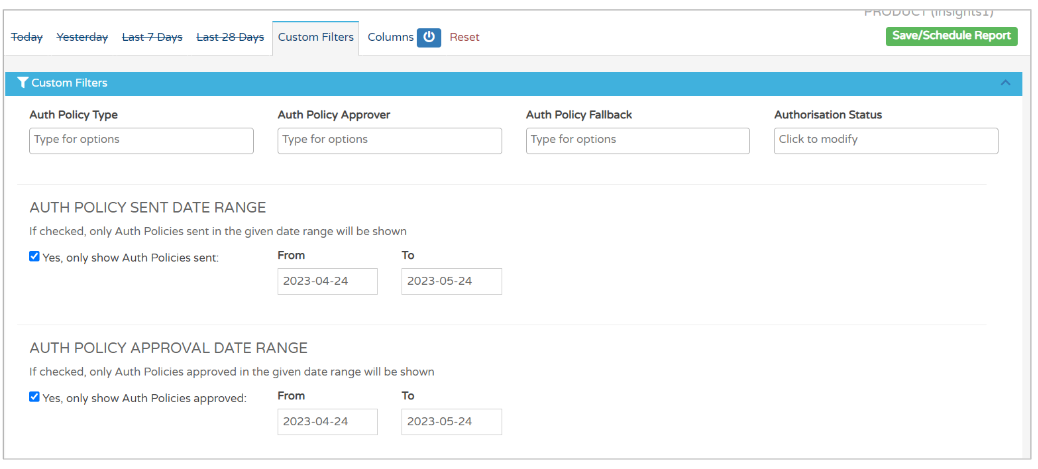
At the top of the screen you have filter options relating to the specific policies:
- The type of Authorisation Policy (or 'Auth Policy type')
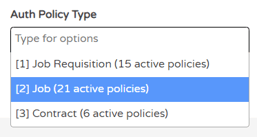
- 'Job' refers to the Job Authorisation policy - The Auth Policy Approver
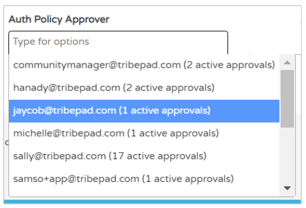
- Here you'll see all approvers that have been added to any policy - The Auth Policy Fallback (this relates to the fallback approver that has been input into the policy
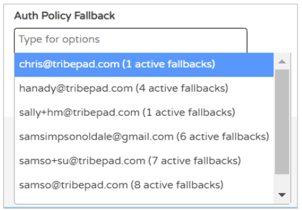
- Here you'll see any Fallback approvers that have been added to a policy
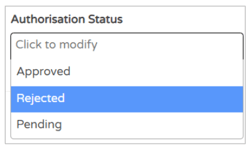
As this report is able to show data regarding the outcome of authorisation requests, you also have the option to filter by Authorisation Status:
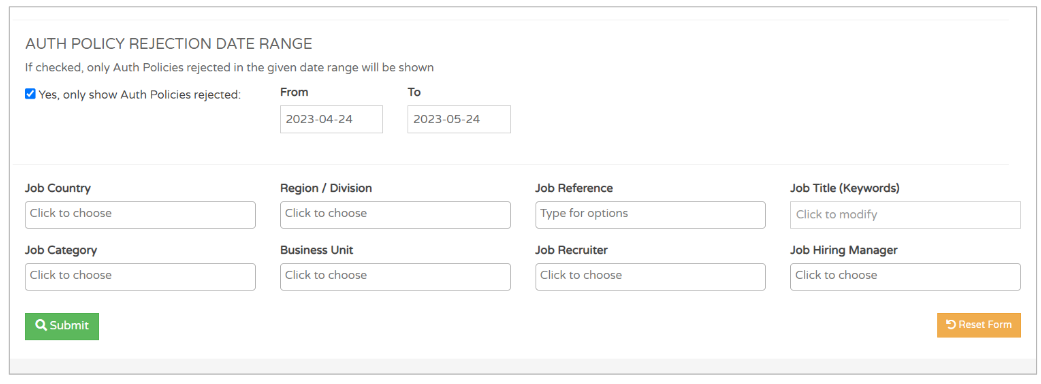
You can then choose the date period(s) for the data you require:
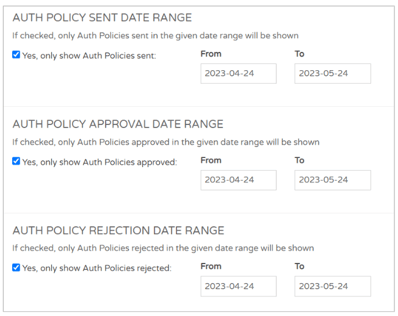
Please note - If you have ticked all three 'Yes only show...' boxes on these date filters, you may not see any results in your report.
For example, if no jobs have been rejected in the specific date range but the 'Auth Policy Rejection Date Range' is ticked to show, this will override the other date ranges.
At the bottom of the Custom Filter page, you can see the standard filters that are present across the majority of our reports:
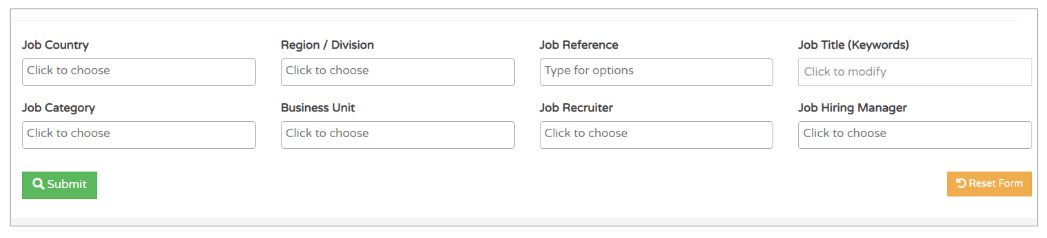
- With these you can search for specific business units, job categories, regions/divisions etc.
Once you are happy with your filters, select 'Submit'.
You will be presented with something that looks like this:
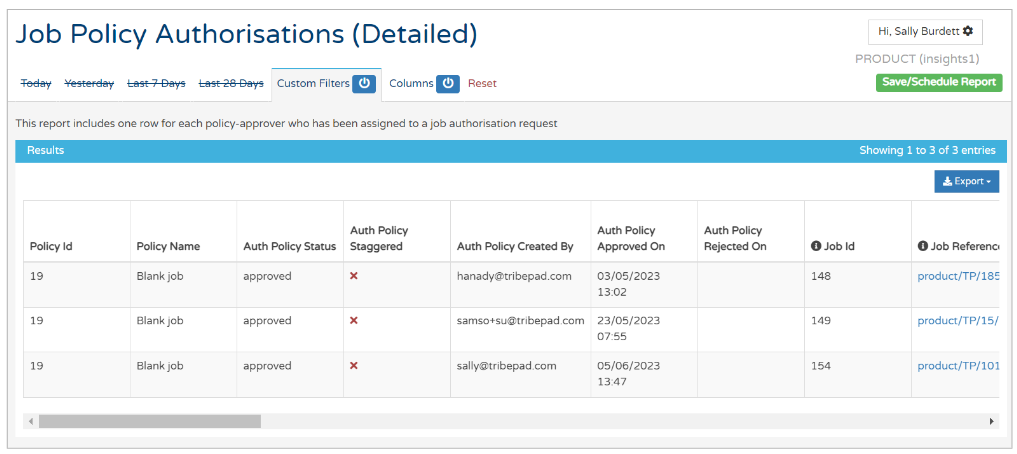
The first columns detail the policy that has been created:
- Policy ID
- The ID number given by the system to the policy. In the example above, you can see each row has the same Policy ID. This is because the same policy has been used for 3 separate jobs. - Policy Name
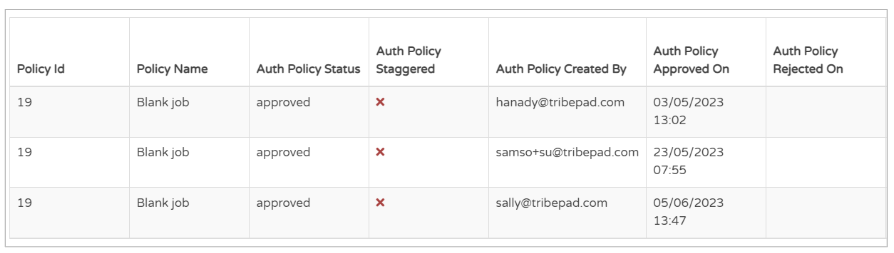
- Auth Policy Status
- Typically these are all 'approved' straight away - Auth Policy Staggered
- This relates to when the policy was created, if the creator chose for all approvers to be contacted all at the same time or in order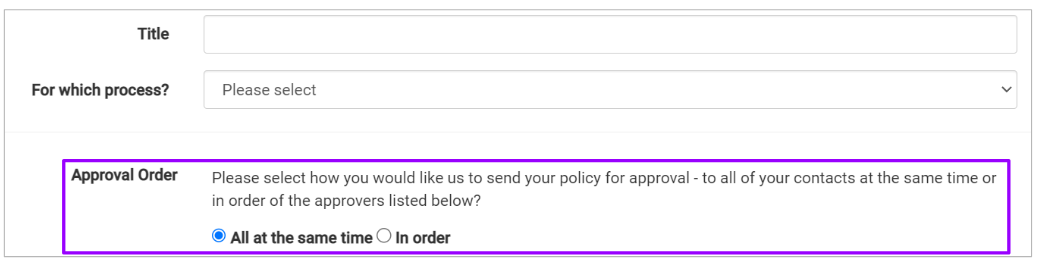
- The 'Staggered' title of this column indicates if the approvers are contacted in order - Auth Policy Created By
- This refers to who created the job which the policy is linked to, not who created the specific policy - Auth Policy Approved On
- This refers to when a policy was applied to a specific job - Auth Policy Rejected On
Scrolling further over to the right of the screen, you will see columns relating to the job the policy has been applied to:
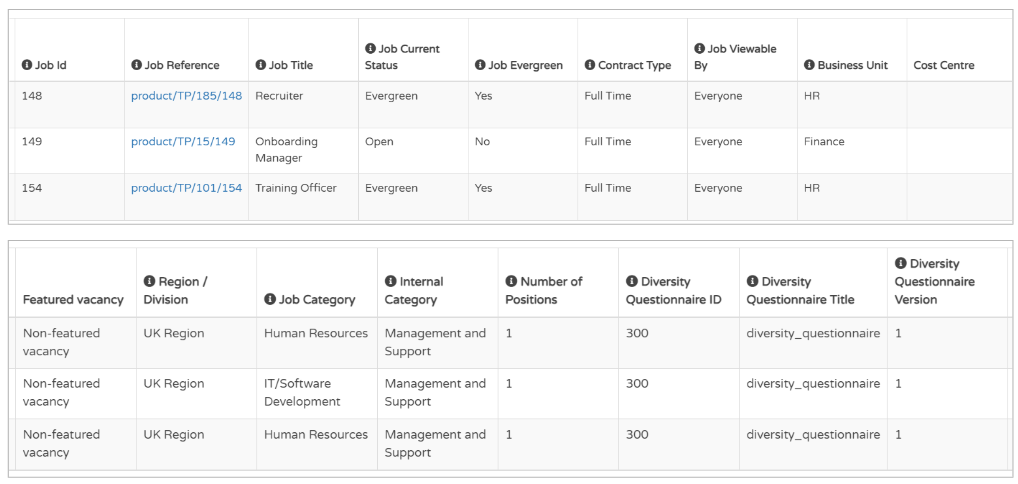
- Diversity Questionnaire ID, Title and Version relate to which Diversity questionnaire has been applied to the job.
Further over to the right of the screen, you can see details of the Approver and Fallback Approver attached to the policy:
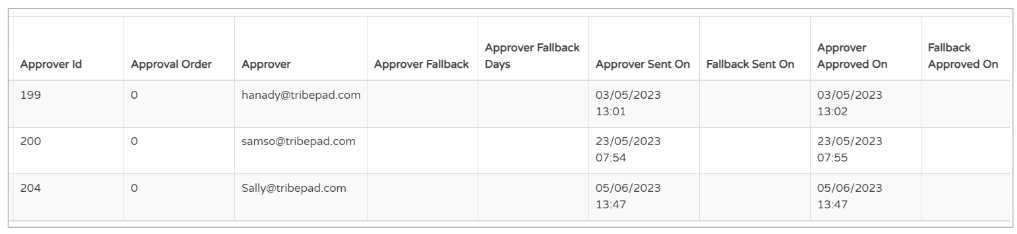
With the example above, as we have said, the same policy was applied to each job.
Typically, this would mean that the Approver names would all be the same, regardless of what job it is.
However, you might have noticed that the policy name was 'Blank Policy'.
Authorisation Policies can be created as 'blank', i.e. no Approvers included in them, meaning that when the policy is linked to a job, the ATS user is able to enter any email address they choose into this space.
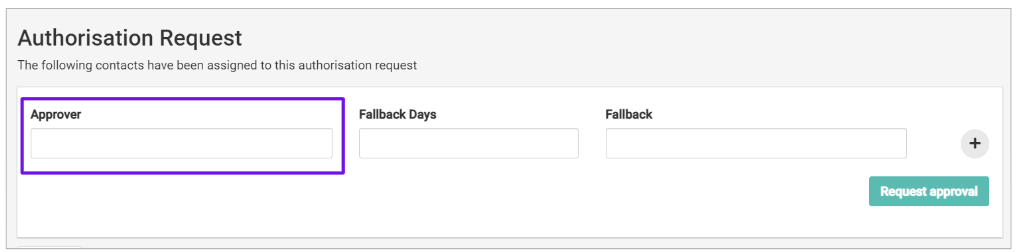
This is why you are seeing different Approver email addresses in the example above.
- Approver/ Fallback Sent On
- This is when the approval request was sent to the Approver/Fallback Approver - Approver / Fallback Approved On- This is when the approval was made by the designated person
Finally, the right-most columns of the report show:
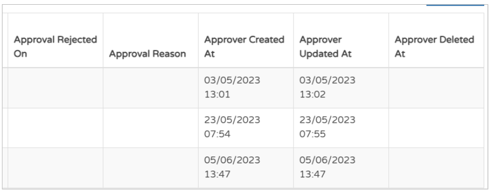
- Approval Rejected On- If the Approval request has been rejected, it will show a date here
- Approval Reason
- This refers to a Rejection reason, rather than an Approval reason
- These reasons are specified in Manage via the Lists of Values section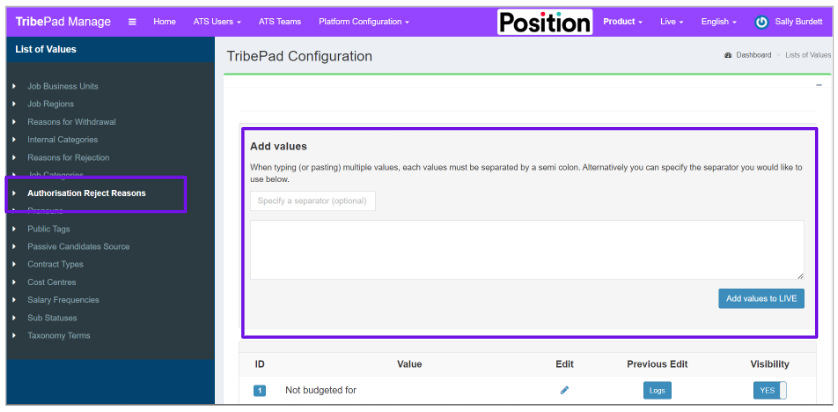
To find out more on adding Lists of Values, click here.
- Approver Created/ Updated At
- If this policy was a standard policy used against multiple jobs, each row would show the same data here.
- As this is a 'blank' policy as described above, this shows when an approver was specified on the ATS. - Approver Deleted At