✏️Introduction
Tribepad’s Onboarding module supports the use of integrations during the Onboarding stage of a candidate’s journey. This allows key processes - such as background checks, assessments, or data collection to be triggered automatically as part of the onboarding workflow.
Integrations must be enabled on your Tribepad platform before they can be activated for a candidate. Once enabled, you can create integration instances that define how the integration appears, when it is triggered, and how it interacts with the candidate’s profile.
These instances can then be added to onboarding workflows and packages to fit seamlessly into your onboarding process.
This guide covers how to:
- Set up and configure integration instances
- Add integrations to onboarding packages and workflows
- Trigger integrations automatically or manually
- Track progress and manage approvals using the checklist functionality (if enabled)

➕Setting Up Integration Instances
Once your Integration has been enabled by Tribepad, you are able to create an “Instance” for it.
Instances are a set of rules that are created to show how the integration will appear on the candidate’s profile, and also allow it to be triggered at Onboarding stage.
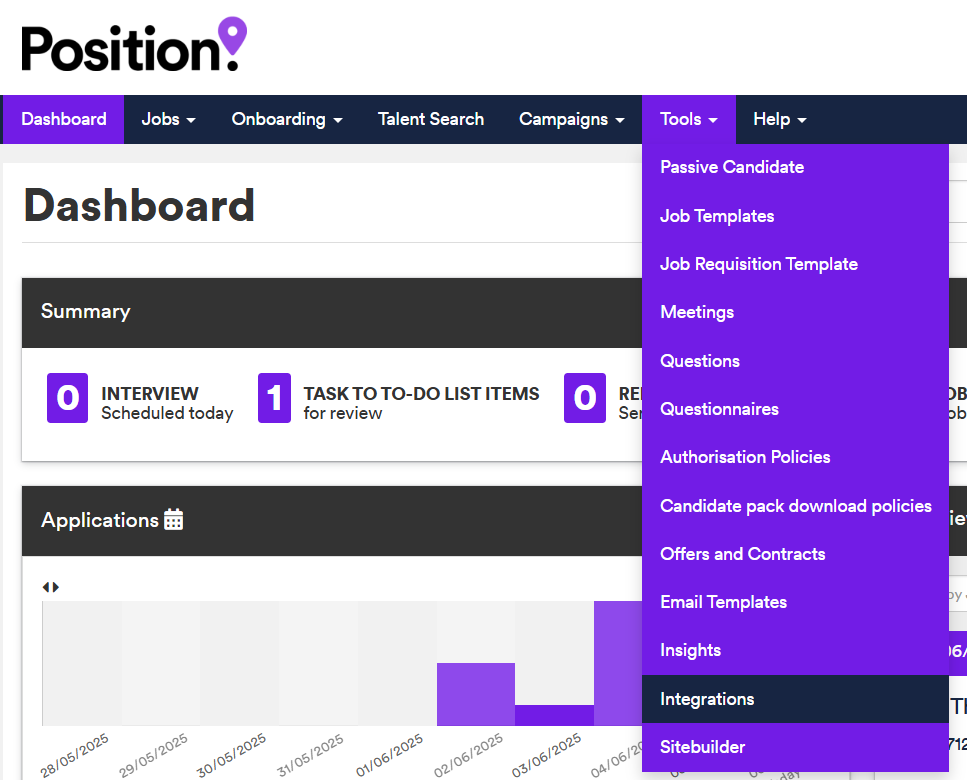
To create an instance, head to the “Tools” menu and select “Integrations”:
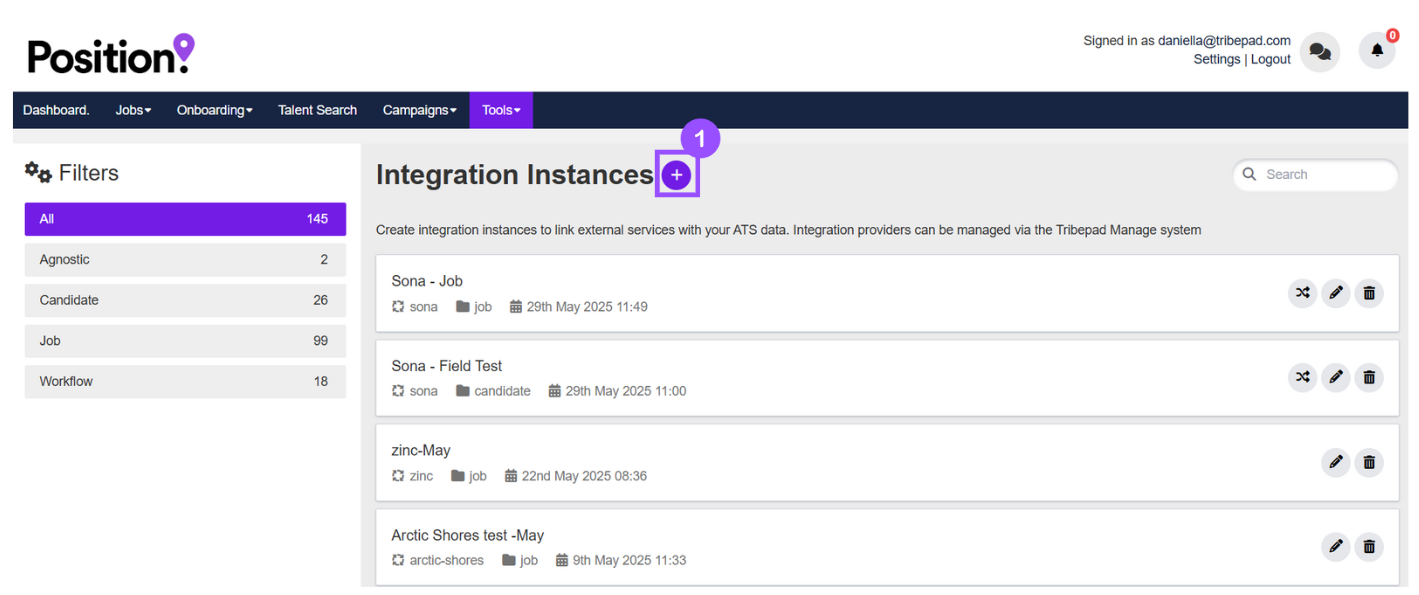
You will then need to select the plus icon (1) to “create an integration”:
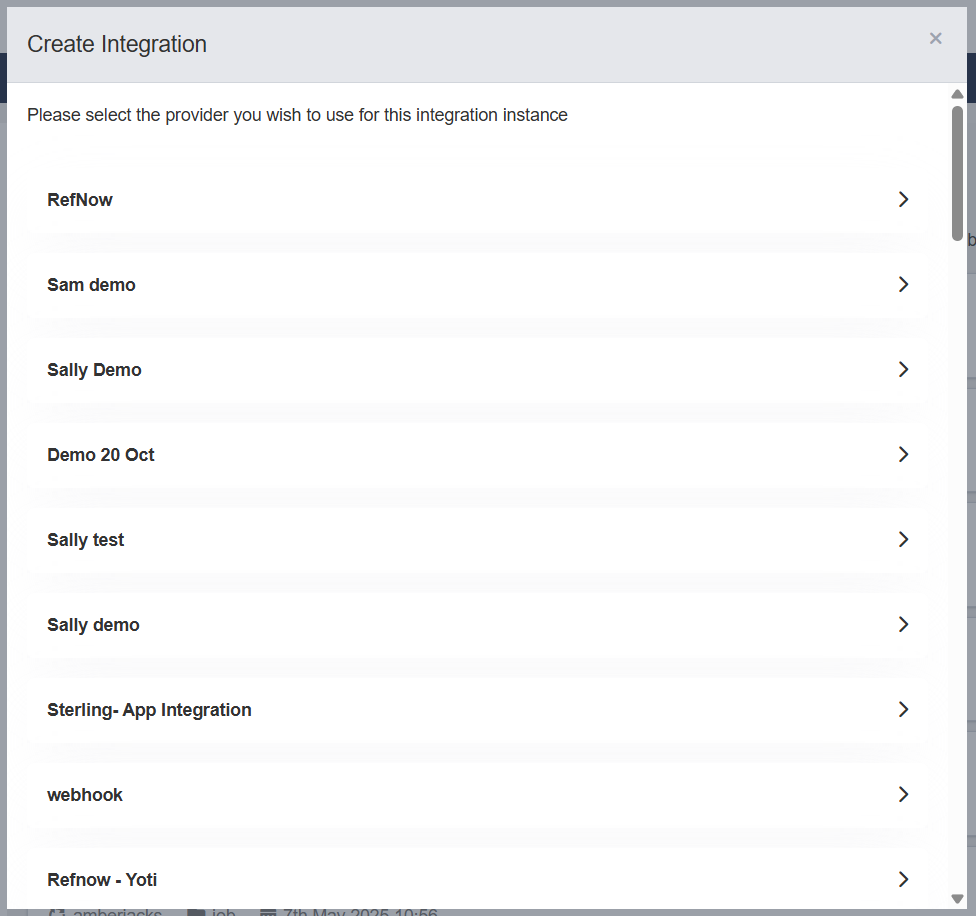
From the integration list, select the relevant integration you wish to create an Instance for:
Next choose the “Onboarding” option:

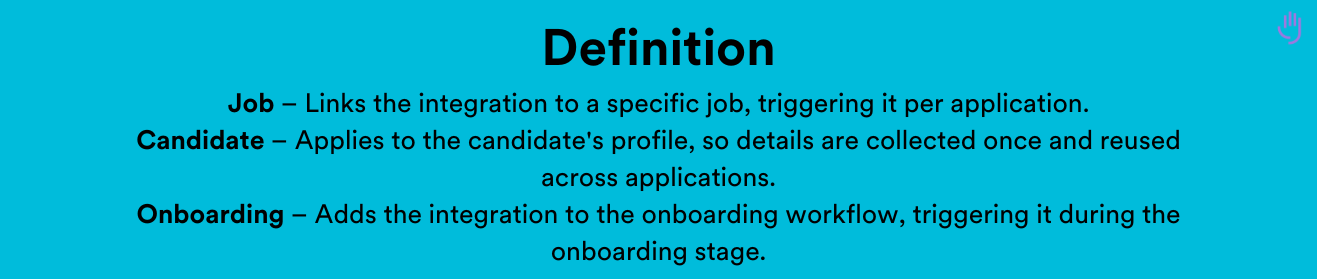
You will now be presented with a screen that looks like this, where you will need to complete any fields with a *:
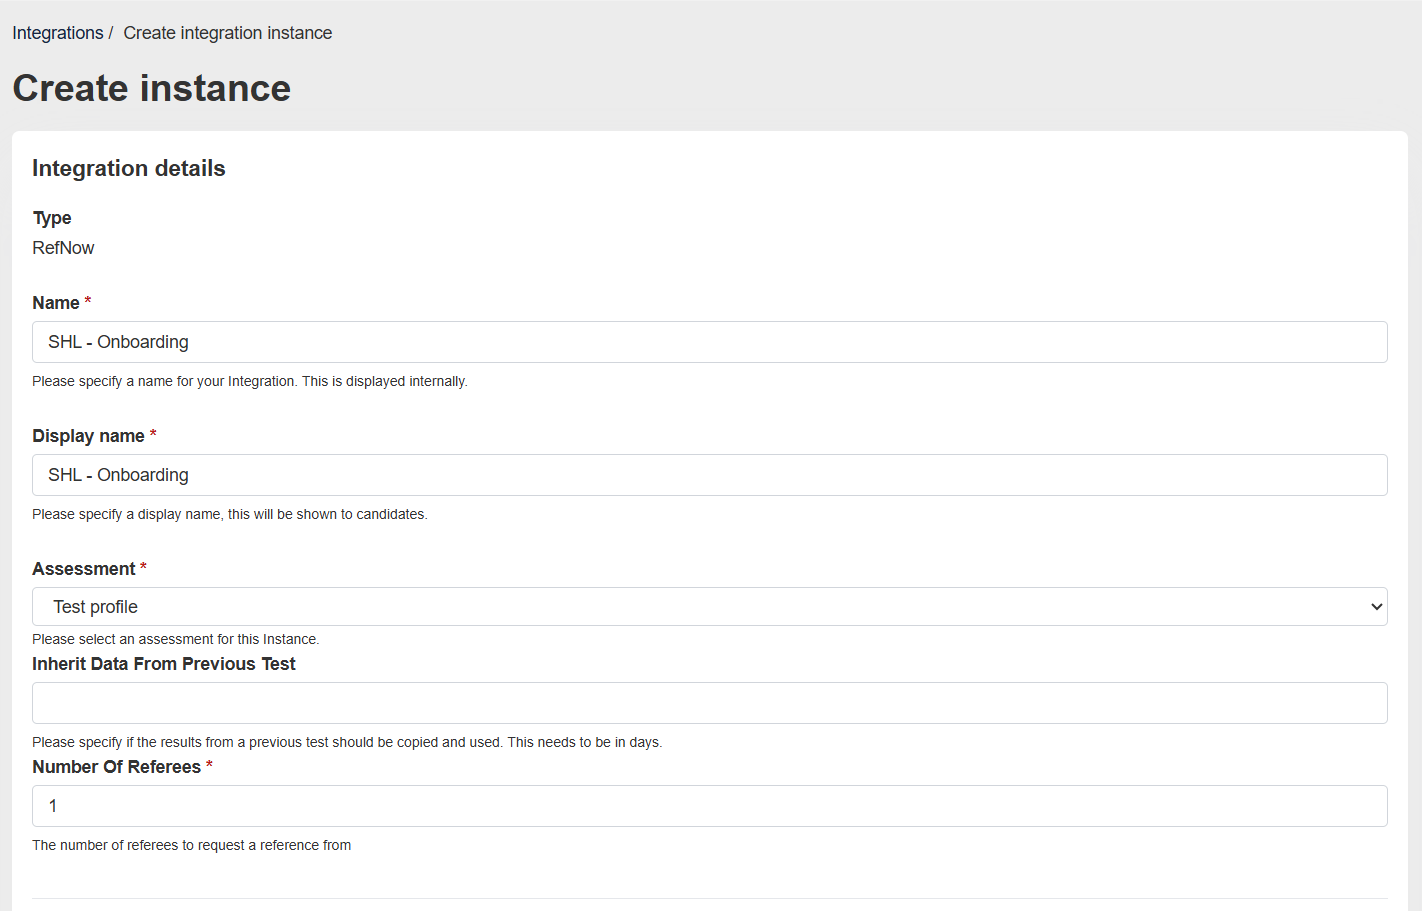
- Name - internal name
- Display name - this will be shown on the candidate dashboard
- Assessment - choose from dropdown list
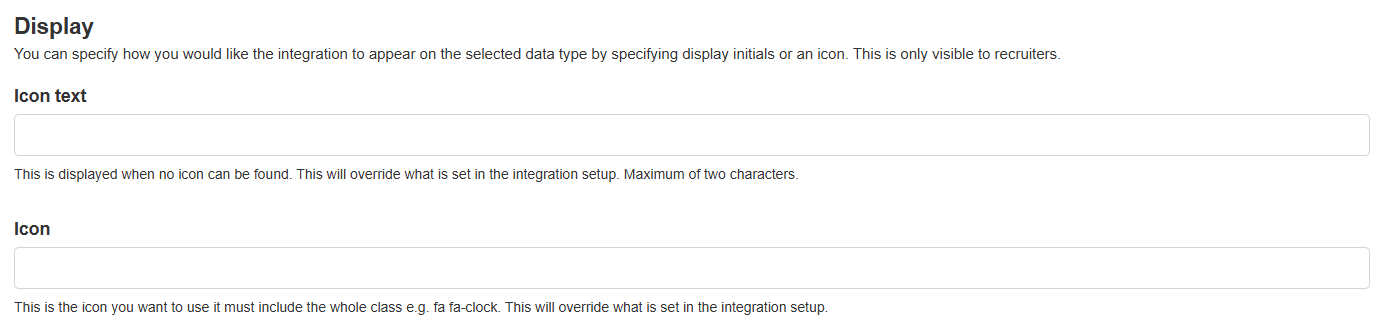
- Icon Text - Maximum of two characters
- Icon - This is the icon you want to use
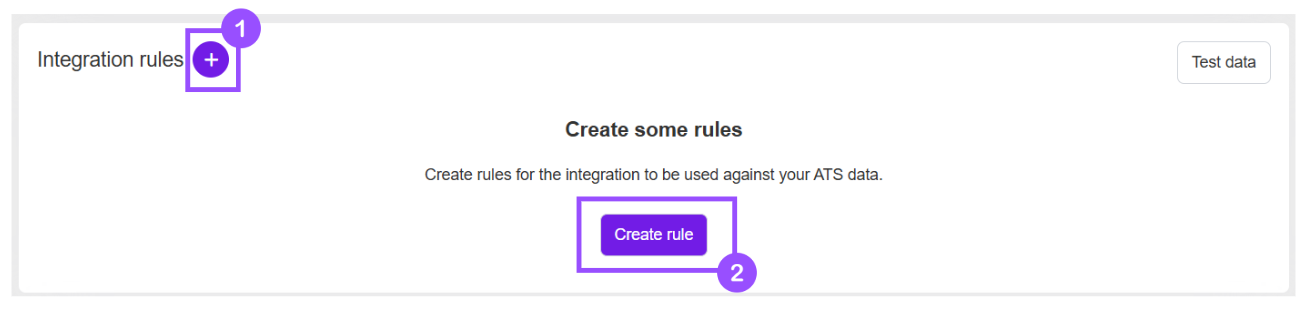
After completing the above, you will now need to create your Integration Rules. To do this scroll down, and either click on the plus icon (1) or the “create rule” button (2):
Give the rule a name, for example “Completed” (1):
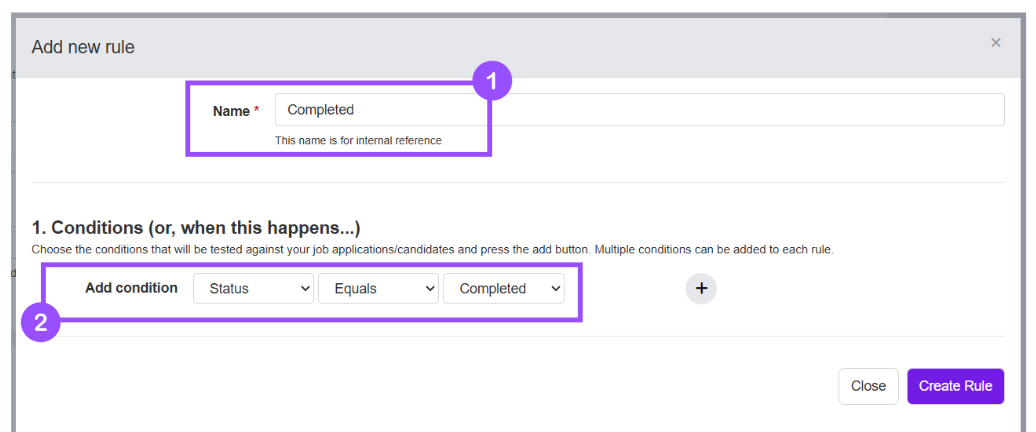
- Rules work by determining an action - a rule either “equals” or “not equals” a specific status
- For example, to be notified of a completed reference the rules would be (2)
Status > Equals > Completed
Multiple rules can be used for a single name, so you could have
Status > Equals > Completed
Status > Not equals > Not started
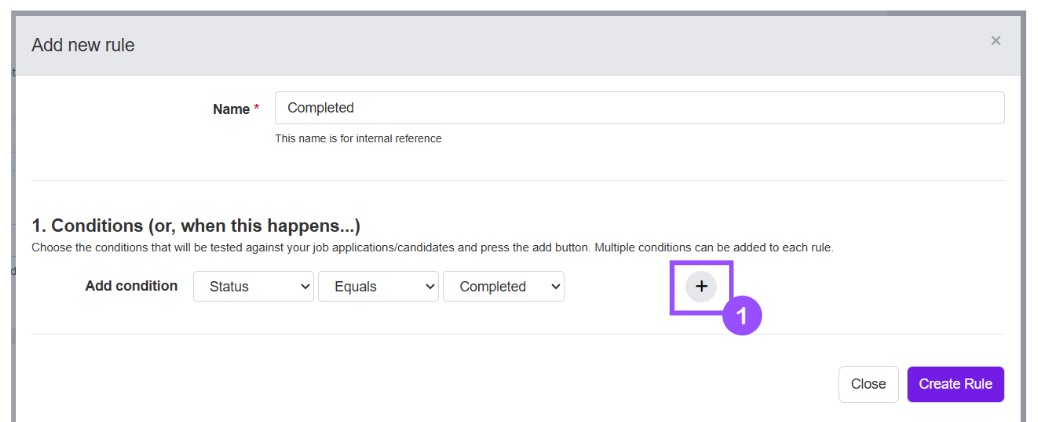
Once you have set the rule, clicking on the + icon (1) will allow you to add in a tag, Reverse data mapper, Block application and set a colour.
- There may be other options, depending on the Integration
To go ahead and add your action, simply click the on the drop down menu, and select from one of the options (2):
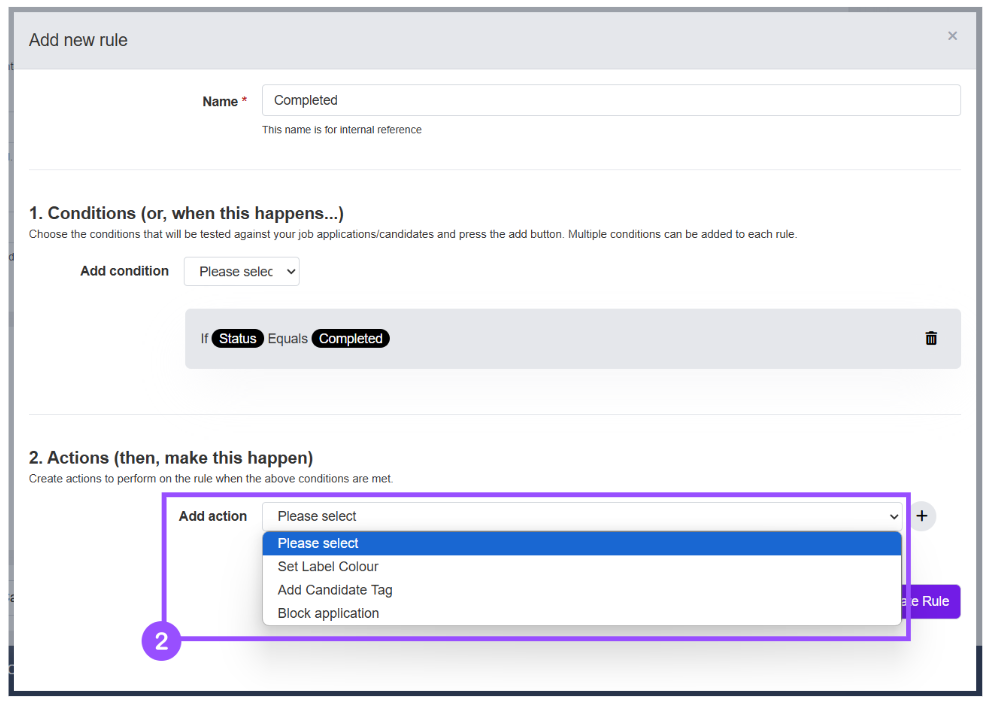
- Add Candidate Tag – Automatically tags the candidate when the rule is met.

For more information about how to create tags in Manage, 🖱️see our further guidance here.
- Block application – Prevents the application from progressing further.
- Label colour – Changes the label (set during integration setup) when the rule is met.
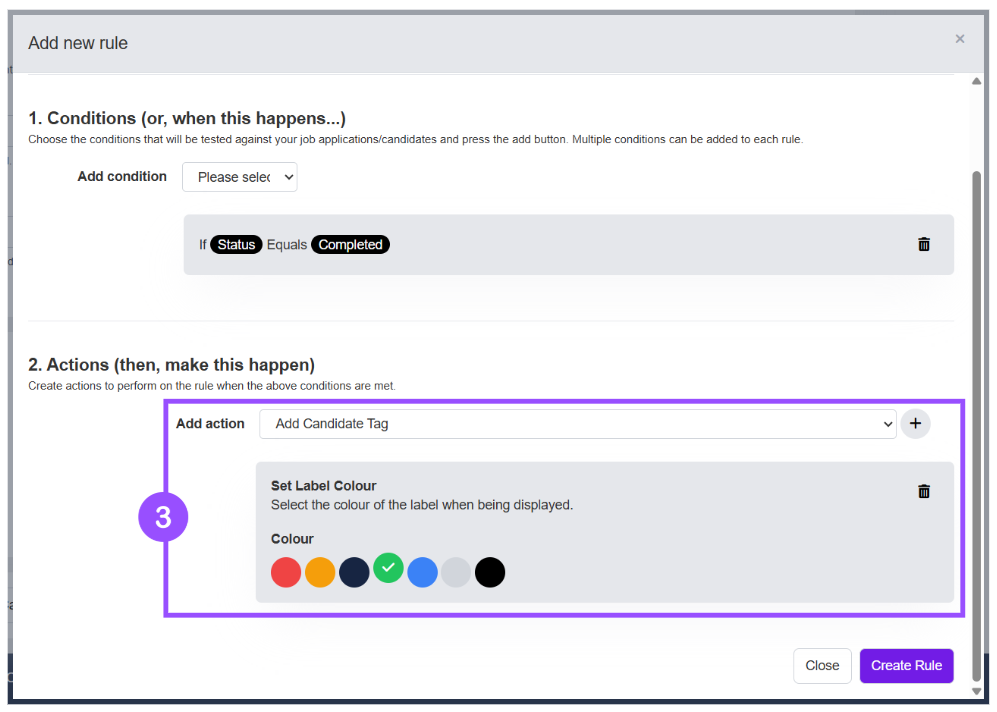
In the above example when the candidate’s assessment is complete, the tag created will go green and the candidate will be tagged with a tag of Ref completed (3).
Once you are happy with your rule(s) click on “Create Rule” to complete this process.
Once all required rules have been set up, you can create the integration instance by clicking on the “Create Integration Instance” button:
📂 Adding The Integration To An Onboarding Workflow
Once you have created an Instance, you can add it to an Onboarding package.
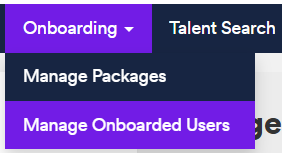
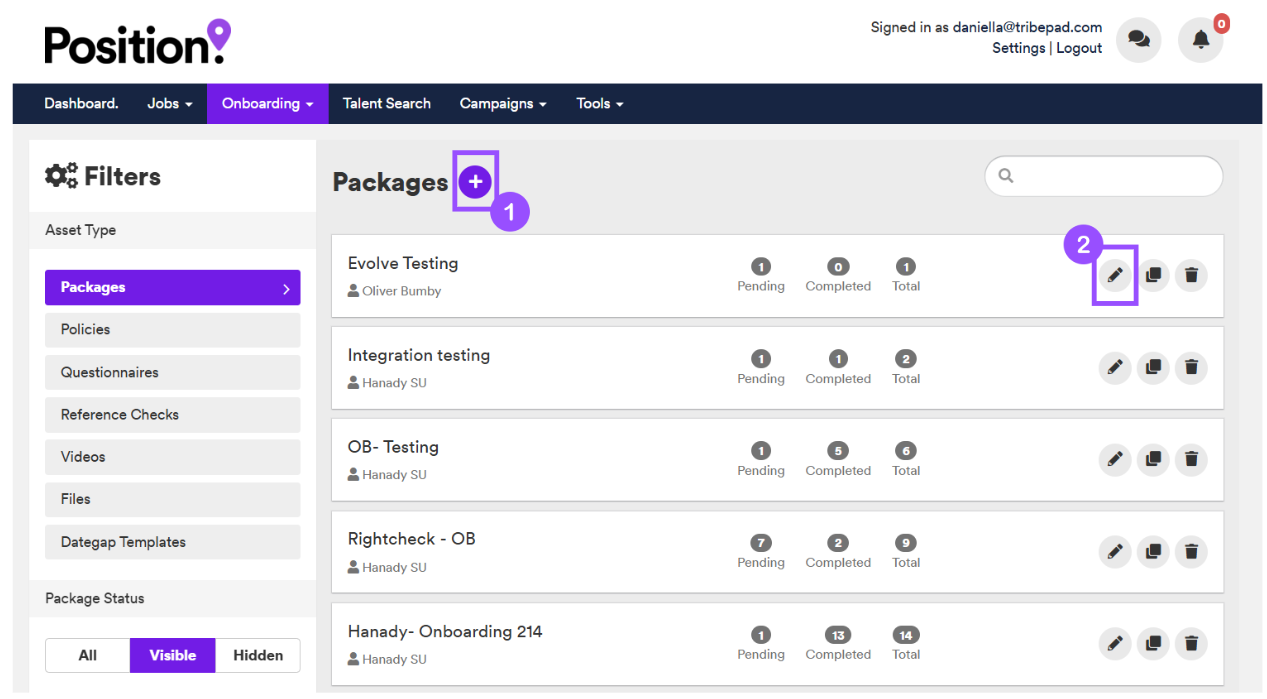
From the “Onboarding” menu, click on “Manage Packages”:
Click on the “+” icon (1) if you want to add the instance to a new package or click on the edit button (2) if you want to add the instance into an existing package as below:
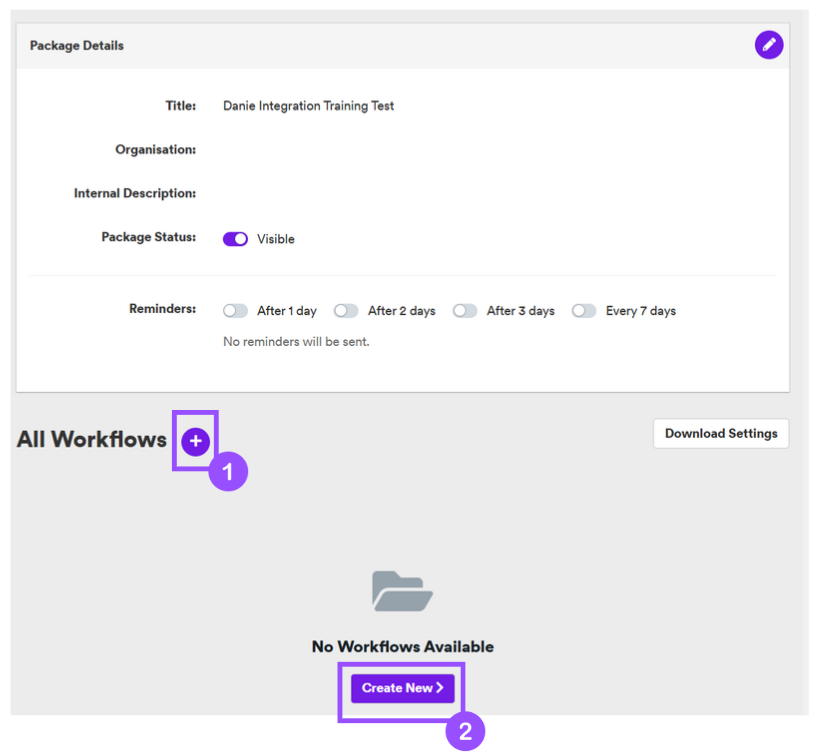
Next, add a new workflow by clicking on either the + icon (1) or the “create new” button (2):
Complete all of the relevant details in the workflow, making sure to toggle on “Integration” (1) and fill in any details in the “Integration Intro” field (2):
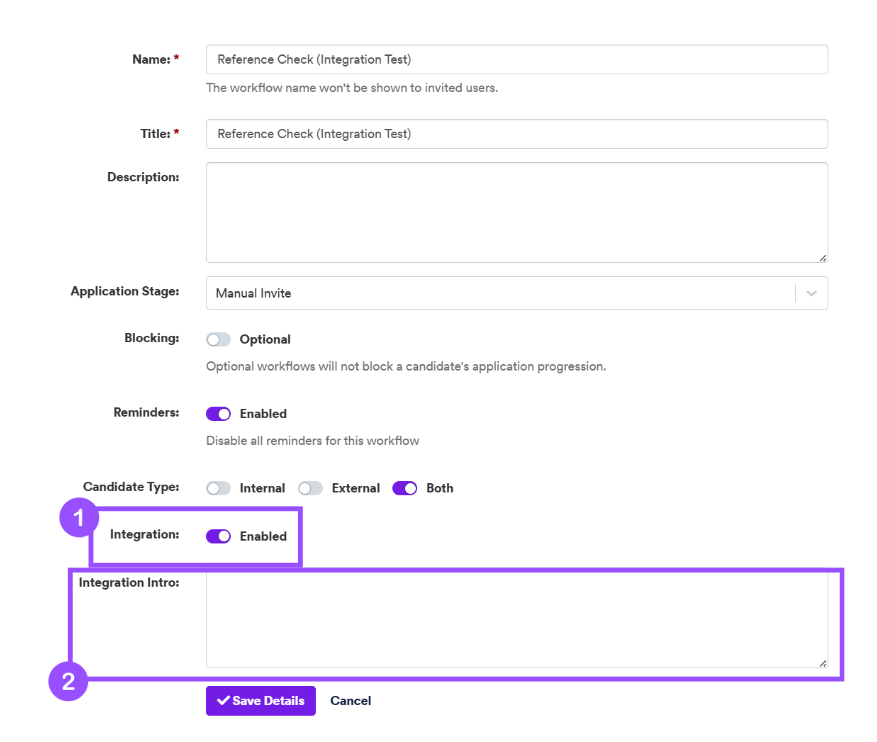

Once happy with the workflow, click “Save Details”:

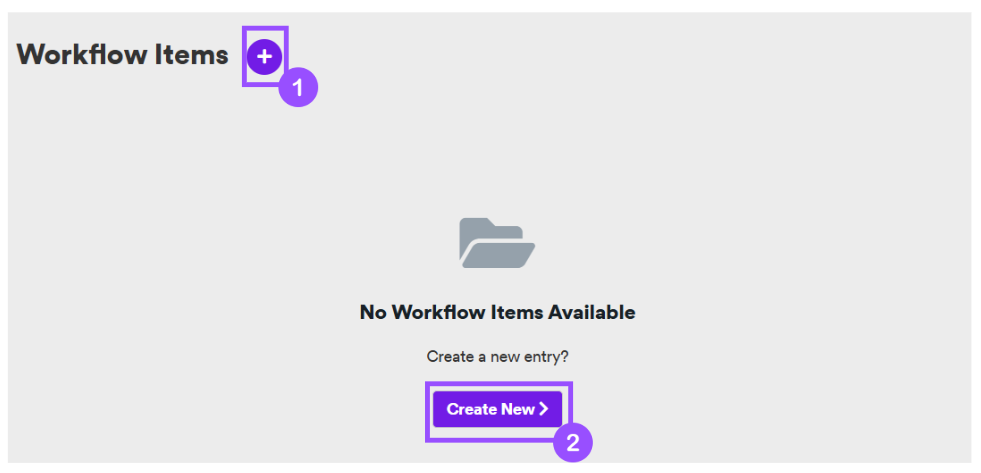
Once you have created your workflow, you can add a workflow item either by clicking on the “+” icon (1) or by clicking on the “create new” button (2):
You will notice that your new workflow item is now labelled “Integration” on the left-hand side (1):
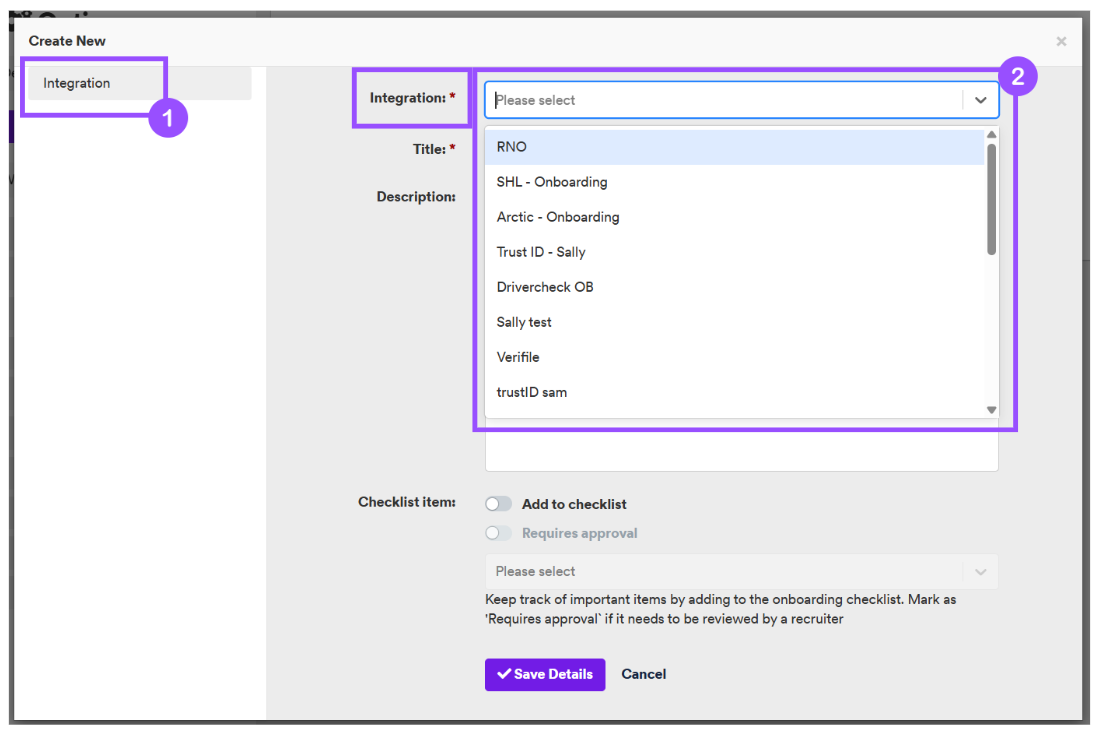
- You will now need to choose your relevant Integration from the drop-down list on the right-hand side (2)
- Complete the remaining workflow item details as usual.
- If using the Onboarding Checklist, you can add the integration to it and set approval requirements.

Once you are happy with the workflow item, click “Save Details”.
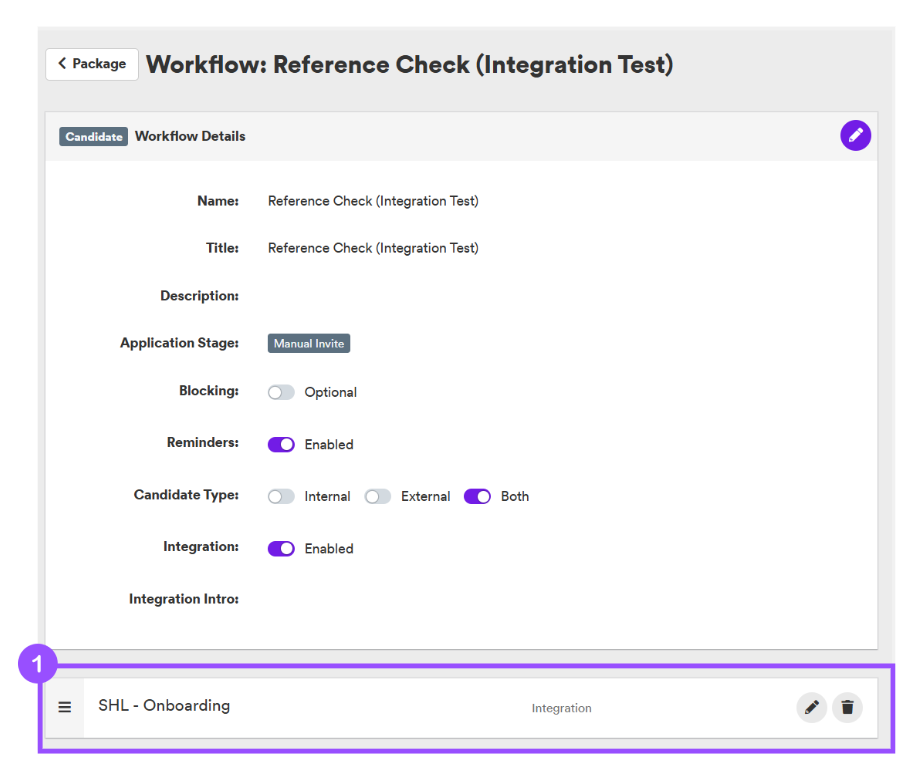
You will now see the Integration Onboarding workflow item has been added to the workflow (1):
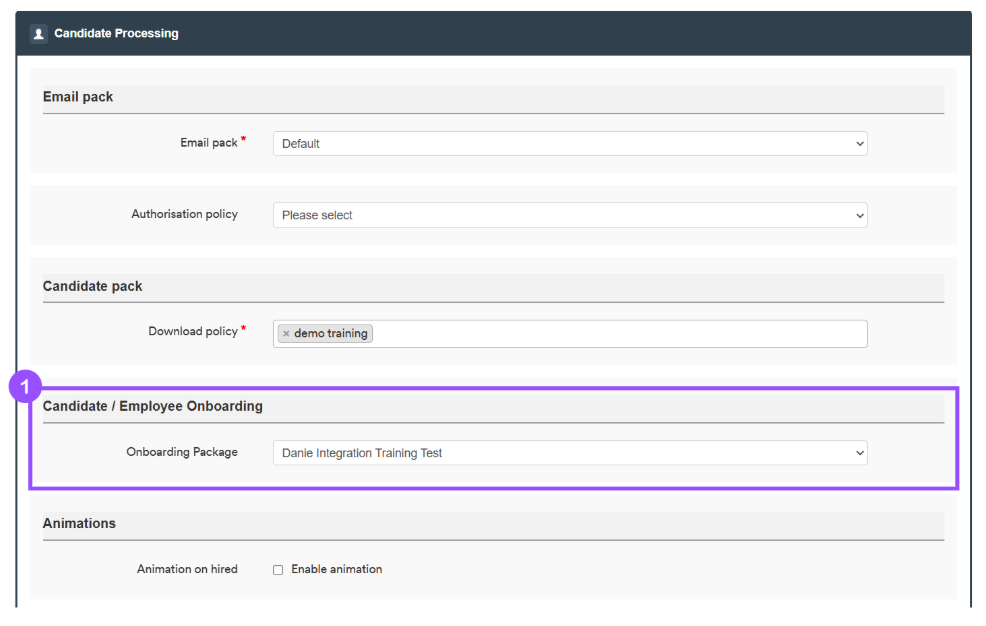
Your Onboarding package can now be added to a job, in the usual way (1):
- Jobs > Jobs List > Select The Relevant Job > Candidate Processing > Candidate / Employee Onboarding > Onboarding Package (Select from drop-down list)
📈 Triggering The Integration
If set to trigger automatically, the workflow will activate at the specified stage.
If set to manual, you must invite the candidate to Onboarding.
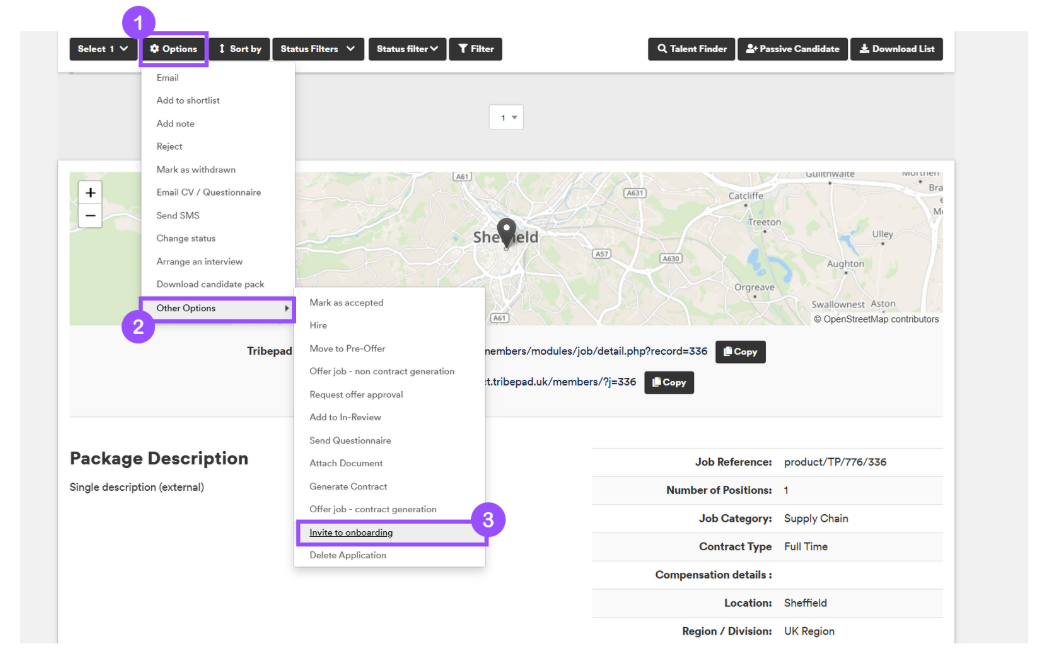
To manually invite:
- Select the relevant job
- Select the relevant candidate to open up the “Options” menu (1)
- Select “Other Options” (2) > “Invite to Onboarding” (3)
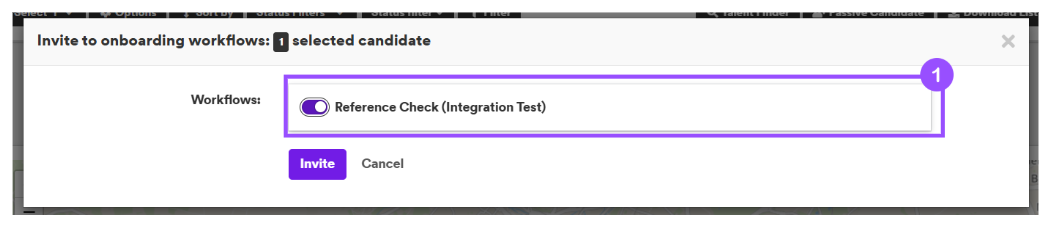
Now, select the relevant workflow to be triggered (1):
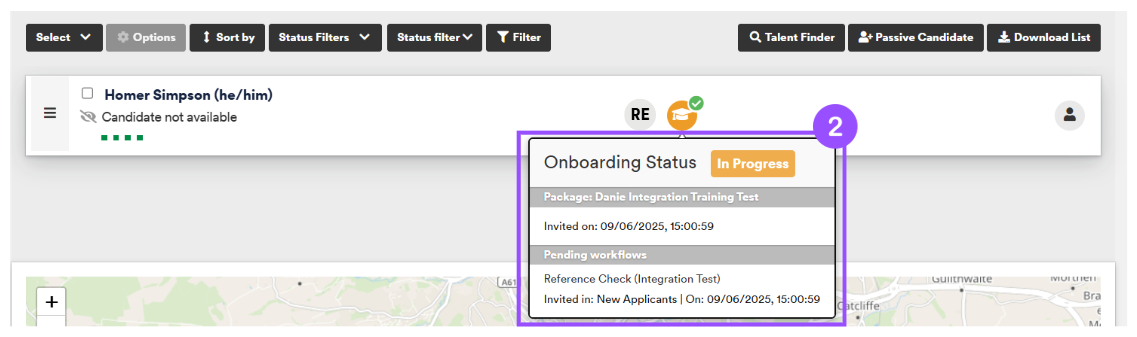
Once invited, you will see the integration and Onboarding icons (1) on the candidate’s profile in a job:
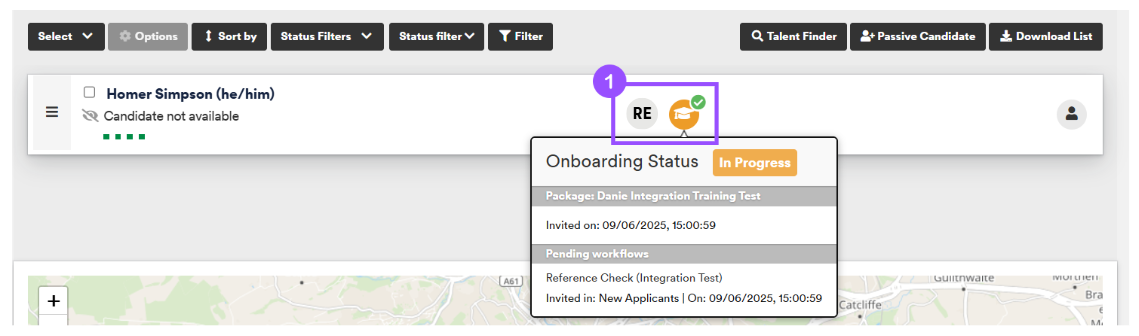

Hover over the Onboarding icon to view the candidate’s progress and the date it was sent (2):
Clicking on the Onboarding icon takes you to the candidate’s Onboarding profile to show you more detail on their progress:
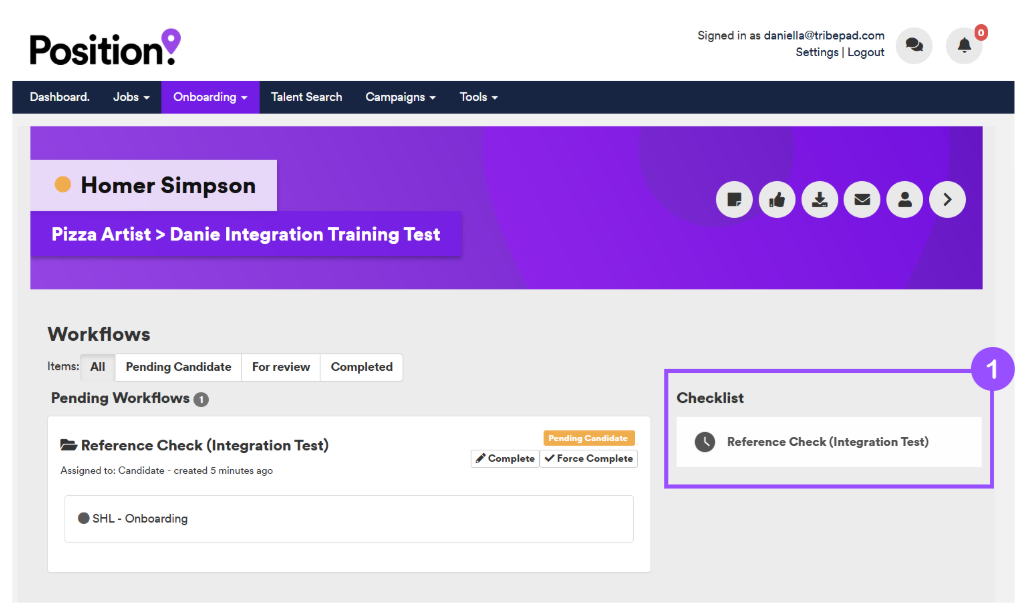
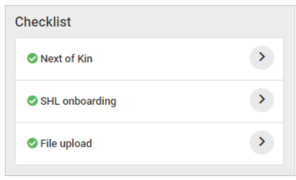
If using the Checklist functionality, progress appears on the right-hand side of the screen (1).
For more information about the Onboarding Checklist,🖱️ see our further guidance here.
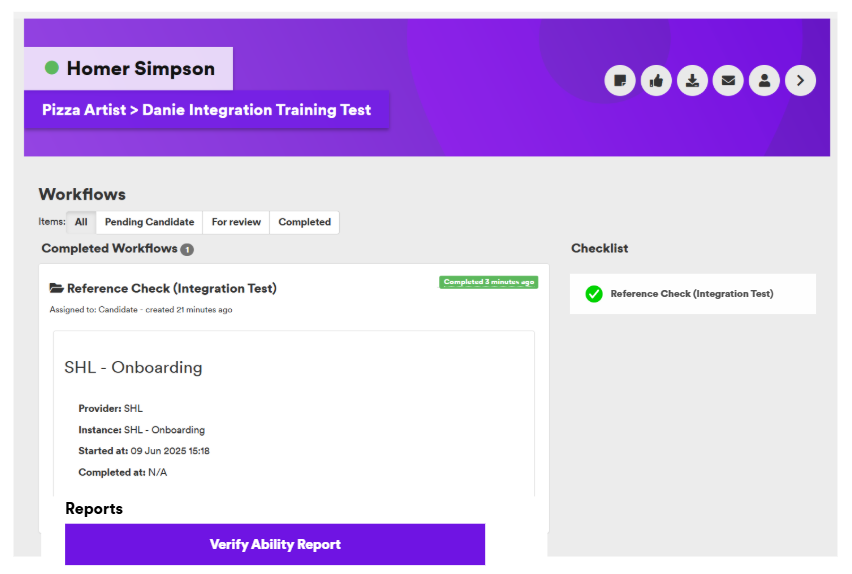
Once a candidate has completed the integration, the icon on their profile will change colour (1):


Hover over the Integration icon and click “Verify Ability Report” to download the report (2).
You can also download it via the Onboarding icon in the candidate’s profile:
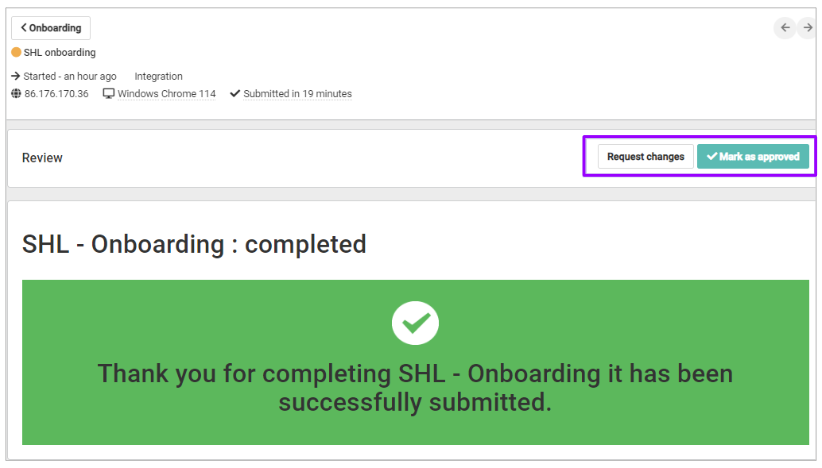
If the Checklist functionality has been used and approval is required, an amber question mark will appear next to the workflow item once the integration is complete.
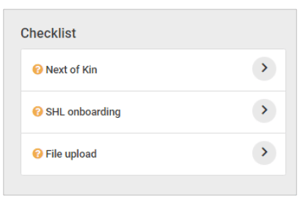
- Click on the arrow to the right of the workflow item to view the content
If required, you can request changes:
- Some integrations will allow the candidate to re-complete and re-submit their application / test / details
- Some will not - this will depend on the integration itself
- Approval can also be given as appropriate.
Once everything has been approved, the workflow items will show with a green tick in the checklist: