Find out how to create bespoke Anonymisation features on your candidate's profiles
To enhance the current anonymisation feature within Tribepad, you can now create policies to determine which data is anonymised and which is kept visible to your internal ATS users.
Anonymisation policies are a free-of-charge additional feature in the ATS.
If this is something you would like turning on, please speak to your main ATS lead in your organisation or your Tribepad Account Manager.
Creating a policy
Anonymisation policies must be created in your self-serve tool, Manage.
Only specific people in your organisation will have access to Manage.
If you require access, please speak to the main ATS lead in your organisation who can request this with the Tribepad Support Team.
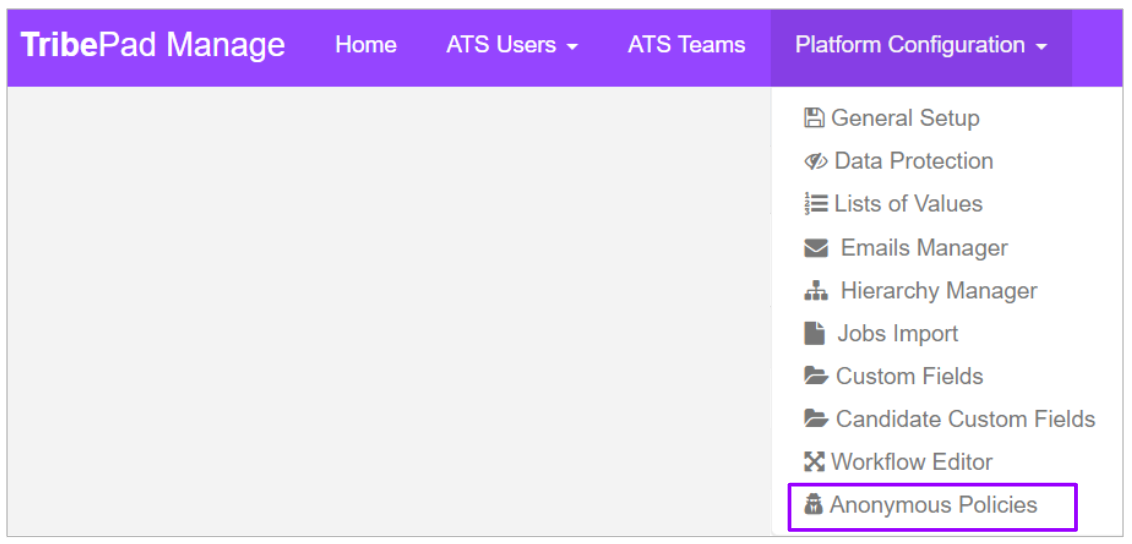
Once they have been enabled for you, navigate to the ‘Platform Configuration’ section in Manage and select 'Anonymous policies':
You will see a default policy already created - this mirrors the current anonymisation in the platform:

For more information on the current Anonymisation Applications feature in Tribepad, click here.
You have 2 options when creating a new policy:
1) Create a new policy
2) Clone an existing policy and then edit it
To create a new policy, click on the new policy button at the top of the screen: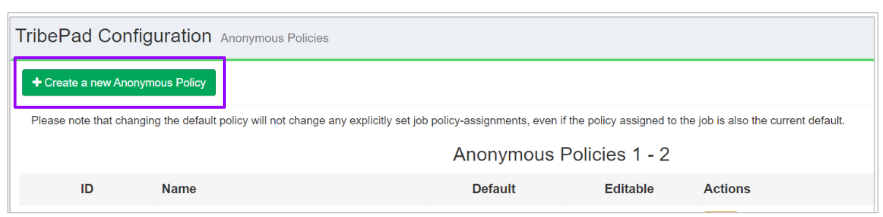
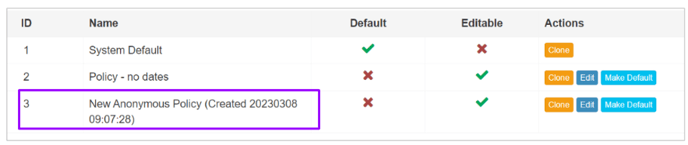
This will create a new policy in the list:
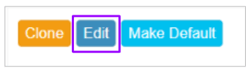
You then need to edit the policy by selecting the 'Edit' button next to the new policy:
This will bring up a pop up that will allow you to set the permissions required:

Give your policy a name in the top text box:

- Simply overwrite the text that populates in this box.
Choose the date granularity:

- By choosing ‘Default’, you will see date periods as being either less than or greater than one year
- By choosing ‘Years’, you will have more detailed information i.e between 1-3 years.
You can now choose what you do and do not want to be anonymised. This is split into sections: 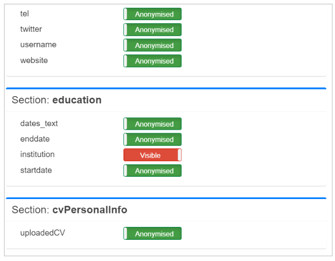
To make a certain field ‘Visible’ (i.e. not anonymised), simply toggle the slide bar from ‘Anonymised’ to ‘Visible’:

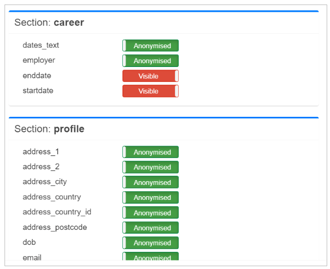
Careers
- Dates text
- Employer - This is the employer name
- End date - The end date of employment (if provided)
- Start date - The start date of employment.
Please note - you can choose to anonymise some or all of the dates. You do not have to have all dates in this or any section anonymised.
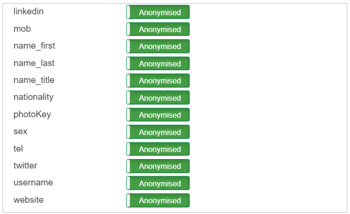
Profile
These are the fields on a candidate’s profile and may not all apply to your organisation: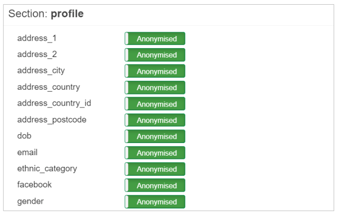
Education
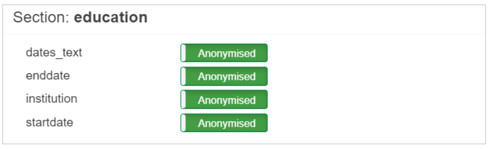
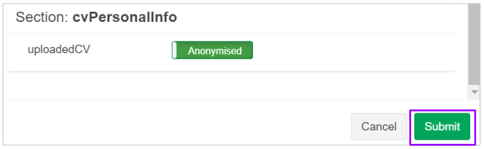
CV

- If ‘Anonymised’ is chosen here, the Tribepad created CV is the only one that can be seen.
Once you are happy with your choices, click 'Submit' when complete:
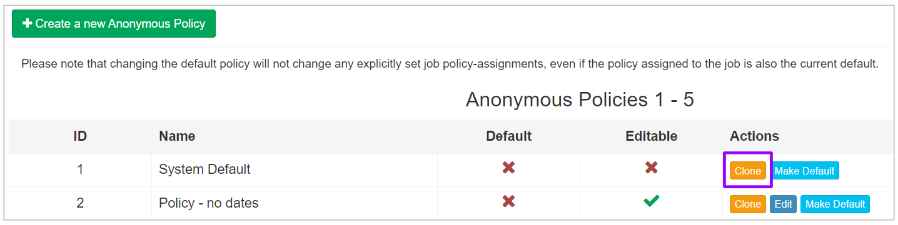
Cloning a policy works much in the same way as adding a new policy.
- Simply click ‘Clone’ next to the policy you wish to clone and a new version will be created that can be then edited in the same way as creating a new policy:
Adding a policy to a job
Once the policies have been set up in Manage, you can set your new policy as default if you wish, or you can leave the options available to be selected by the ATS user:
The policies will show on the Job Create and Job Templates as drop-down options:

If a default policy has been set, that will be pre-selected in the dropdown menu
- If not, all policies will be made available for selection.
If the Anonymisation policy is selected in a template, this field can be locked down by clicking on the padlock as usual
- All future users of the template will be required to use the selected policy
