Find out how to use Contract Authorisation Policies with your Jobs
Contract Authorisation Policies allow you to send a candidate’s contract to an approver(s) for review, before sending out to a candidate.
The Contract Authorisation process works with Tribepad's Authorisation Policies.
To find out more and how to create an Authorisation Policy, click here.
Attaching a Contract Authorisation Policy to a Job
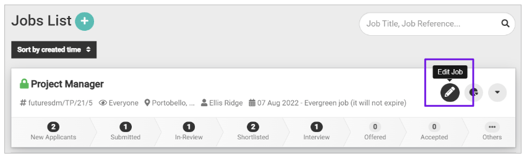
Once you have created your Authorisation Policy, you can attach it to a job.
- You can add this to a brand new or existing job:
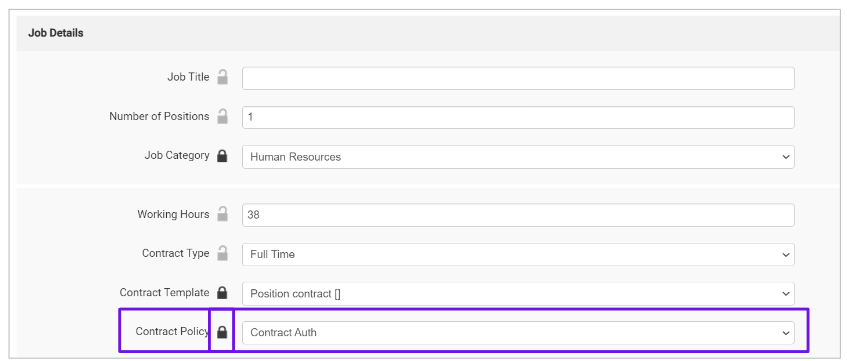
When in the Job Create screen, you will see under the 'Job Setup' section, towards the top of the screen, a 'Contract Policy' option:
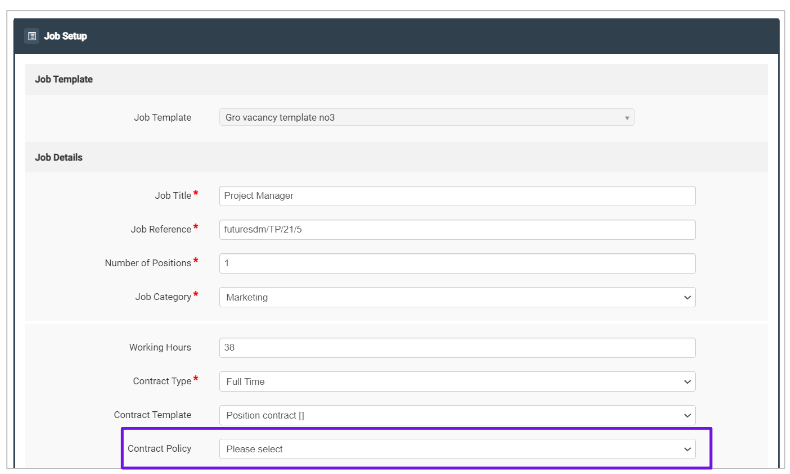
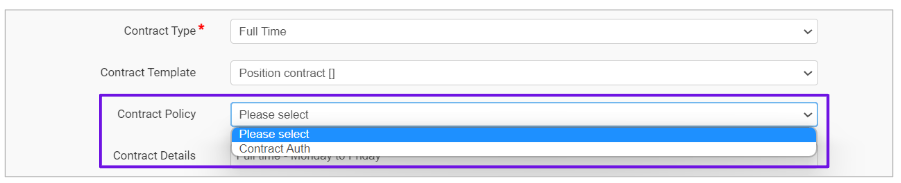
- In this drop-down, select the relevant policy you wish to apply to the job:
If added to a template, the policy can be locked.
- If a policy is added to a template and locked, then all jobs that use that template will be ‘forced’ to use that policy
Now that your Contract Authorisation Policy has been applied to a job, it will be applied to any candidate going through the Onboarding process and will be activated when a contract is generated for a candidate.
Let's have a look at that now.
Generating a Contract for a Candidate
When generating a contract for a candidate, you have two options under the ‘Options’ menu within a job:
- ‘Offer job - Contract generation’
- ‘Generate Contract’
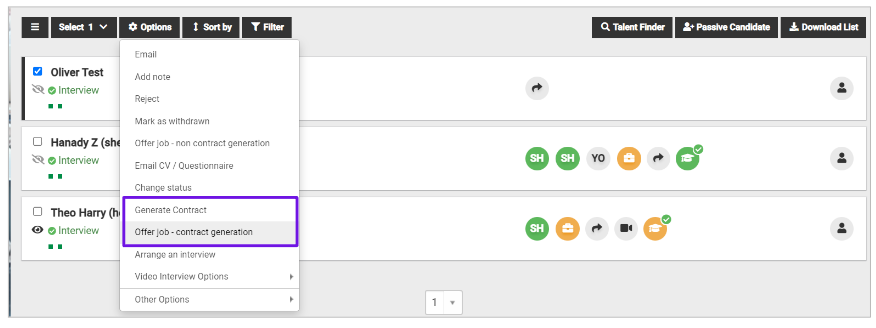
Please note - The ‘Generate Contract’ option does not link to a job - a contract can be generated at any stage in the recruitment process, and so the Contract Authorisation policy does not apply to that method of generating a contract.
To utilise the Contract Authorisation policy, select the ‘Offer Job - Contract Generation’ option.
Next, state the salary the candidate will receive:
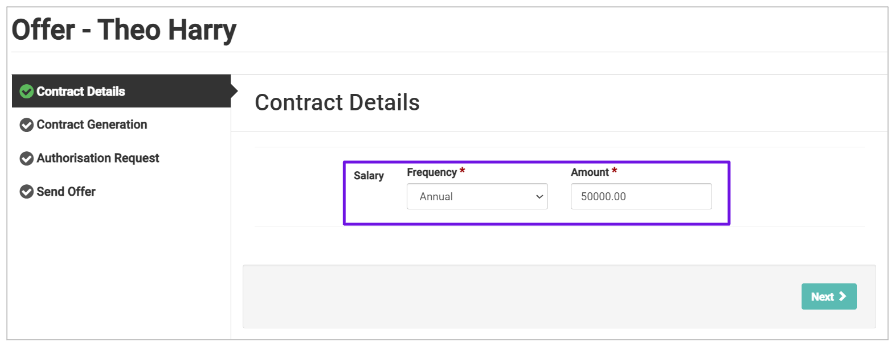
- Click ‘Next’
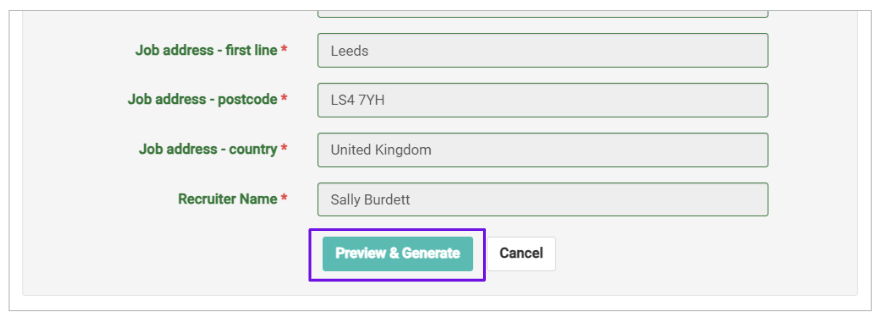
Next, check any variables that are to be included in the contract, e.g. Candidate’s name, address etc.: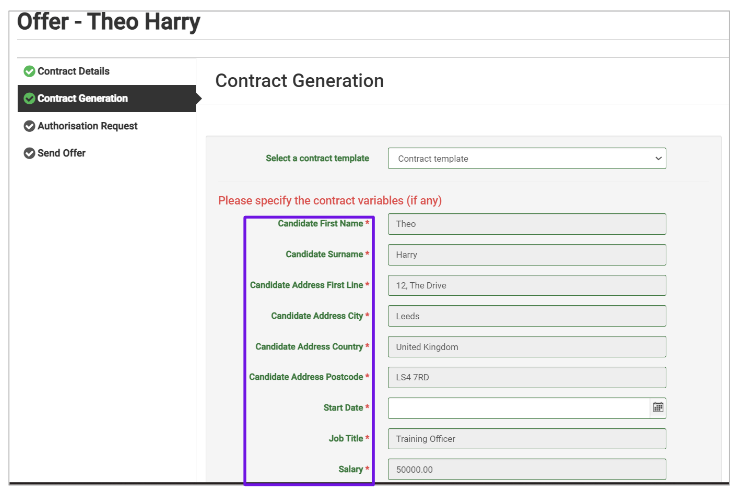
- In the example above, the user needs to enter the start date for the candidate.
(This is not always the case - different elements may require inputting.)
Once happy with the details entered, click ‘Preview & Generate’:
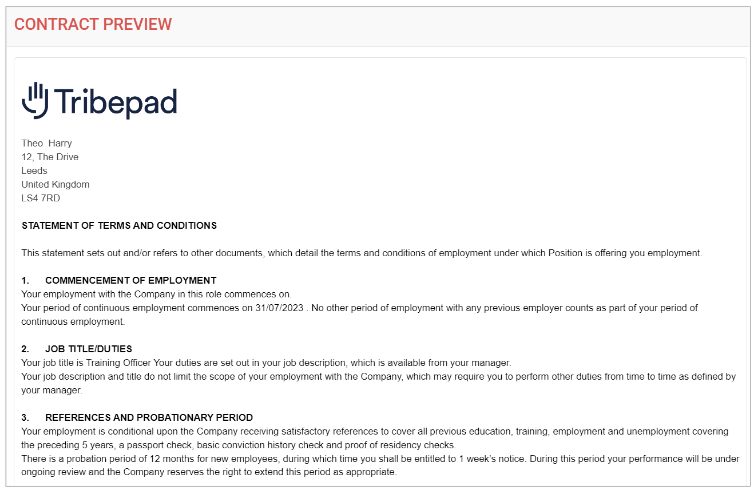
Review the content and at the bottom of the page, once happy with the detail included, click ‘Generate’:

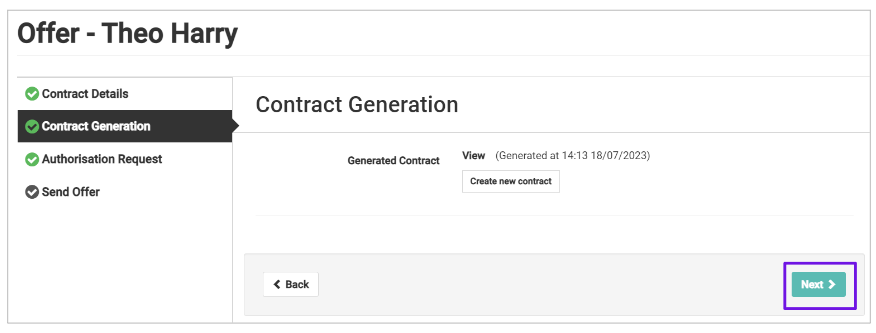
Once the contract has been generated, the screen will refresh to show confirmation of this:
- Click ‘Next’.
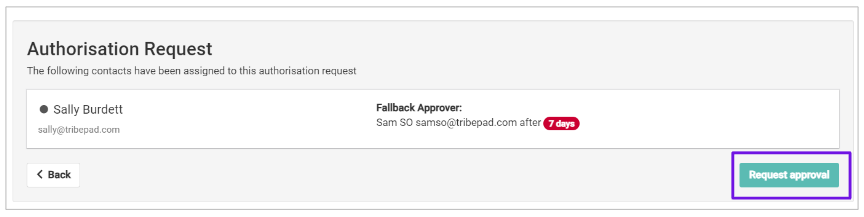
- Select ‘Request approval’ to send an authorisation request to the approver(s).
The ATS will refresh and you will see the following:
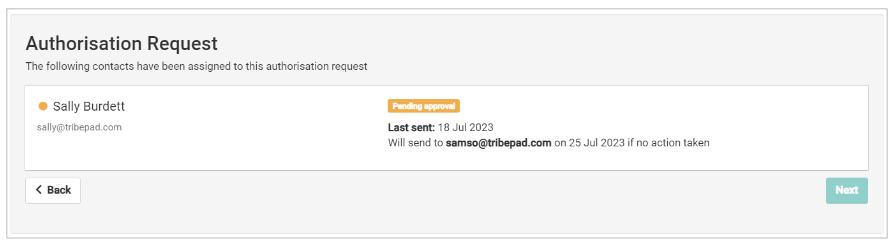
Until the contract has been reviewed and approved, you cannot go any further in the process.
The Approval process is detailed in another article. For more information on this, please click here.
Sending a Contract to a Candidate
Once an approver has reviewed a contract and authorised it, you will receive an email that may look something like this:
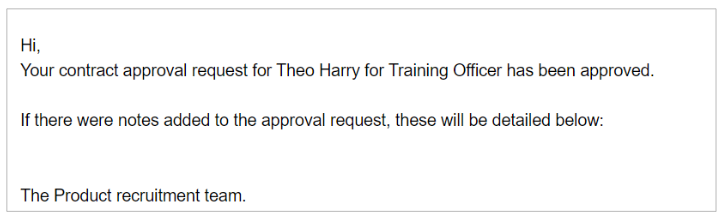
The content of these emails is saved in Manage, your self-serve, behind-the-scenes-of-Tribepad system.
Only selected people in your organisation will have access to Manage. If you need to change anything in this email, please speak to your main ATS lead.
For more information on editing these emails, please click here.
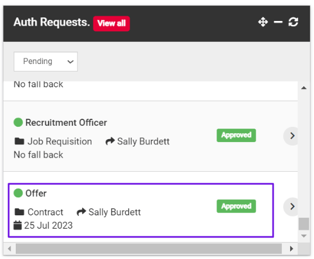
Alternatively, if you are a Super User of the platform, you will have access to an 'Auth Requests' widget on your Dashboard, where you will now see this:
Once you have received the email or seen the notification on your Dashboard, you need to go back through the Contract Generation process: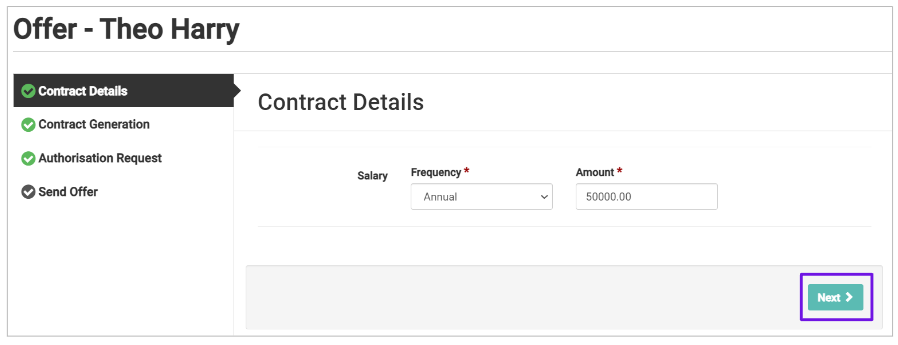
- Click ‘Next’.
- Click ‘Next’.
As approval has been given, the recruiter will see this approval screen:
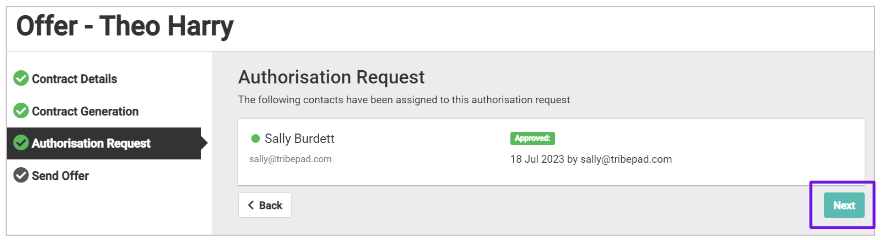
- Click ‘Next’.
Now that approval has been given, you are able to send the contract out to the candidate:
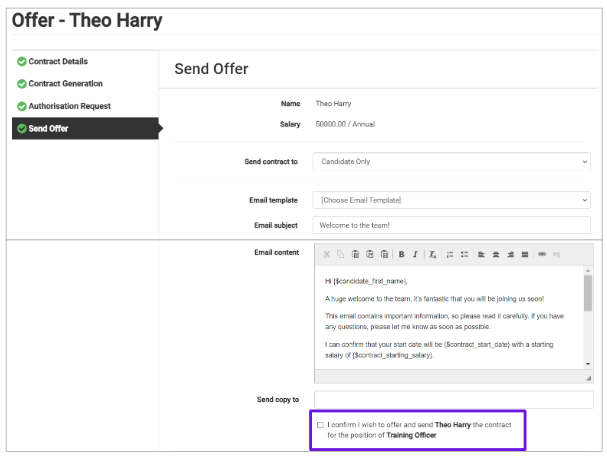
- Make sure you select the tick box underneath the email body, to confirm that you wish to offer the candidate the role and that you would like to send out the contract to them.
If there are any Onboarding workflows you wish to trigger at this point, toggle them on here:
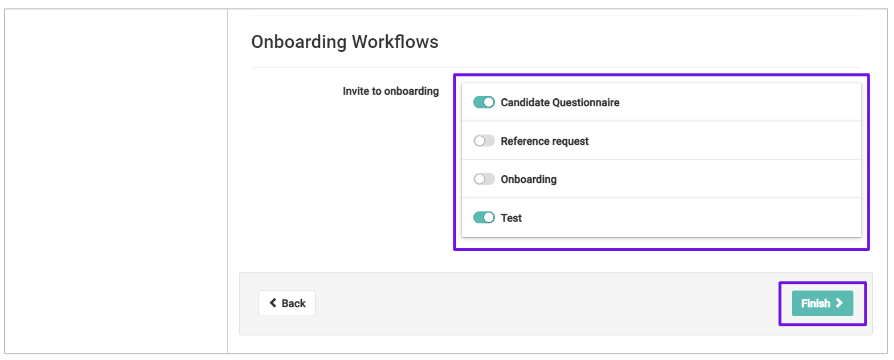
- Once completed, click ‘Finish’ and the email will be sent to the candidate.
The candidate will now be sitting in the ‘Offered’ bucket, and a Contract icon will show on their profile:
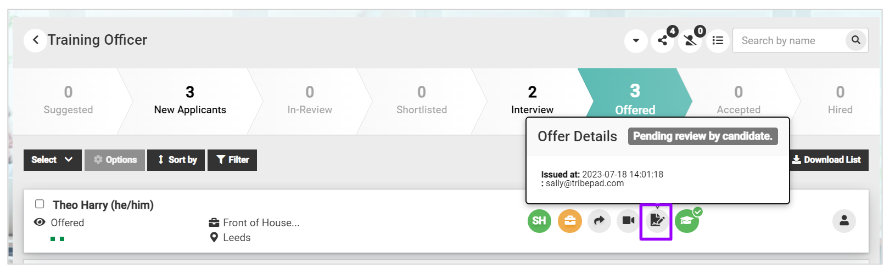
- Hovering over it will indicate the details of the Contract and Offer that have been sent to the candidate.