Find out how to create an Authorisation Policy and add it to a job.
Our new Authorisation Policies will help you get things approved with ease.
Authorisation Policies can be used for 3 reasons:
- Approving a Job before it is published
- Approving a Job Requisition (i.e. a request for a Job Advert to be created)
- Approving a Contract before it is sent out to a candidate
Authorisation Policies are an additional feature. If you would like these turning on in your platform, please speak to either your ATS Organisational Lead or your Tribepad Account Manager.
Creating a Policy
To create an Authorisation Policy, go to your 'Tools' menu and select 'Authorisation Policies':
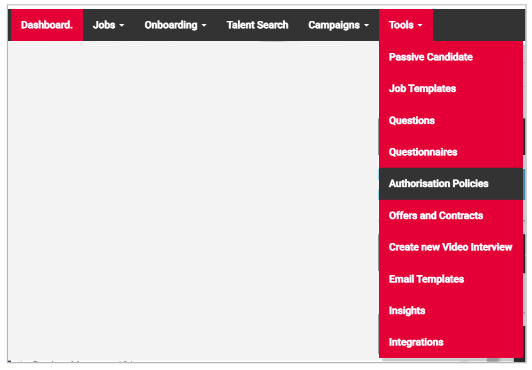
If you do not have the 'Tools' menu enabled in your ATS, the Authorisation Policies section will be held in your 'Jobs' menu.
You will be presented with this screen:
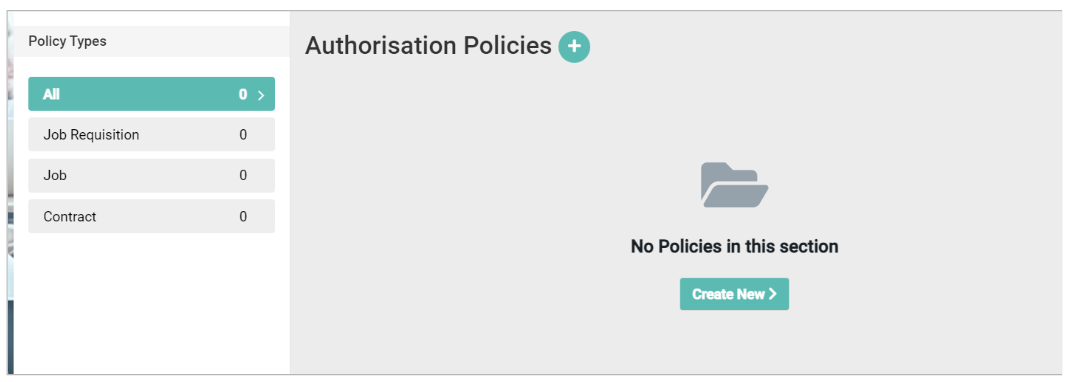
As you can see, on the left-hand side of the page, there are the different types of Authorisation policies in sections.
Please note - you do not have to have all 3 types of Authorisation Policy turned on - if you only require 'Job Requisition', for example, you would only see that as an option on the left-hand side.
As you can see from the example above, there are no active policies at this point.
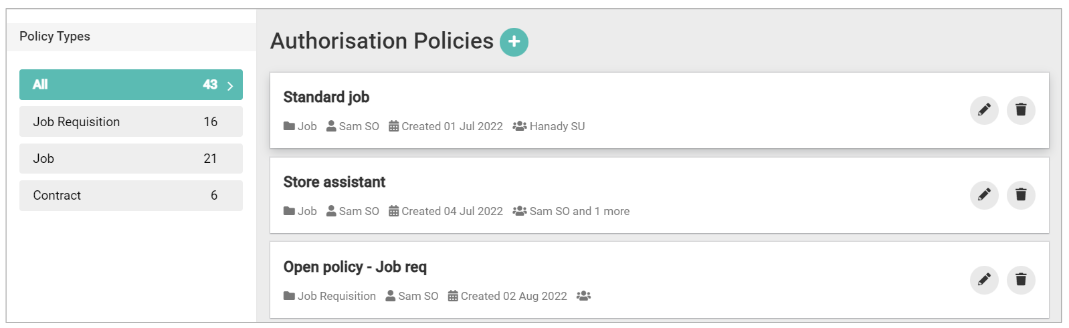
If you have active policies in place, you will see something that looks like this:
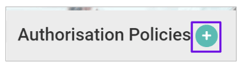
To create a policy, click on the '+' symbol at the top of the page:
The page will refresh and you will see something that looks like this:
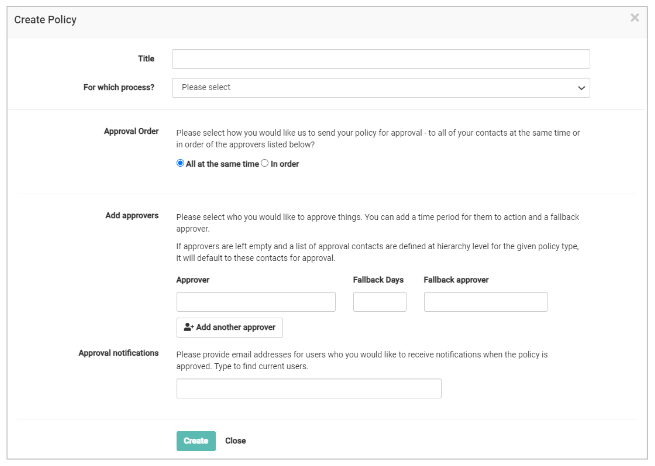
Start by giving your Authorisation Policy a title.
Then choose which type of policy you would like to create:
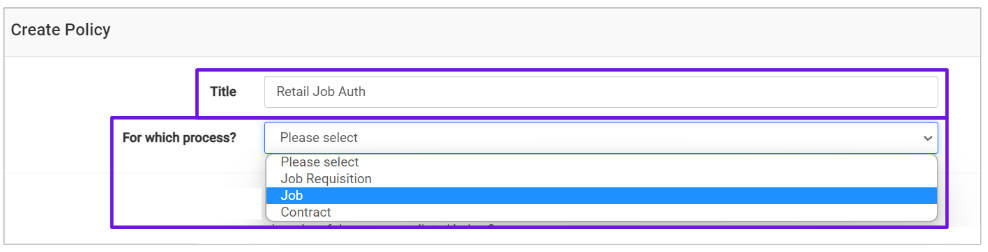
'Job' refers to a Job Authorisation policy.
Next, choose if you would like your approvers to be contacted all at the same time, or in order:

- If you only wish to have 1 approver on your policy, you can leave this as 'All at the same time'.
Next, enter the email address of the Approver:
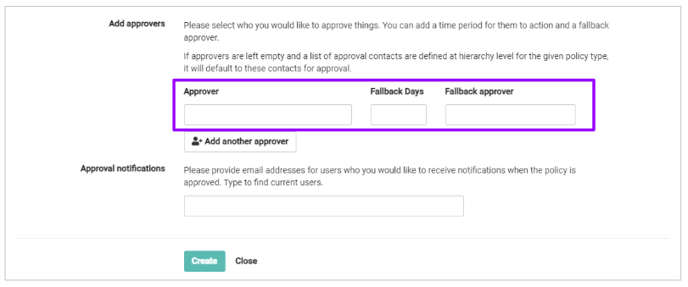
- You can also choose if you would like a 'Fallback Approver' on the policy, i.e. someone who will be contacted after the original Approver, if they have not responded in a specific number of days
- Choose how many days you would like as a Fallback period (e.g. '3')
- Enter the email address of your Fallback Approver
You do not have to have a Fallback Approver if it is not required.
You can also enter a generic email address (e.g. 'Recruitment@yourorganisation.com') as a Fallback Approver address as well if you choose.
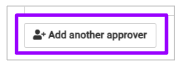
If you wish to add additional approvers to your policy, simply select the 'Add another approver' box and populate the additional fields that appear:
You also have the ability to add in email address that will receive notifications once the approval has been given:
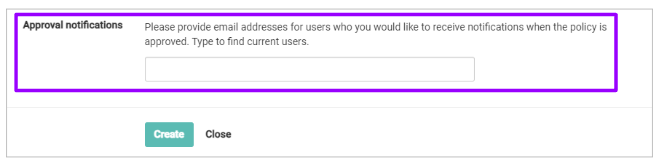
- Simply add in as many email addresses as you wish, in this bottom field
- If you are entering multiple addresses, simply separate them with a comma (,).
Please note - if you have multiple approvers detailed and they will be contacted in a specific order, the notification will only be sent once the final level or approval is given on the platform.
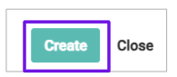
Finally, once you are happy with your input, click 'Create':
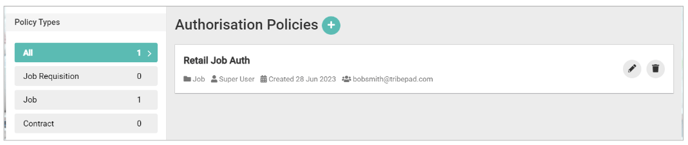
The screen will refresh and you will see your newly created policy:
Utilising a policy
Now that you have created a policy, you can attach it to a job.
This next part of the article relates to adding an authorisation policy to a job in order for a Job Advert to be approved before publishing.
If you would like more information on how to utilise a Job Requisition Policy or Contract Authorisation Policy, click below:
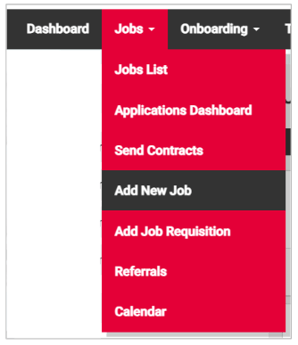
Navigate to your Jobs menu and select 'Add New Job':
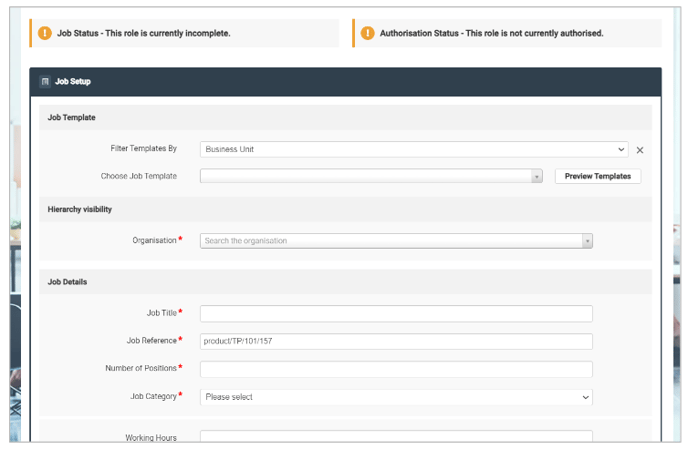
Complete the elements of the job, as you would do normally:
Further down the page you will see a 'Candidate Processing' section:
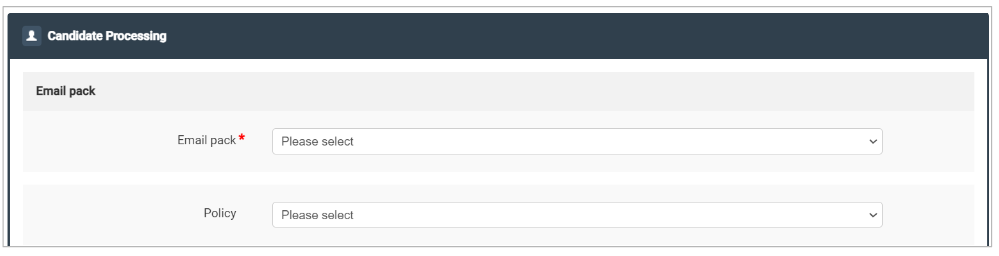
From the 'Policy' drop-down menu, you will now see your new Authorisation Policy:

- Select the relevant policy and complete the rest of the relevant fields in your Job Advert.
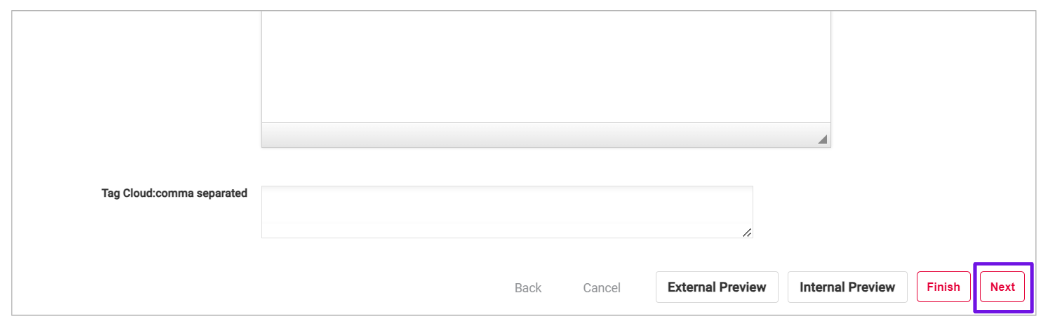
Once you have completed the details for your Job Description, select 'Next' at the bottom of the screen:
The screen will refresh and you will be presented with a page that looks like this:
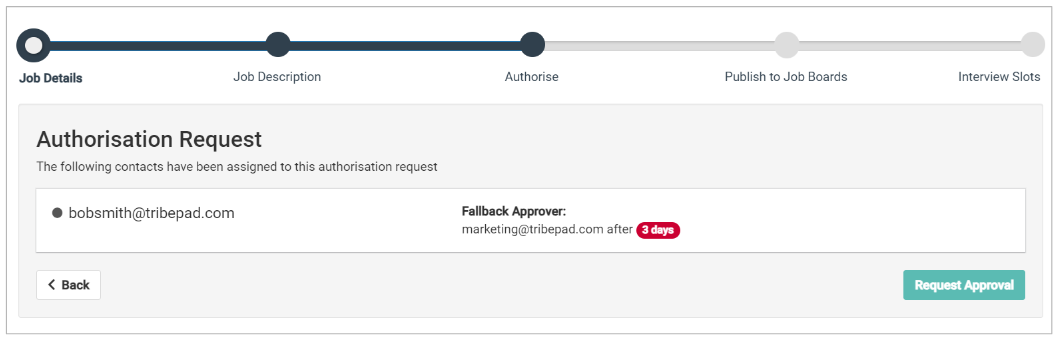
This shows the details of the policy you created previously:
- The Approver
- The Fallback Approver
- The number of Fallback days
Click 'Request Approval' to send off the approval request:
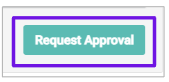
The screen will refresh when approval is requested, and if you are logged in as a Super User, you will see the following:
- You can see that approval is pending for both approvers
- As a Super User, you will have the ability to override the authorisation request once it has been requested (top right-hand corner)
- If you have multiple approvers details (as above), you can override all requests if you wish by choosing the 'Override all' option at the top of the page
- If you only need to override one individual approver, for example if they are on holiday or off sick, you can select the
 icon on the right-hand side of the page.
Please note - If you are a Hiring Manager, Resourcing User or Talent Team, you will not be able to override an authorisation policy. This function is reserved for Superusers.
If you are logged in as a Hiring Manager or Talent Team / Recruiter, you will see the following:
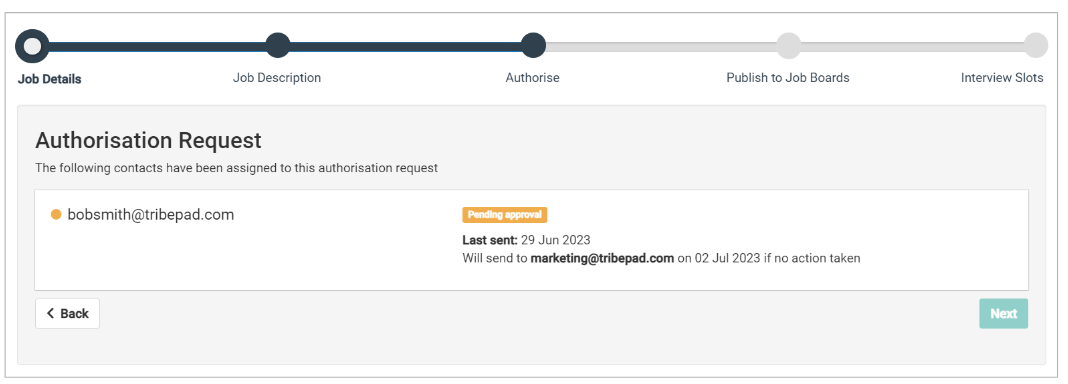
Please note - Until the request has been approved by the relevant person(s), you will not be able to move forward in the Job Create process.
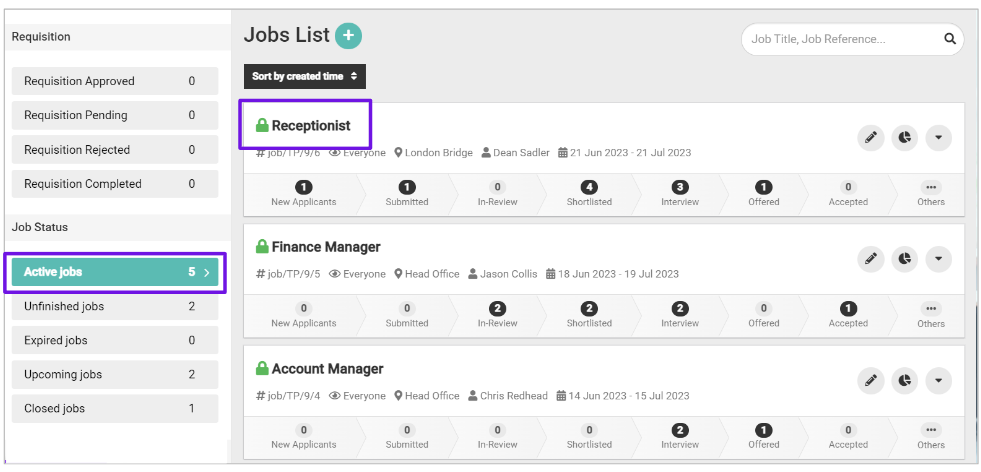
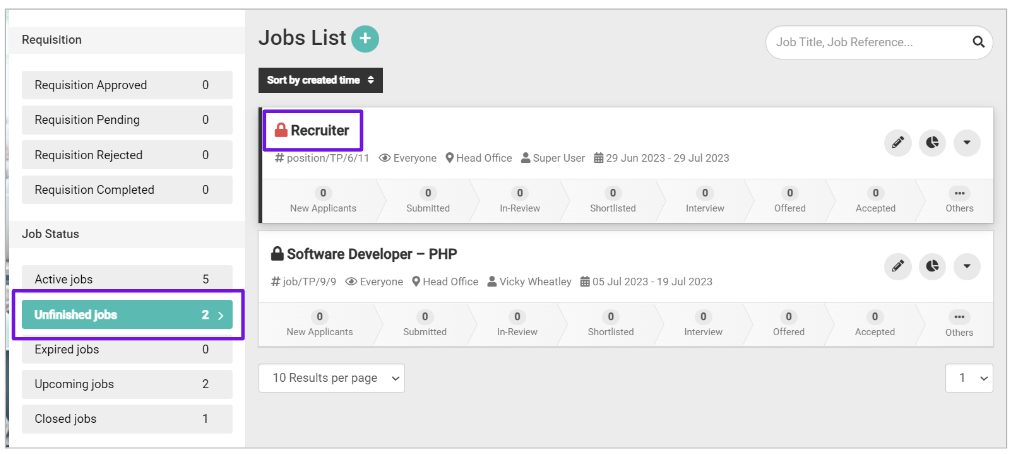
If you go to your Jobs List page, you will see that the job will be sitting in the 'Unfinished Jobs' section on the left-hand side, and your job will have a red padlock icon next to the job header:
Once the job is approved, it will automatically be posted to your relevant job boards, and it will move from 'Unfinished Jobs' to 'Active Jobs' and will display a green padlock next to the Job Header: