Learn how to create a reference check to add to your onboarding process.
Overview
With a small amount of preparation, reference checks allow you to automate the process of obtaining references directly from the referee.
How does it work?
The following steps provide you with the structure for creating a reference check.
1 - Think about the type of reference check you are going to create, it could be all three.-
- Professional
- Academic
- Personal
2 - Creating a set of questions that correlate to the type of reference check you are going to create. The questions you create will be sent to the referee so that they can confirm details about your candidate. The questions need to be created via the Jobs menu in the ATS.
3 - Creating the relevant questionnaire to add your questions to. You can create the questionnaire within onboarding or via the Jobs menu in the ATS, you would just need to ensure that you select 'Onboarding' as the questionnaire type.
4 - Creating the reference check will involve bringing all steps together to create a reference check template.
Keeping the questions simple and to a minimum will help to ensure a response.
Once you have prepared your questions - you need to create the questions and add them to a questionnaire.To understand how to create questions and questionnaires please take a look here:
We recommend creating a standard questionnaire to keep things simple and linear.
How to create a reference check
- Select Onboarding from the top navigation bar.
- Select Manage Templates.
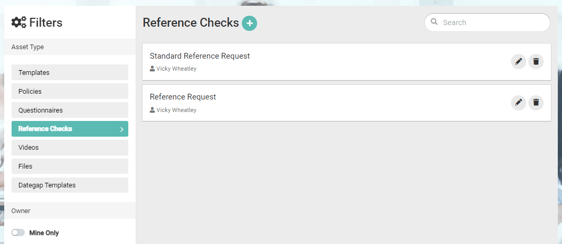
- From the filters on the left-hand side of the page, select, Reference Checks.
- Select the plus icon to create a Reference Check template.
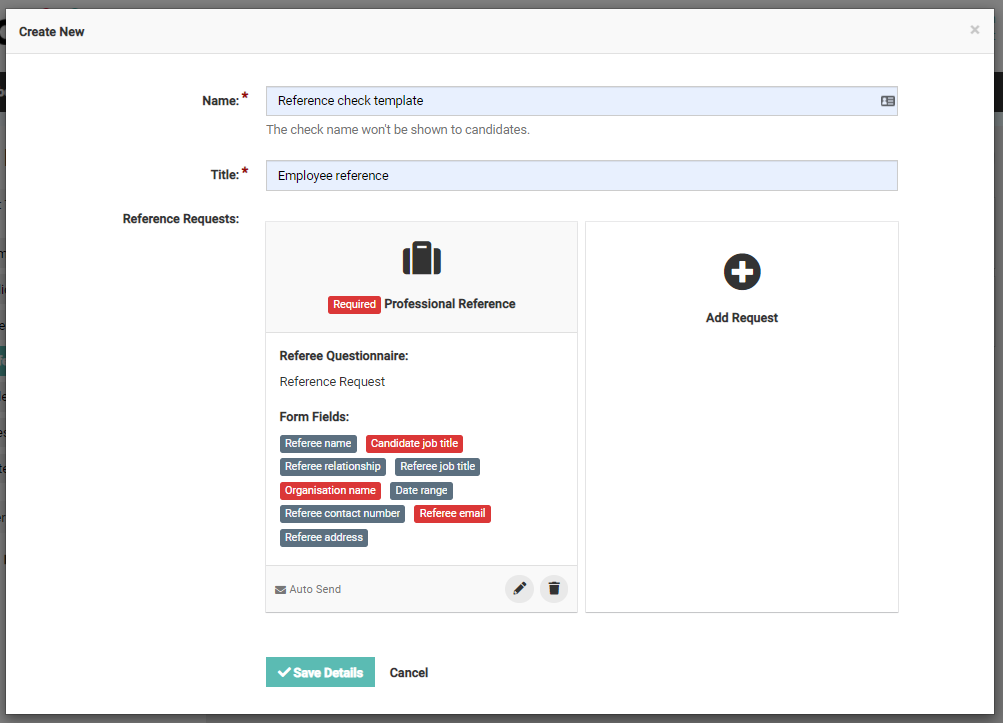
You will be presented with a pop-up:
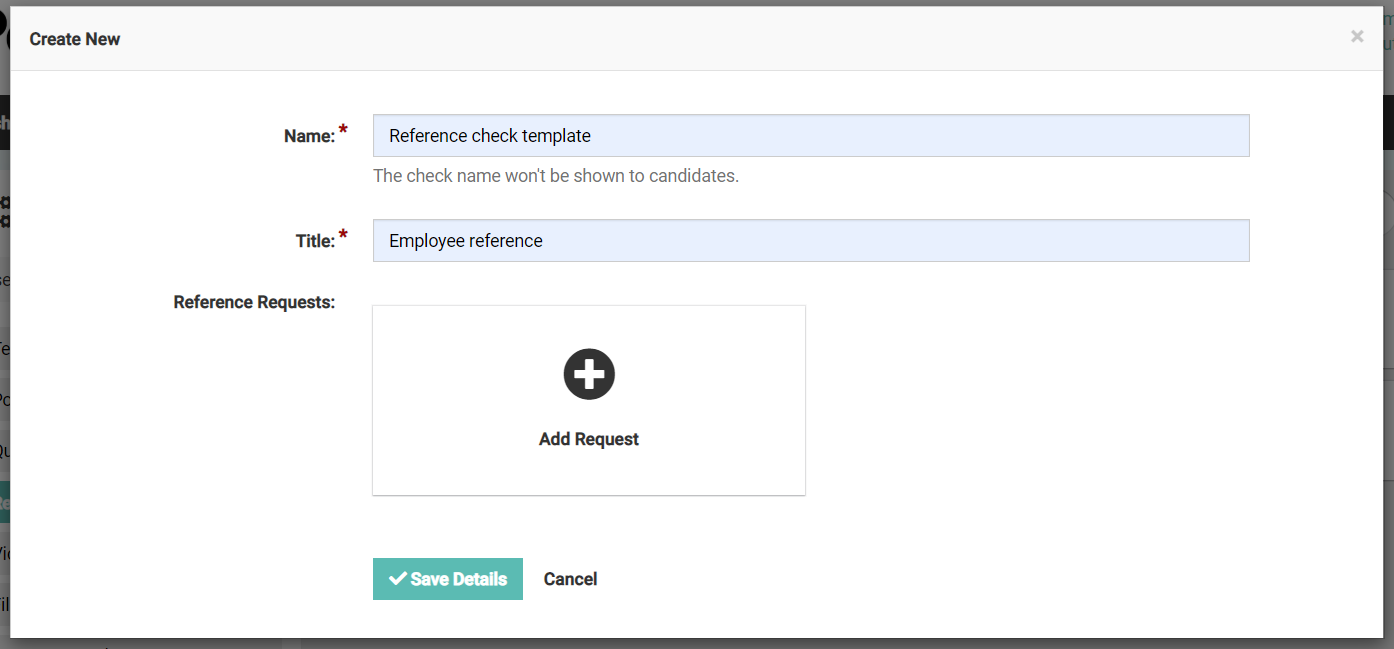
- Name
Give the reference check a name, this will not be visible to the candidate. - Title
Give the reference check a title. - Reference Requests
Select Add request and the pop-up will expand.
Choosing the reference type
- Select the type of reference you want to request from the options provided.
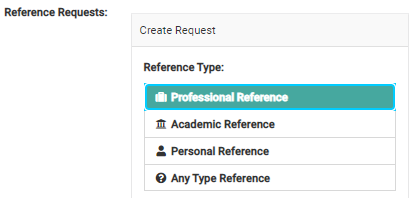
The form fields that appear further down the pop-up will change slightly to reflect your selection.
-
- Fields are explained further in the article.
The next step is to choose whether to enable the toggles available.

- Required
If this toggle is selected, it means the referrer must complete the referee's information before they can submit their form. - Auto Send
If this toggle is selected an email will be sent automatically to the referee once the form has been completed by the referrer.
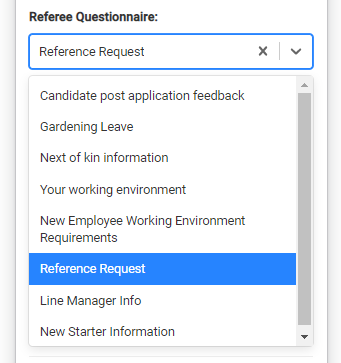
Choosing your questionnaire
- Select the drop-down menu and choose the questionnaire you have created.
Choosing the form fields
The fields chosen here will be presented to the referrer to complete (the candidate).
- Enabled
If you enable the toggle it means the information will be requested when presented in the form to the referrer. - Required
If you enable the toggle it means the referrer will be required to complete the information before they can submit their form.
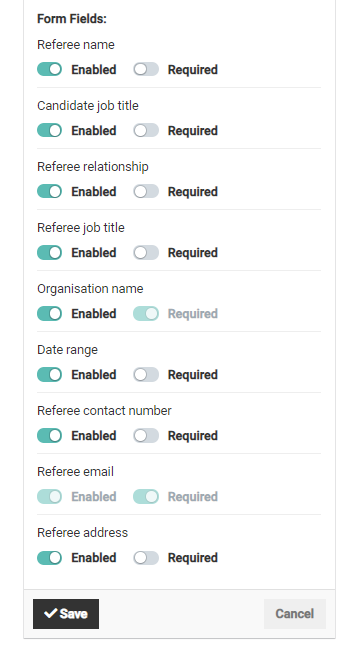
In the above example, the toggles against the Referee email are not available to select.
This is because the 'Professional Reference' check has been selected so by default this information will be requested from the referrer.
Once you are happy with your selections, select Save.
At this point, you can choose to create another reference request, useful if you would like to choose a different type of reference check.
The new check can be created by selecting Add Request on the right-hand side of the page.
To complete the creation steps:
- Select Save Details.
You will navigate back to the Reference Check page, where you will see your new check listed on the right-hand side of the page.