Find out how to create a Job Requisition and create a job from it
Our Job Requisition functionality allows you to request jobs with ease.
The Job Requisition process works with Tribepad's Authorisation Policies.
To find out more on how to create an Authorisation Policy, click here.
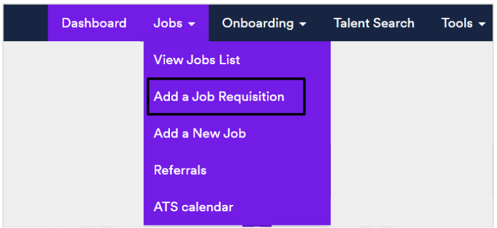
To create a Job Requisition, select 'Add Job Requisition' from the drop-down menu under 'Jobs':
You will be presented with a screen that looks like this:
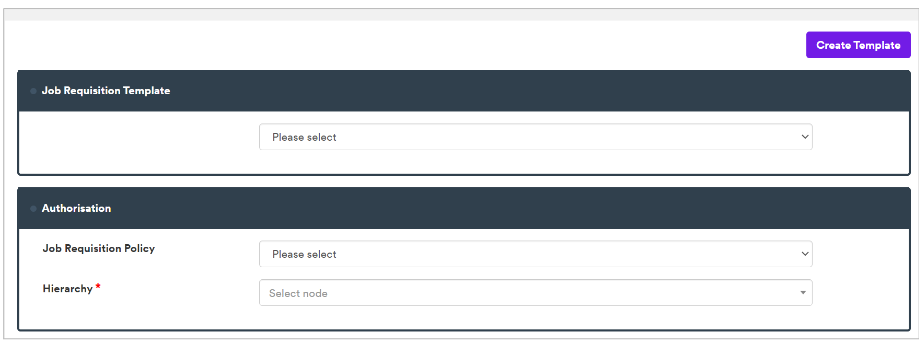
- Please note - Only certain ATS users will see the 'Create Template' option in the top right-hand corner.
If you are a Hiring Manager looking to use a Job Requisition template, scroll down the page to the 'Creating a Job Requisition' section.
Creating a Job Requisition Template
Job Requisitions can be templated for ease of use.
- If you are a Super User you can create a template for other users to utilise.
- If you are a Hiring Manager, you will not have this functionality, but will be able to use templates that have been created for you.
Job Requisition templates can be accessed from two places:
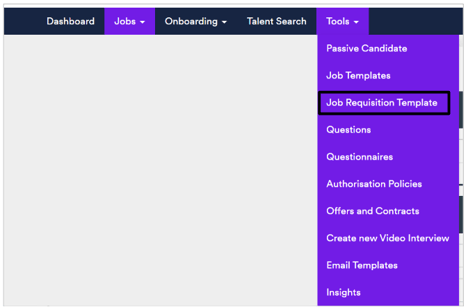
- From the Job Requisition Template page under the 'Tools' menu (or 'Jobs' menu, depending on your configuration):
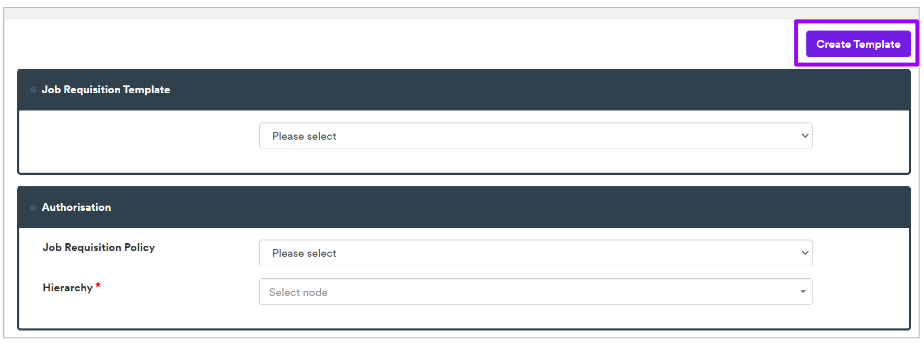
- Or by clicking 'Create template' on the 'Add a Job Requisition' page:
You will be presented with a screen that looks like this:
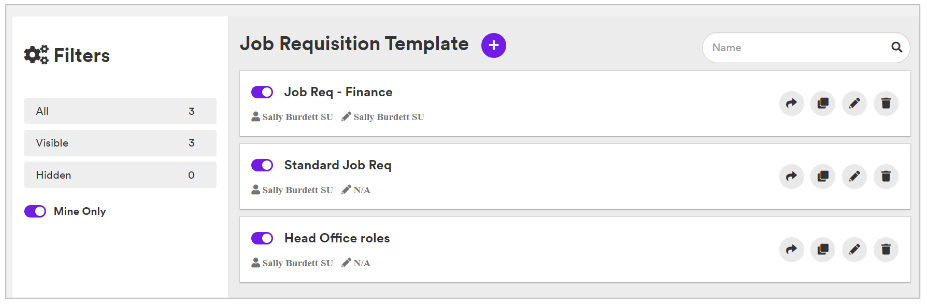
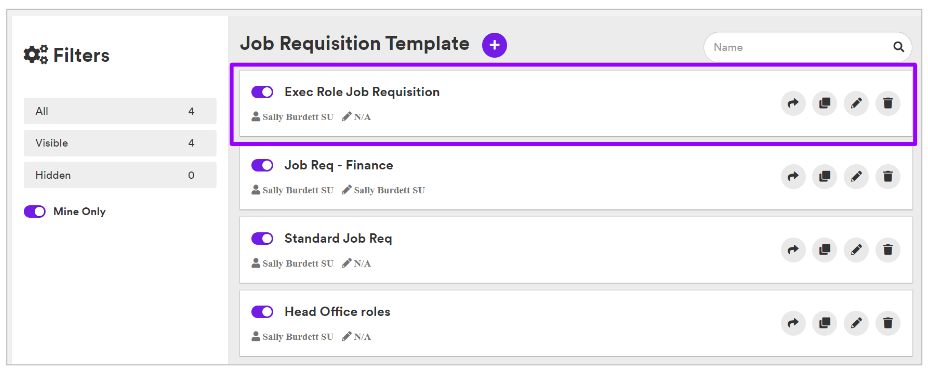
On this page you can see existing templates and create a new one.
With existing templates, you have the ability to clone, edit, delete or create a Job Requisition directly from this page:

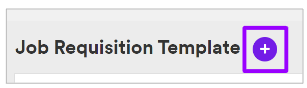
If you are creating a new template, you can simply select the '+' symbol at the top of the page:
The screen will refresh and you will be presented with a screen that looks like this:
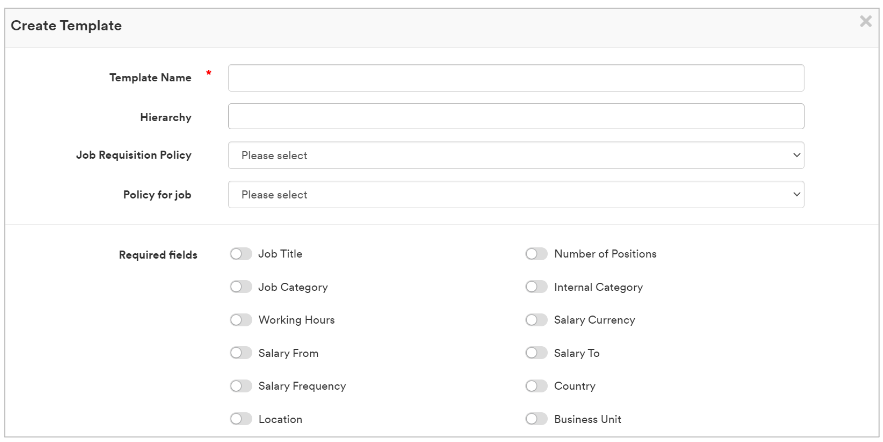
At the top of the page you can:
- Give your template a name e.g. 'Head Office jobs' or 'Retail jobs' etc.
- This is for internal use only, a candidate will not see this name - Select a Hierarchy node for the template (this will only show if you are using Hierarchy in your organisation - if not, this option will not be visible)
Next, you can select which Authorisation policy you would like to be attached to the Job Requisition.
- You will see a drop-down list with all the Authorisation Policies that have been created in the system:

If you wish to also add in an Authorisation Policy for the subsequent jobs that are created from the Job Requisition, you can select this at this time, again from a list of already-created policies:

Once you have selected the relevant policies, you can choose which elements of a Job Requisition would be mandatory for a user to complete:
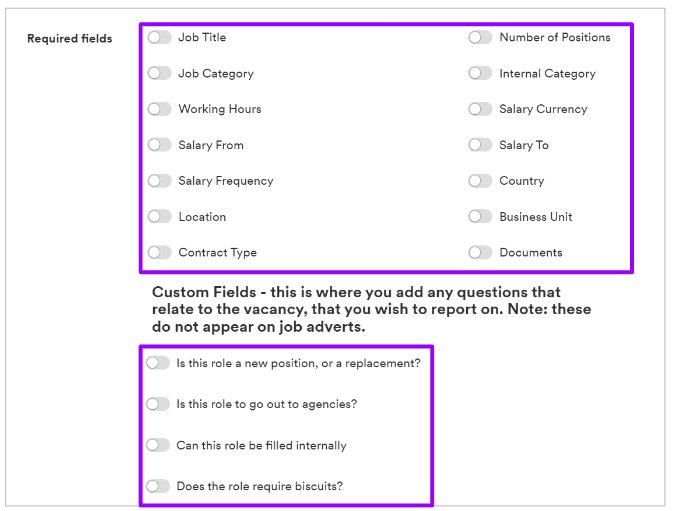
- Simply toggle on the relevant fields as required
- This is also the same for the Custom Fields at the bottom of the page.
For more information on Custom Fields, click here.
At the bottom of the page, you also have the option to make the fields that you have selected to be mandatory, to be the only fields that are displayed to your users:
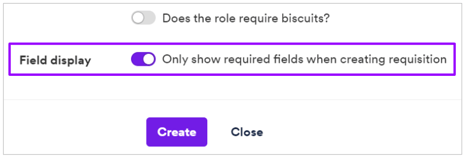
- If you toggle this on, only the mandatroy fields will be included in the template.
- If you leave this option toggled off, anything you have not made mandatory will still show on the template, as an optional field.
Once you are happy with your template, select 'Create' at the bottom of the page:

Once the template has been saved, your screen will refresh and you will see the new Job Requisition template:
Creating a Job Requisition
Once you have created a Job Requisition template (or you are a Hiring Manager using a template), you will be presented with a screen that looks like this:
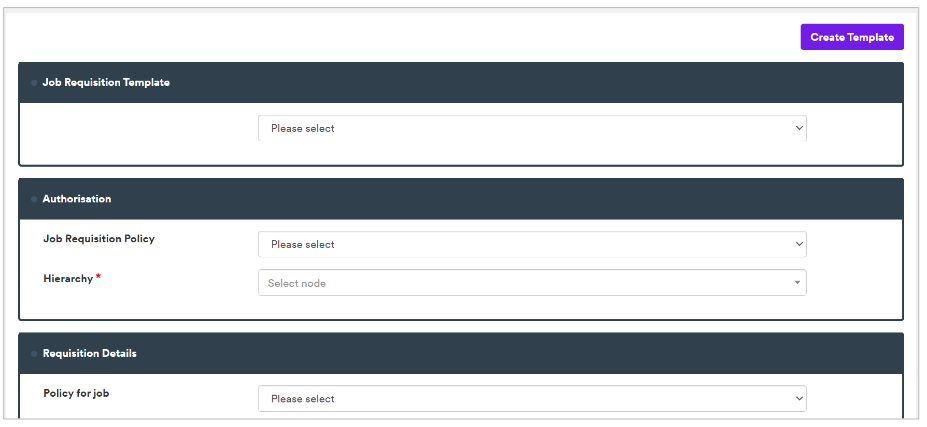
From here you can select the relevant template for your Job Requisition:
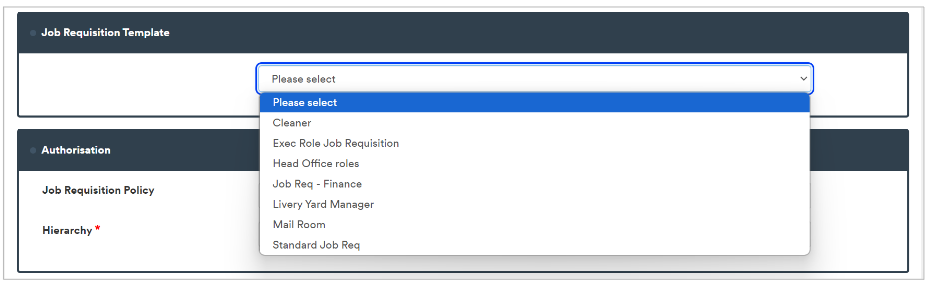
Please note - your configuration on your platform may enable you to create a Job Requisition without using a template. This depends on the needs of your organisation and the decisions made when implementing Job Requisition requests.
If the template has included a specific Authorisation Policy for the Job Requisition, it will be auto-populated when selecting a template and will be unable to be changed:
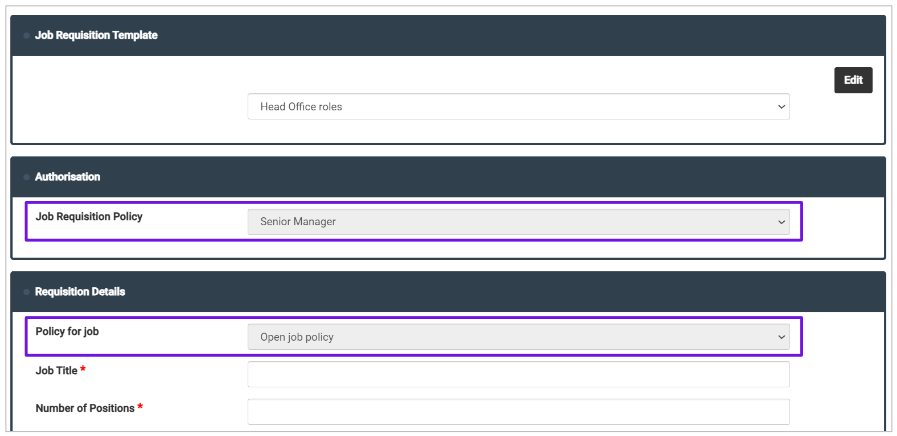
- This is the same if a Job Authorisation Policy has also been pre-selected
- If it has not, you can select the relevant one(s) from the drop-down lists.
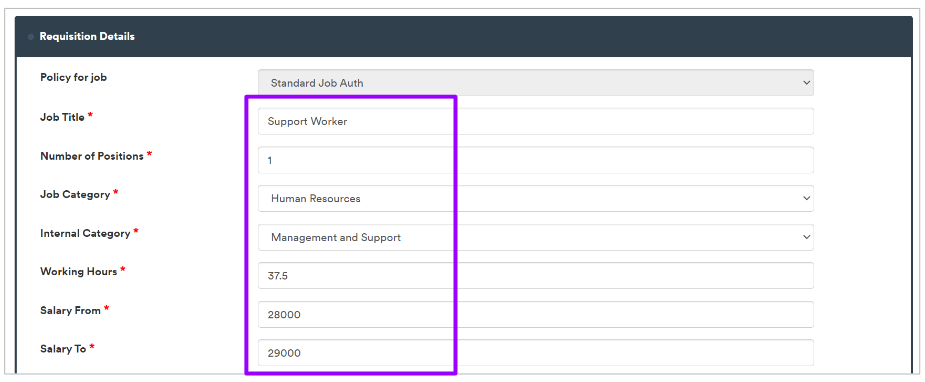
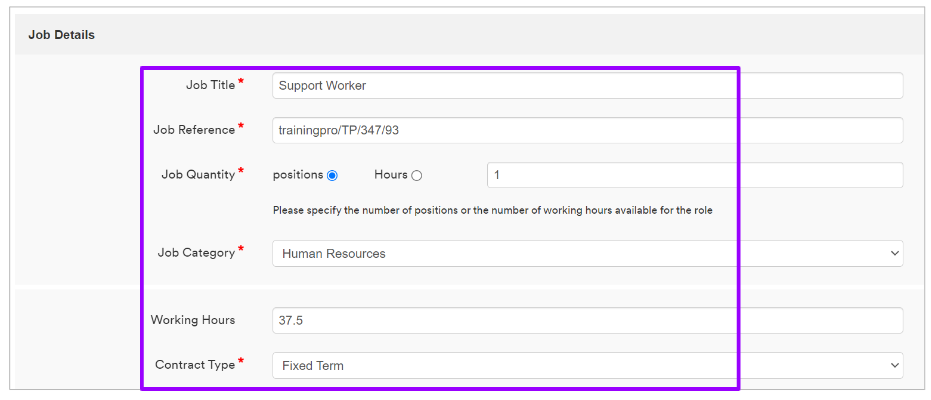
Scrolling further down the page, will show you the fields to be completed for your Job Requisition:
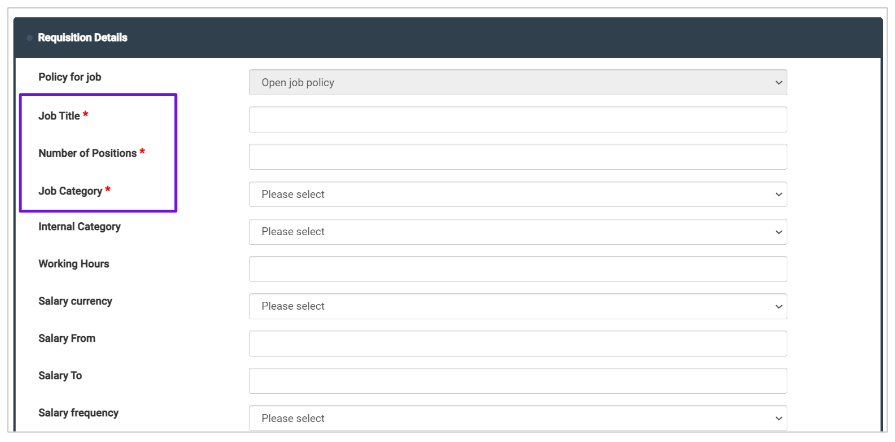
- If any have been made mandatory in the template that you have selected, these will be indicated by a red asterisk (*) on the left-hand side of the screen
- All other fields are optional to complete.
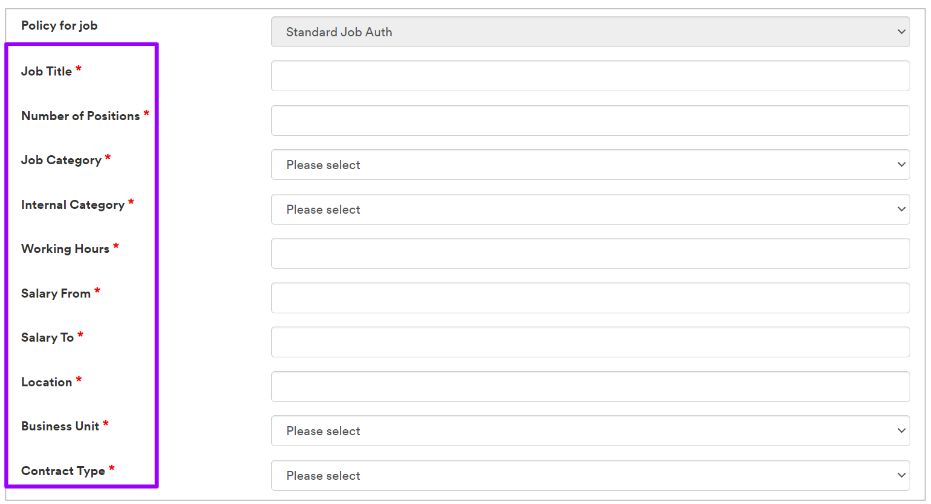
If the toggle has been used on a Job Requisition template to make only the mandatory fields visible, it will look a little like this:
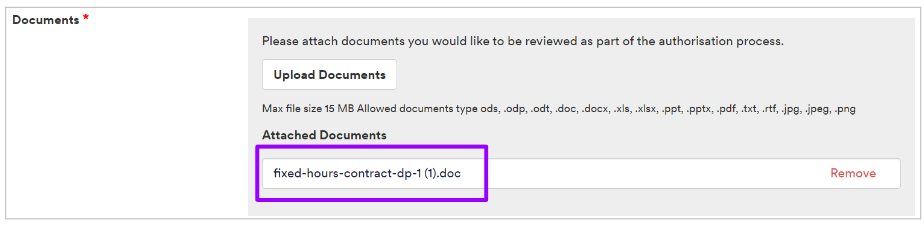
When raising a Job Requisition, you have the ability to add in documents.
- This could be a Job Description to be used in the Job Create process later down the line, or perhaps a Business Case for the job in question.
When adding in documents, simply upload the relevant file as required:
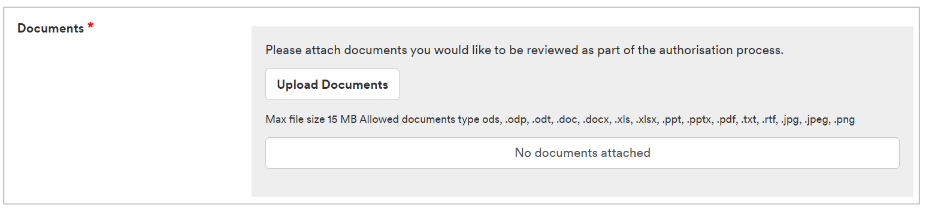
- All relevant formats are detailed on-screen, and you can upload as many documents as you wish.
Please note - the ATS doesn't like an Excel spreadsheet!
If you need to upload an Excel document, you will need to download it as a PDF and then you will be able to upload it as normal here.
Any documents attached to the Requisition will be shown straight away:
Once you have filled in all relevant details for your Job Requisition, click 'Create' at the bottom of the page:
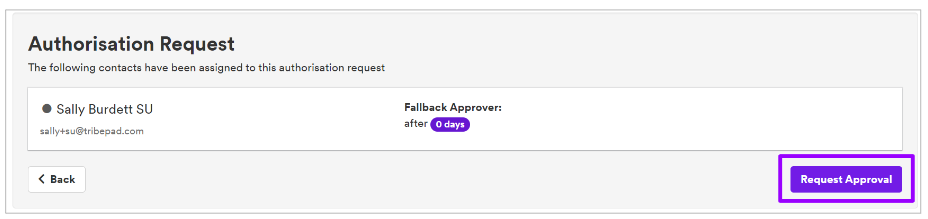
Once created, the screen will refresh and you will be presented with the relevant approver(s) for your Job Requisition:
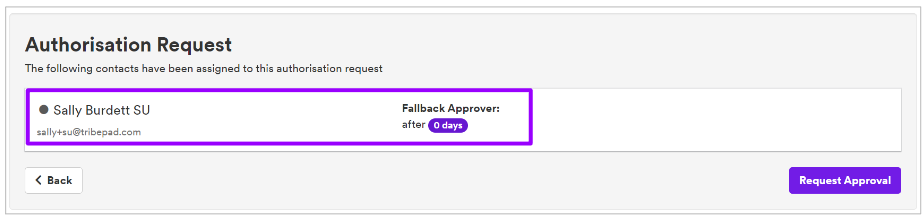
- To send your Job Requisition to them, simply select 'Request Approval' in the bottom right-hand corner.
The approvers are specified when creating the Authorisation Policy. This cannot be changed at this stage of requesting approval.
If changes are required when making a Job Requisition, you should contact the person who created the original Authorisation Policy, or attached it to the template you have used.
The screen will refresh when approval is requested, and you will see the following:
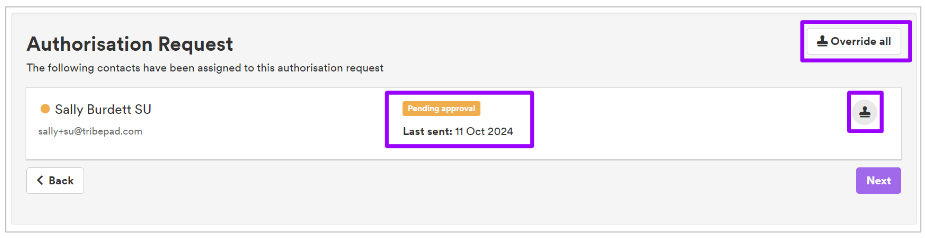
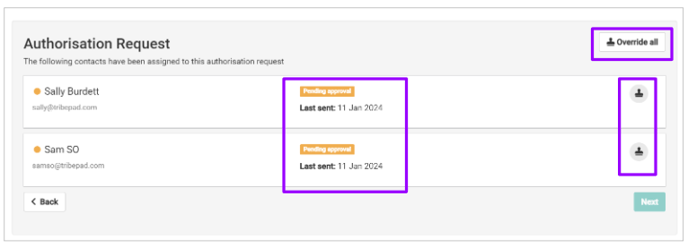
- In the example above, you can see that approval is pending for both approvers
- If you are logged in as a SuperUser, you will also see the ability to override the authorisation request once it has been requested (top right-hand corner)
- If you have multiple approver's details (as above), you can override all requests if you wish by choosing the 'Override all' option at the top of the page
- If you only need to override one individual approver, for example if they are on holiday or off sick, you can select the
 icon on the right-hand side of the page.
Please note - If you are a Hiring Manager, Resourcing User or Talent Team, you will not be able to override an authorisation policy. This function is reserved for Superusers.
If you are a Hiring Manager or the raiser of a Job Requisition, at this stage there is nothing further to do. An approval request has been sent to the relevant approvers, and you will be notified once approval has been given.
For more information on Approving Authorisation requests, click here.
As a Superuser, if you choose to override the approval process, selected either of the override options above will present a further pop-out option:

- Select 'Yes, override' to go ahead with the process.
You will be presented with a screen that looks like this:
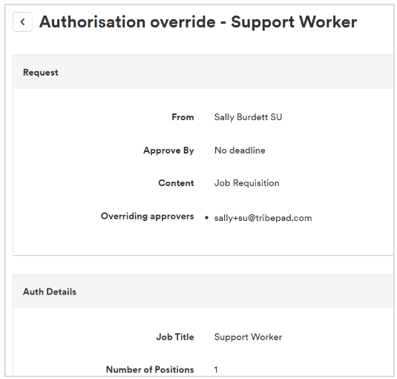
- From here you can complete the authorisation process.
(For more information on approving requests, see the link above.)
Monitoring your Job Requisition
As a Hiring Manager or user of the Job Requisition policy, you can check the status of your Job Requisition by going to your Jobs List:
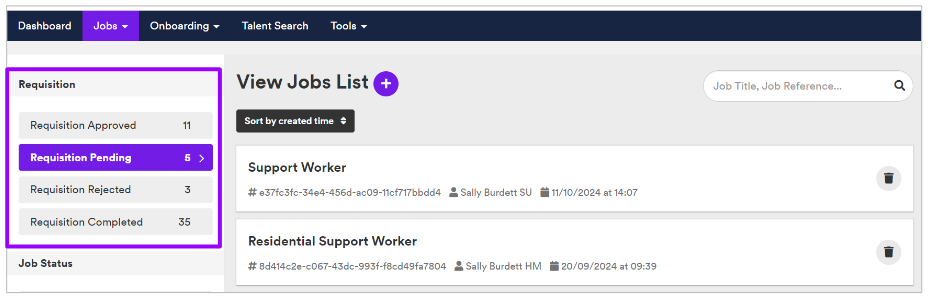
- Here you can see the status of your Job Requisition and if has been moved from 'Pending' to 'Approved' or 'Rejected'.
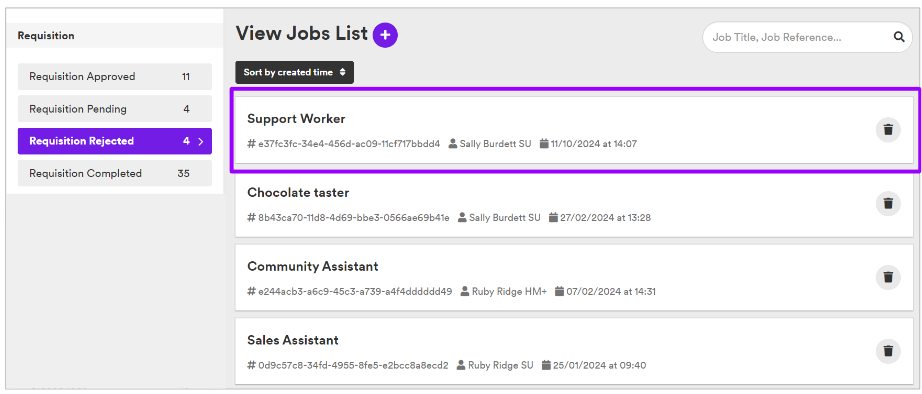
If your Job Requsition is rejected, you will receive an email confirmation of this decision, with notes from your approver.
Rather than starting the whole process again, you are able to click into the 'Rejected' section, select the relevant Job requisition, and make the necessary amendments:
Once you have amended as required, scroll to the bottom of the screen and select 'Update':

This will then allow you to resubmit your Requisition to the necessary aprover(s):
Once it has been Approved, you will see your Requisition sitting under the 'Approved' section in your Jobs List:

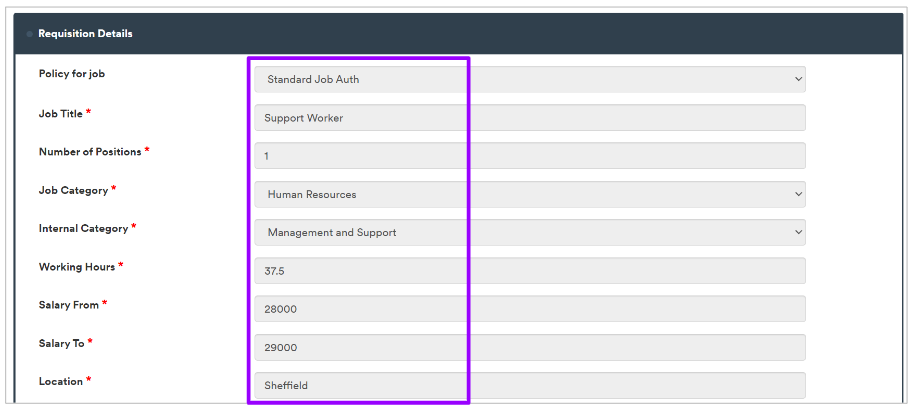
Please note - once your Requisition has been approved, you will no longer be able to make any amendments to it.
If you click into it, you will see that all fields are now greyed out and cannot be altered:
Once a Job Requisition has been approved, you will receive an email to notify you of that action.
Next steps
If you wish to create a job from an approved Job Requisition, and you have the relevant permissions on your user type, click into your Job Requisition.
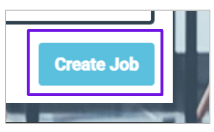
Scroll down to the bottom of the page:

- Click 'Create Job' to be taken to the usual Job Create process:
Any details previously populated in the Job Requisition will be pulled through so will not need inputting again:
Complete the relevant fields as you would do normally to create a Job Advert.