Find out how to use the 'General Set-Up' page within the Platform Configuration menu in the Manage tool
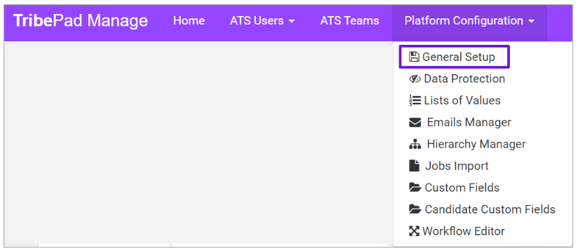
The ‘Platform Configuration’ menu holds the majority of actions where you can fully customise your ATS.
Check out this video on the General Set-Up section, or read on for a step-by-step guide:
Accessing the General Set-up section
The ‘General Set Up’ option provides you with general information regarding your ATS set up.
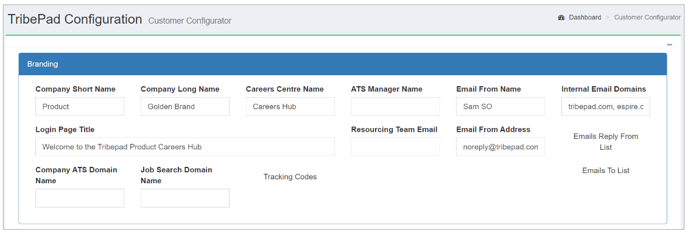
At the top of the page, any of the information you see can be changed, for example the email address you would like your emails to be sent from, the name of your main ATS contact with Tribepad etc.
If you hover over any sections and they change colour, this means that label is a hyperlink to another part of the Manage platform to allow you perform an action.
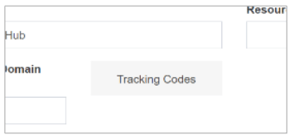
- The Tracking Pixel is obtained from the marketing agency or job board in question and added to the system here
- This allows you to run reports based on these codes. For example, you might want to see if your candidates might be dropping out of the application process at a certain stage. A tracking pixel would identify this information

Scrolling down the screen, you will see lots of other links to other areas of the platform:
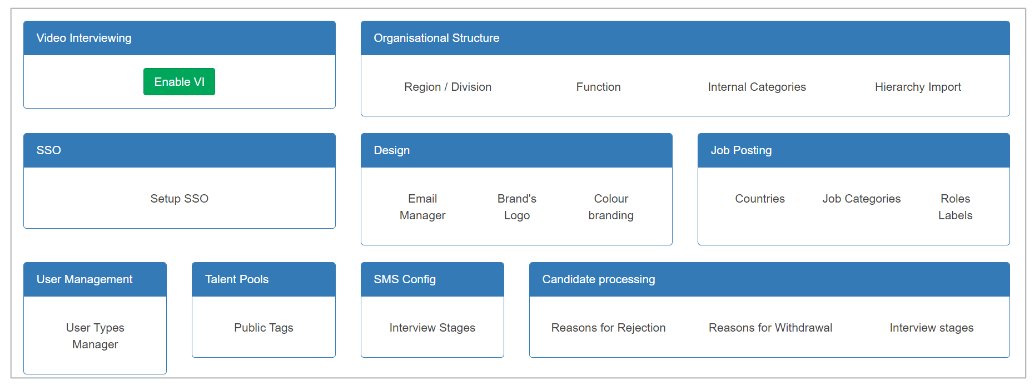
The 'Organisational Structure' section links you to your Lists of Values section in the platform.

- Each label is a different 'List of Values' (or drop-down menu as it appears in the ATS) and you can edit and amend the options from here.
To find out more about Lists of Values, click here.
The 'Design' section allows you to configure the look and feel of your ATS:
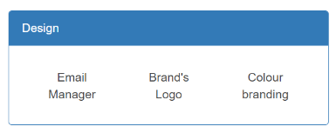
- Email Manager - this links you to the email pack that contains all emails that are set out byt the ATS to a candidate at any stage of the application process
- Brand's Logo - this is a Tribepad-only feature and allows us to configure your logo
- Colour branding - also a Tribepad-only feature and allows us to configure your colours and branding
To find our more about Email Manager, click here
If you need to change your logo or branding/colours, please reach out to Tribepad using the usual Support portal
The 'Job Posting' section links you to Lists of Values (as above) so you can amend the drop-down menus that are present in your ATS
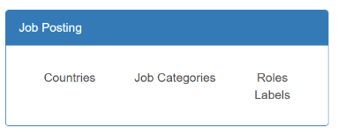
- Countries and Job Categories link to Lists of Values
- Roles Labels shows you a pop-up detailing the different user types you have in your ATS
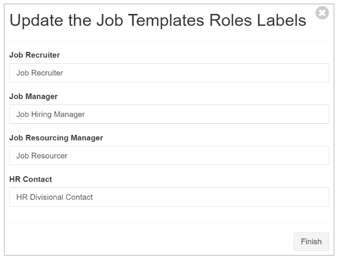
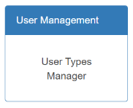
Please note - you cannot edit these details here - if you wish them to be edited, please contact Tribepad. This is also the same for the next section, the 'User Management':
The 'Talent Pools' section takes you to the list of Tags that can be applied to any candidate in the ATS

- Tags are situated in the same menu as 'Lists of Values'.
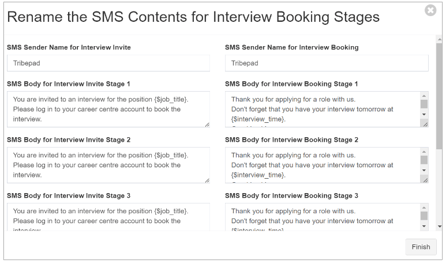
The 'SMS Config' link shows you a pop-up detailing all SMS messages that might be sent out to candidates as reminders:
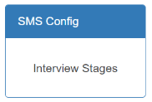
- This is only the content of interview reminders or at different stages in the application process
- These messages can be edited from here as you wish
Please note - This does not relate to 2-way communication - all content for 2-way communication is ad hoc and a record of what is sent, is saved under the ![]() icon at the top of the screen within the ATS (if you have this feature under your configuration.
icon at the top of the screen within the ATS (if you have this feature under your configuration.
If this is something you might be interested in, click here for more information or speak to your Account Manager.
The 'Candidate Processing' section links again to Lists of Values:

- Reasons for Rejection and Reasons for Withdrawal link to Lists of Values
- Interview Stages shows a pop-up screen where you can rename the interview stages in your organisation
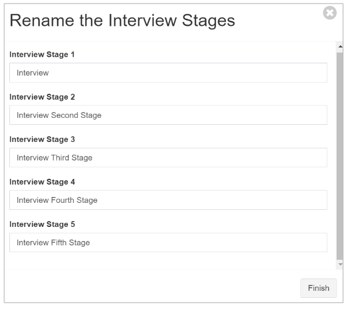
This can also be done via the 'Workflow Editor' page within Manage. Click here to read more.
Further down the page you will see a 'Social Media Content' section:

This relates to social media icons and their subsequent links to the different platforms.
- These links can be included on job adverts to allow candidates to access your social media pages easily.
At the bottom of the page you will see a 'Supporting Documentation' section:

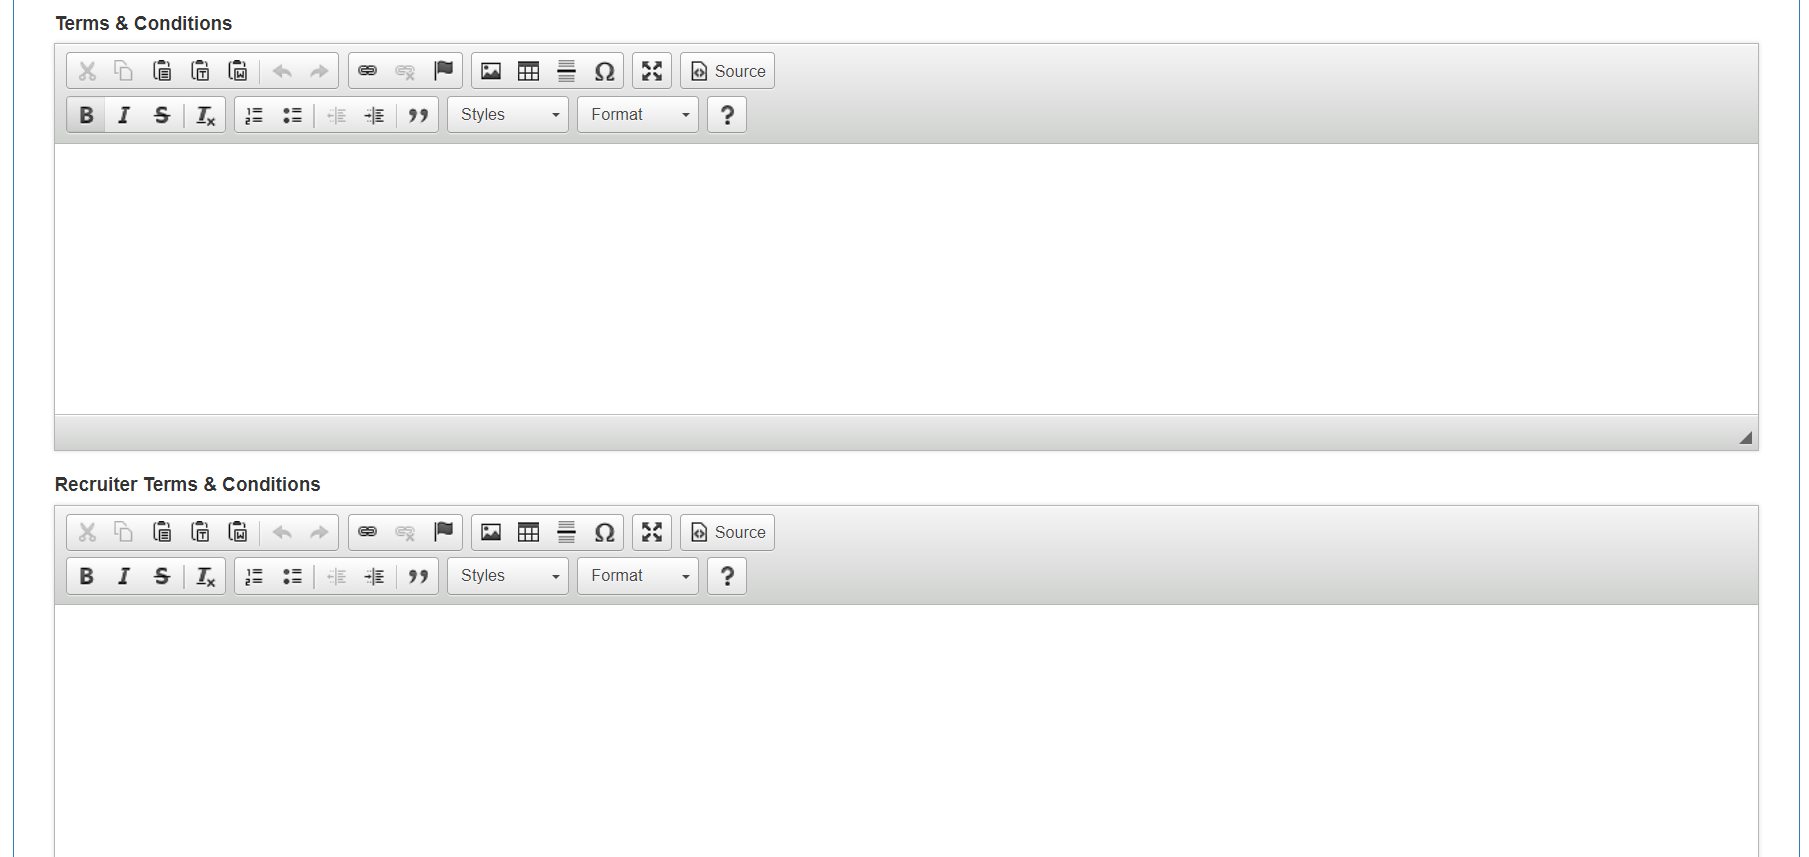
Here, you can edit the content that a user will see when they click on links relating to:
- Privacy Policy
- Cookie Policy
- Terms and Conditions
- Recruiter Terms and Conditions
This section does not allow you to edit where these policies are triggered or where a candidate will see them - that is done through the 'Data Protection' page. Click here to read more.