The following article explains what job templates are, why they might be used and how to create a template.
What are job templates?
Job templates are created in advance of advertising a role. They contain all of the fields that you would complete if you were creating a job from start to finish.
Why would I use job templates?
Using job templates are a great way to standardise, streamline and save time during the job creation process, especially if you regularly advertise for the same or similar roles.
They can help to ensure that you and your colleagues are always using the same format in job adverts, especially if there is a large team involved in recruitment.
An example might be that you would like Hiring Managers to publish their own roles, templates would be a great way to ensure the same templates and processes are being used by all Hiring Managers.
Access to see, create and edit job templates will depend on your 'user type' and the permissions that have been granted and aligned to your user type.
E.g - A superuser tends to be able to access and carry out any action within the ATS, whereas a recruiter user may be restricted and only see roles specific to their area of the business. They may only be able to create and publish jobs using job templates.
If your organisation uses hierarchy, you can restrict job template visibility in accordance with the level of a users hierarchy so they only see and use templates that are relevant to them.
How to create a job template
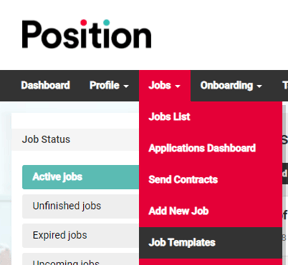
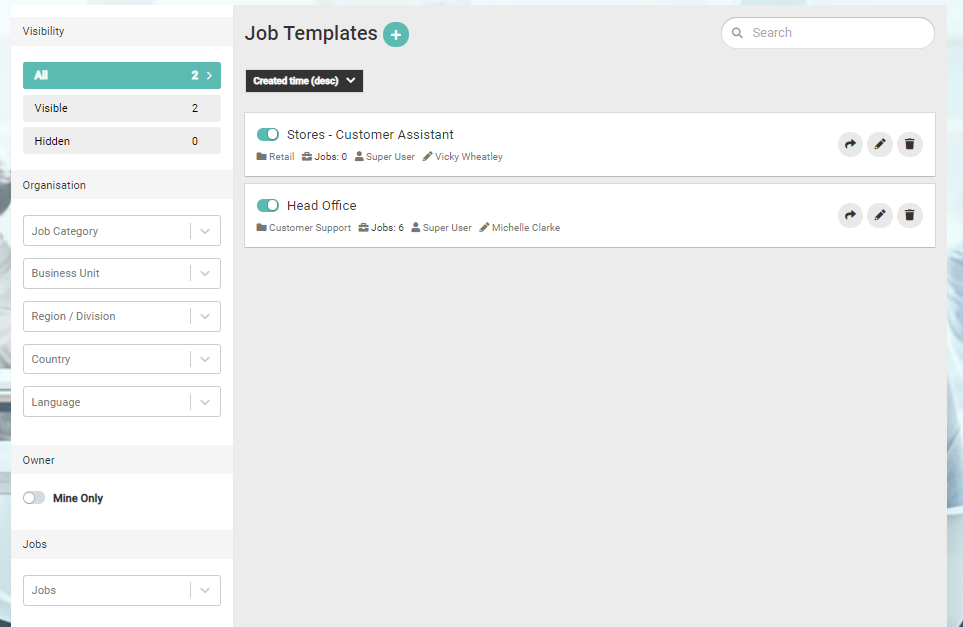
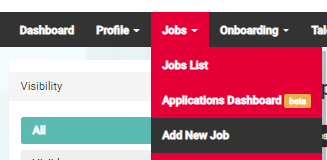
- Select jobs from the top navigation bar & select 'Job Templates'.
- Select the '+' button next to Job Templates.
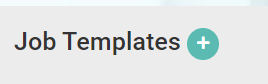
This will open the job template creation screen.
The tracker bar at the top of the screen shows you the two stages of the job template creation process:

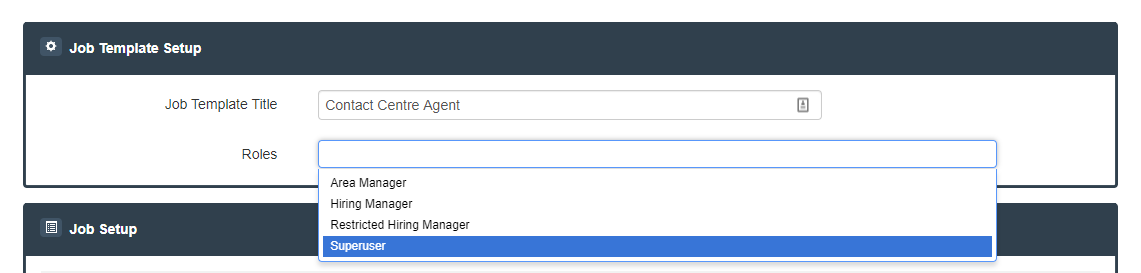
- Add a template title, in the below example we have added 'Contact Centre Agent'.
The template title should be generic as you will add a job title in the next step.
You can clone job templates and use them for other roles, perhaps then only needing to update minimal information.
- Select the 'roles' drop-down menu and choose who should have visibility and be able to use the template to publish a job, you can select more than 1 user type here.
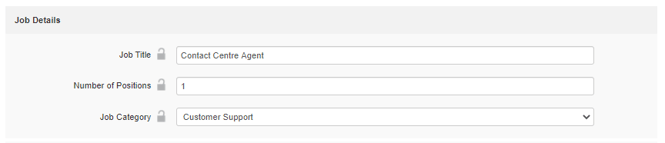
Against some fields you will see a padlock - once you have completed the content, you can select to 'lock' the padlock by clicking on it, this prevents the content from being changed.

If you choose to lock the padlock you will be the only one that can edit that field, whether that's making an edit within the template or when using the template to publish a job.
With that in mind, you may wish to leave certain fields unlocked and blank, for example, 'salary' or any field where content may need to be changed on a regular basis.
If you wish to unlock the padlock, you can simply select the padlock again.
- Add in a job title.
From this point onward you can use the following article to help you complete page 1 of the job template creation, with the exception of publishing the role.
When you reach the end of page 1 in the template creation, you will be presented with 2 options;
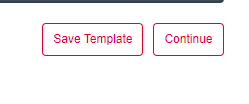
- Select 'save' to retain the content you have added, if, for example, you need to return to complete it later.
- Select 'continue' to move on to the next stage.
From this point onward you can use the following article to help you complete page 2 of the job template creation, with the exception of publishing the role.
Once you reach the bottom of page 2 in the template creation you will be presented with 2 options;
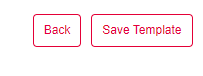
- Select 'Back' to revert to the previous page, if for example, you need to make some changes.
- Select 'Save Template' to save all of your content and finalise the template creation.
If you select 'save template', you will revert to the main job template page where you will be able to find your newly created job template.
When a job template is being used to advertise a job, a user will simply follow these steps.
- Select 'Add New Job' from the top navigation bar.
- Select the drop-down menu against 'Choose Job Template' utilising the filters if required.
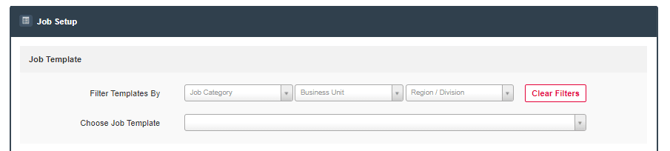
At this point, the fields below will become populated with template content and the user will only be able to edit fields that were not locked at the template creation stage.
The user will then continue with the job authorisation and publishing process (depending upon their internal processes).
For further guidance see the following article.